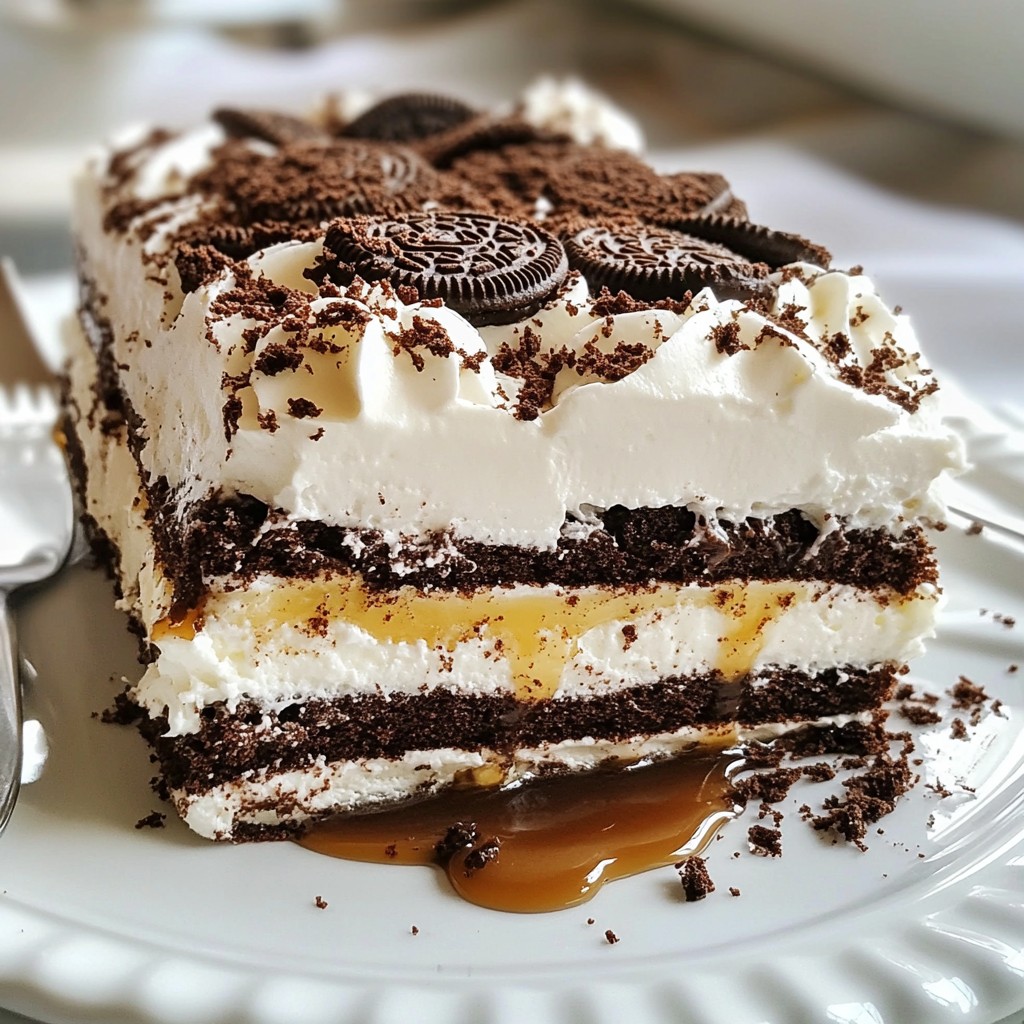
Get ready to impress with a Mocha Oreo Icebox Cake that's both delightful and easy! This no-bake dessert combines rich coffee flavors and creamy textures, perfect for any occasion. With just a few simple ingredients, you’ll create a treat that will wow your family and friends. Follow my step-by-step guide, and you'll have a show-stopping dessert ready in no time. Let’s dive into this delicious recipe together!
Why I Love This Recipe
- Decadent Flavor: This icebox cake combines rich chocolate and coffee flavors, making it a dessert that’s truly irresistible for mocha lovers.
- Easy to Assemble: No baking required! Layering the ingredients is quick and simple, perfect for any skill level in the kitchen.
- Make-Ahead Convenience: Refrigerating the cake overnight allows the flavors to develop and makes it an ideal dessert for entertaining.
- Beautiful Presentation: With its layered look and chocolate garnish, this cake is sure to impress guests at any gathering.
Ingredients
List of Ingredients
- 2 cups heavy whipping cream
- 1 cup powdered sugar
- 2 teaspoons espresso powder
- 1 teaspoon vanilla extract
- 1 package (15.5 oz) Oreo cookies
- 1 cup strong brewed coffee, cooled
- 1/2 cup chocolate syrup
- 1/4 cup finely grated chocolate (for garnish)
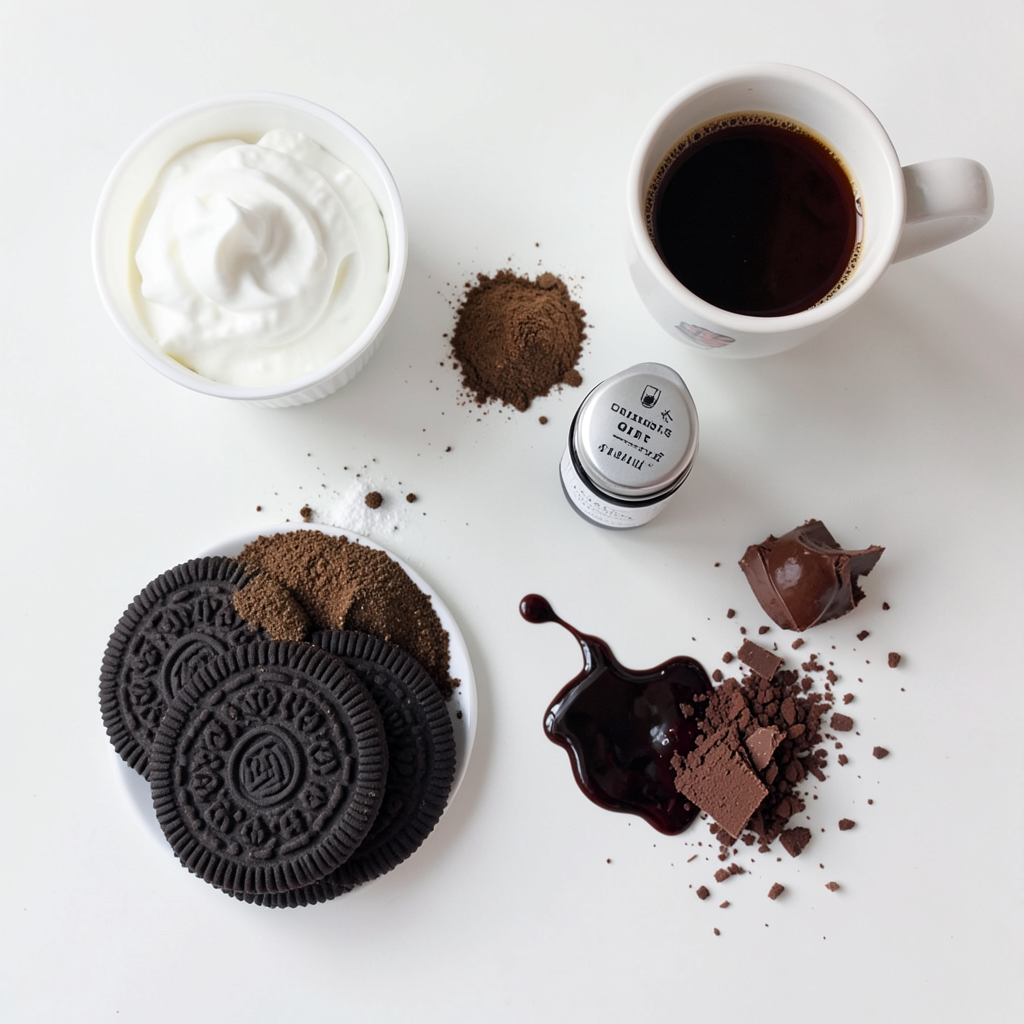
Creating Mocha Oreo Icebox Cake is simple and fun! You will need a mix of rich and creamy flavors.
First, heavy whipping cream is the star. It gives the cake a light, fluffy texture. The powdered sugar adds sweetness and helps to stabilize the cream.
Next, espresso powder brings a bold coffee flavor. It blends perfectly with the sweetness of vanilla extract.
The Oreo cookies add crunch and chocolate goodness. They soak in strong brewed coffee, making each bite delicious.
Chocolate syrup adds an extra layer of sweetness. Finally, grated chocolate on top makes your cake look fancy and appetizing.
These ingredients come together to create a dessert that is both delightful and easy to make. Enjoy the blend of coffee and chocolate in every bite!
Step-by-Step Instructions
Preparation
To start, you need to whip the cream mixture. In a large bowl, add 2 cups of heavy whipping cream. Then, mix in 1 cup of powdered sugar, 2 teaspoons of espresso powder, and 1 teaspoon of vanilla extract. Use a hand mixer on medium speed. Whip until stiff peaks form, which takes about 3-4 minutes. This mixture is light and fluffy.
Next, you will crush the Oreo cookies. Take 10 Oreo cookies and crush them into fine crumbs. You can use a food processor or put them in a zip-top bag. Crush them with a rolling pin until they are fine. This adds great texture to your cake.
Layering the Cake
Now, it’s time to dip the Oreo cookies. Pour 1 cup of cooled, strong brewed coffee into a shallow dish. Quickly dip each Oreo into the coffee. Make sure they soak but do not get soggy. This coffee dip adds rich flavor.
After that, assemble the layers in the baking dish. In a 9x9 inch baking dish, layer the bottom with the dipped Oreos. Place them in a single layer. Then, spread a layer of the whipped cream mixture over the Oreos. Smooth it out with a spatula for an even layer.
Next, sprinkle about half of the crushed Oreo cookies on top of the whipped cream. Drizzle some chocolate syrup over the crushed Oreos. Repeat this process until you use up all ingredients. End with a layer of whipped cream on top.
Chilling the Cake
The next step is crucial: chilling the cake. Cover the dish with plastic wrap and refrigerate for at least 4 hours. Ideally, let it chill overnight. This helps the layers set and the flavors meld together. The longer it chills, the better it tastes.
For serving suggestions, cut the icebox cake into squares or slices. Add a dollop of whipped cream and a sprinkle of chocolate syrup on each piece. This makes your cake look even more delightful. Enjoy your Mocha Oreo Icebox Cake!
Tips & Tricks
Perfecting the Whipped Cream
To make the whipped cream, start with cold heavy whipping cream. This helps it whip up well. Use a large bowl and a mixer. Beat until stiff peaks form. This should take about 3 to 4 minutes.
You can add fun flavors to the cream. Try a splash of almond extract or a hint of cocoa powder. These options give the cake a unique twist.
Oreo Prep Options
Crushing Oreos evenly is key. You can use a food processor for fast results. If you want a hands-on method, put the Oreos in a zip-top bag and crush them with a rolling pin.
For the coffee dip, use strong brewed coffee. This makes the Oreos rich and flavorful. You can add a pinch of espresso powder to the coffee for an extra kick.
Presentation Ideas
When serving your cake, cut it into neat squares. Each piece should look inviting and neat. Add a dollop of whipped cream on top for flair.
Drizzling chocolate syrup over each slice makes it look extra special. You can also sprinkle grated chocolate on top. This adds a nice touch and makes the cake feel gourmet.
Pro Tips
- Chill Your Tools: Before whipping the cream, chill your mixing bowl and whisk or beaters in the freezer for about 15 minutes. This helps the cream whip up faster and achieve better volume.
- Layering Technique: When layering, use a spatula to spread the whipped cream evenly over the Oreos to prevent them from shifting, ensuring neat layers.
- Make It Ahead: This icebox cake tastes even better the next day! Make it a day in advance to let the flavors meld and the texture improve.
- Garnish with Style: For a stunning presentation, use a microplane to finely grate chocolate for garnish. This adds elegance and an extra chocolatey touch.
Variations
Flavor Modifications
You can change the flavor of your Mocha Oreo Icebox Cake by using different cookies. For example, try using chocolate mint cookies for a fresh twist. You can also use peanut butter cookies for a rich and nutty flavor.
Another option is to swap out the chocolate syrup. Instead of chocolate syrup, you could use caramel syrup for a sweeter touch. Maple syrup can give it a unique flavor that pairs well with coffee.
Dietary Substitutes
If you need dairy-free options, use coconut cream instead of heavy whipping cream. Just chill the coconut cream overnight for the best results. You can also use almond milk in place of heavy cream. This will give your cake a lighter texture.
For gluten-free adaptations, choose gluten-free Oreo cookies. These cookies taste just as good and work well in this recipe. You can also use gluten-free chocolate cookies if you want to try something new.
Seasonal Twists
To make your cake fit the season, add seasonal flavors. In winter, you can mix in peppermint extract for a refreshing taste. This pairs well with chocolate and coffee.
In fall, pumpkin spice can make your cake warm and cozy. Just mix in some pumpkin spice with the whipped cream. This adds a nice flavor that everyone will love.
Feel free to get creative with these variations. Each change can lead to a new favorite version of this dessert!
Storage Info
How to Store
To keep your Mocha Oreo Icebox Cake fresh, store it in the fridge. Use an airtight container to prevent it from absorbing odors. If you don’t have one, cover the dish tightly with plastic wrap. This helps keep the cake moist and tasty.
Shelf Life
Your cake will stay fresh for about 3 to 5 days in the fridge. After that, it may lose some quality. Signs of spoilage include a sour smell or changes in texture. If you notice any of these signs, it's best to throw it away.
Freezing Instructions
Yes, you can freeze this cake! Just cut it into slices and wrap each piece tightly in plastic wrap. Then, place them in a freezer-safe bag. When you’re ready to eat, thaw the slices in the fridge overnight. This way, you can enjoy a delicious treat anytime!
FAQs
Common Questions
Can I make this cake ahead of time? Yes, you can make this cake a day in advance. It actually tastes better after chilling overnight. The flavors mix well, making each bite richer and more delicious.
How do I know when the whipped cream is ready? Whipped cream is ready when it forms stiff peaks. This means it holds its shape and does not fall. Use a hand mixer for about 3-4 minutes. Keep an eye on it to avoid overwhipping.
Troubleshooting
What if my whipped cream doesn't thicken? If your whipped cream doesn’t thicken, check the cream's fat content. Make sure you use heavy whipping cream, as lower-fat creams won’t whip well. Chill your mixing bowl and beaters before whipping. Cold tools help the cream whip faster.
How to fix common layering issues? If layers slide apart, make sure each layer is even. Use enough whipped cream between layers to hold them together. You can also press down gently to help layers stick.
Serving & Pairing Suggestions
Best drinks to serve with icebox cake Pair this cake with coffee or a cold glass of milk. The coffee enhances the mocha flavor. A sweet dessert wine also pairs well for adults.
Complementary desserts or snacks Serve this cake with fresh fruit, like berries or banana slices. They add a nice contrast to the rich cake. You can also offer small cookies for a fun snack.
This blog post detailed how to make a delicious icebox cake. You learned about the ingredients like heavy cream, Oreos, and coffee. The step-by-step instructions made it easy to follow along. You also received tips for perfecting your whipped cream and options for variations to suit your taste. We discussed storage and how to keep your cake fresh.
Now, it’s time to create your own treat. Experiment and enjoy bringing your unique twist to this fun dessert. Happy baking!