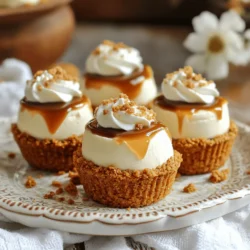
No-Bake Biscoff Cheesecake Cookie Cups
Indulge in a delicious treat with these No-Bake Biscoff Cheesecake Cookie Cups! Perfectly layered with a creamy cheesecake filling and a crunchy Biscoff cookie crust, these delightful cups are a showstopper without the oven. Easy to make and perfect for any occasion, this recipe will wow your guests. Click to explore how to whip up these irresistible dessert cups and satisfy your sweet tooth today!