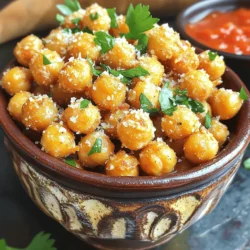
Garlic Parmesan Roasted Chickpeas
Looking for a delicious and healthy snack? Try these Crispy Garlic Parmesan Roasted Chickpeas! These savory bites are easy to make and loaded with flavor, perfect for any occasion. Just toss chickpeas with garlic, Parmesan, and spices, then roast for a crunchy treat that you'll love. Whether enjoyed on their own or as a salad topping, they are irresistible. Click to explore the full recipe and elevate your snacking game today!