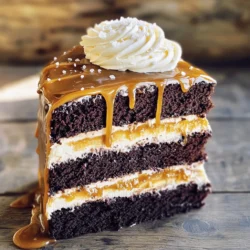
Chocolate Salted Caramel Layer Cake
Indulge in the ultimate Chocolate Salted Caramel Layer Cake that combines rich chocolate, creamy caramel, and a touch of flaky sea salt! This delicious recipe guides you through creating a stunning three-layer cake that's perfect for any celebration. With easy-to-follow steps and simple ingredients, you'll impress family and friends with your baking skills. Click to discover how to create this decadent dessert and make your next occasion unforgettable!