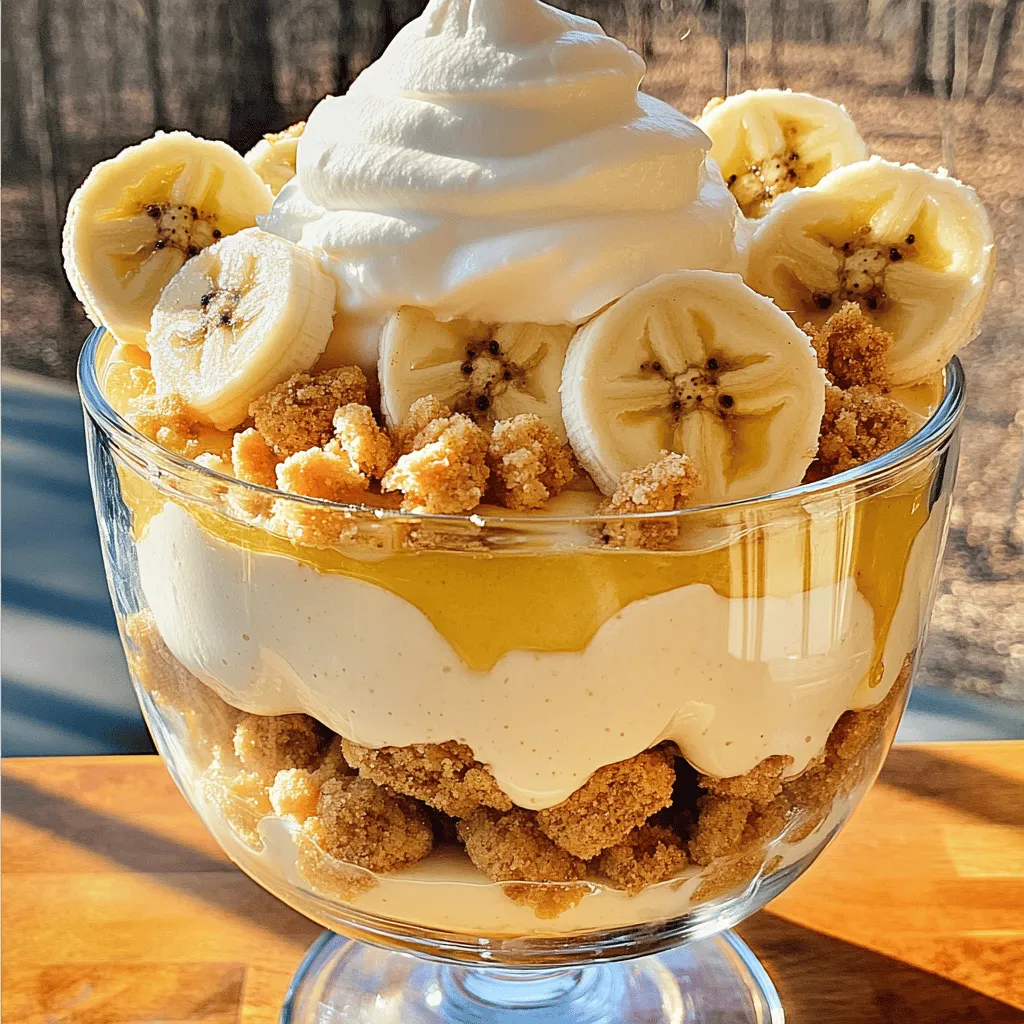
Craving a sweet treat that’s creamy, dreamy, and oh-so-delicious? You’re in the right spot! Today, I’m sharing my easy recipe for The Best Banana Pudding Ever. With just a few simple ingredients and straightforward steps, you can impress your family and friends. Whether you’re a seasoned chef or just starting, this recipe will guide you to banana pudding bliss. Let’s dive in and whip up something special!
Ingredients
Essential Ingredients for The Best Banana Pudding Ever
To make the best banana pudding ever, gather these simple ingredients:
– 4 ripe bananas, sliced
– 1 cup granulated sugar
– 1/3 cup all-purpose flour
– 1/4 teaspoon salt
– 2 3/4 cups whole milk
– 3 large egg yolks, beaten
– 1 tablespoon vanilla extract
– 1 1/2 cups heavy whipping cream
– 1/4 cup powdered sugar
– 1 package (about 12 ounces) vanilla wafers
– Extra banana slices and crushed vanilla wafers for topping
These ingredients are key to creating a rich and creamy pudding. The ripe bananas add natural sweetness and flavor. Granulated sugar and flour work together to thicken the pudding. Whole milk gives it a smooth texture. The egg yolks help make the pudding extra rich.
Vanilla extract adds warmth and depth to each bite. Heavy whipping cream creates fluffy whipped cream, which adds a light touch. The vanilla wafers provide the perfect crunch and flavor. Lastly, the extra banana slices and crushed wafers make for a beautiful topping.
Before starting, make sure you have everything on hand. This will help your cooking process go smoothly.Happy cooking!
Step-by-Step Instructions
How to Prepare the Pudding
To start, combine sugar, flour, and salt in a medium saucepan. Make sure to mix them well. Gradually whisk in the whole milk until smooth. This step is key to avoid lumps. Cook the mixture over medium heat. Stir constantly until it thickens and reaches a boil, which takes about 5 to 7 minutes.
Incorporating the Egg Yolks
Next, remove the saucepan from heat. Take about 1 cup of the hot pudding mixture and slowly whisk it into the beaten egg yolks. This step is called tempering and stops the yolks from cooking too fast. After mixing, return the egg yolk mixture back to the saucepan. Keep whisking and bring it back to a gentle boil for 2 minutes.
Flavoring and Cooling the Pudding
Once it thickens, take the saucepan off the heat again. Now, stir in the vanilla extract for flavor. Let the pudding cool slightly before moving on to the next steps.
Whipping the Cream
In a large mixing bowl, beat the heavy whipping cream with powdered sugar. Use an electric mixer on medium-high speed. Keep beating until soft peaks form, which should not take long.
Assembling Your Banana Pudding
Now comes the fun part! In a 9×13 inch dish, layer one-third of the vanilla wafers on the bottom. Top this with half of the sliced bananas and half of the pudding mixture. Spread one-third of the whipped cream over the pudding. Repeat the layers with the remaining wafers, bananas, and pudding. Finish with the whipped cream on top.
Final Chilling Before Serving
Finally, cover the dish and refrigerate it. It’s best to chill for at least 4 hours or overnight. This allows the flavors to blend.
Tips & Tricks
How to Enhance Your Banana Pudding
– Use fresh, ripe bananas for flavor
– Allow pudding to cool completely before assembling
To make your banana pudding stand out, fresh bananas are key. Ripe bananas are sweeter and add a rich flavor. Look for bananas with a few brown spots. They taste great when mixed in the pudding.
Cooling the pudding is also important. If you don’t cool it, the heat can make the bananas mushy. Let the pudding sit until it is just warm. This will help keep your layers nice and firm.
Achieve the Perfect Whipped Cream
– Beat cream until soft peaks form, avoid overbeating
– Add a touch of vanilla for extra flavor
Whipping cream is a fun step. Start with cold heavy cream. Use a mixer on medium speed until soft peaks form. This means the cream holds its shape but is still smooth.
Watch out for overbeating. If you beat it too long, the cream can turn grainy. Adding a little vanilla makes the cream even tastier. Just a teaspoon will do!
Presentation Tips
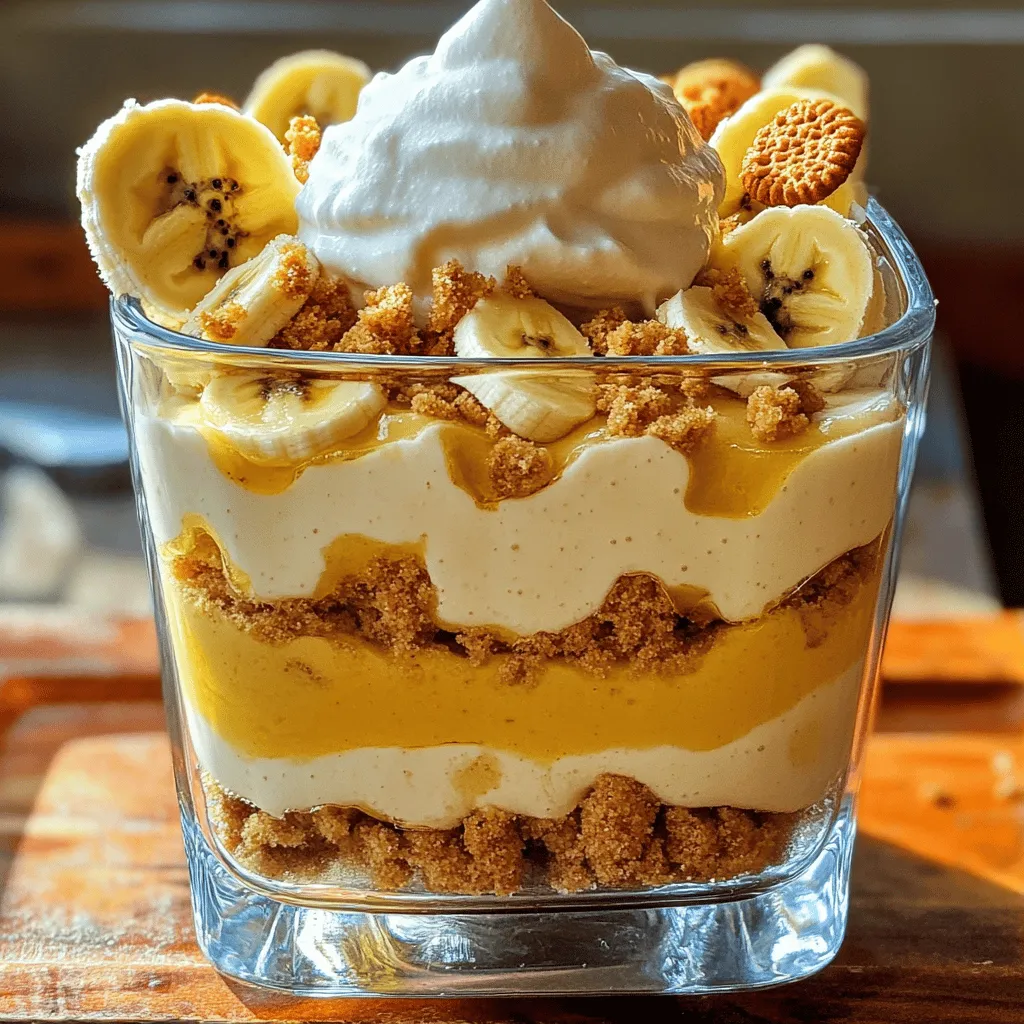
– Use individual cups for elegant serving
– Garnish with banana slices and crushed wafers
To impress your guests, serve the pudding in individual cups. This gives each person their own treat. It also looks nice on the table.
Don’t forget the finishing touches! Top each cup with banana slices and crushed wafers. This adds color and texture. It makes your dessert look as good as it tastes.
Variations
Alternative Flavors to Consider
You can play with flavors in your banana pudding. Try these fun twists:
– Chocolate Banana Pudding: Add cocoa powder or melted chocolate to the pudding mix. This adds a rich taste that pairs well with bananas. Use dark or milk chocolate based on your preference.
– Coconut Banana Pudding: Swap regular milk with coconut milk. You can also add shredded coconut. This gives your pudding a tropical vibe that is fun and different.
Gluten-Free Option
If you need a gluten-free version, it’s easy. Just switch out the vanilla wafers with gluten-free cookies. Many brands make tasty gluten-free options. Check your local store to find some that you like.
Dairy-Free Adaptations
Want to make this dessert dairy-free? Use coconut milk instead of whole milk. For the whipped cream, find a dairy-free whipped topping. This keeps the dessert creamy without any dairy. These changes make it great for those with dairy allergies.
Storage Info
How to Store Leftover Banana Pudding
To keep your banana pudding fresh, cover it tightly with plastic wrap or a lid. Store it in the refrigerator. It tastes best within 3 days. The longer it sits, the more the bananas may brown.
Freezing Banana Pudding
You can freeze this treat for later. For individual servings, scoop the pudding into airtight containers. Leave some space at the top for expansion. To thaw, move the container to the fridge overnight. Avoid microwaving directly from the freezer, as it can affect the texture.
FAQs
Can I make The Best Banana Pudding Ever ahead of time?
Yes, you can make this pudding a day before serving. It tastes even better when chilled overnight. Just cover it tightly with plastic wrap or a lid. This keeps the flavors strong and lets the layers set.
What can I use instead of vanilla wafers?
You can use several options. Try graham crackers, shortbread cookies, or even chocolate cookies. Each choice adds a different taste and texture. Experiment with what you like best.
How do I prevent bananas from browning?
To keep bananas fresh, you can try a few tricks. Squeeze lemon juice over the slices to slow down browning. Another option is to layer them between the pudding and whipped cream. This helps protect them from air.
Is it possible to make this recipe vegan?
Yes, you can easily make this recipe vegan. Use almond or coconut milk instead of whole milk. Replace heavy cream with coconut cream or a vegan whipping cream. Use cornstarch instead of egg yolks to thicken the pudding. These swaps work well and still taste great!
To make the best banana pudding, start with fresh ingredients and follow the steps closely. Layering the flavors creates a tasty treat everyone will enjoy. Remember, chilling it overnight builds flavor and texture. You can also try fun variations like chocolate or coconut. Keep leftovers in the fridge to savor later. This recipe offers simple ways to impress at your next gathering. Now you’re ready to create your perfect banana pudding!