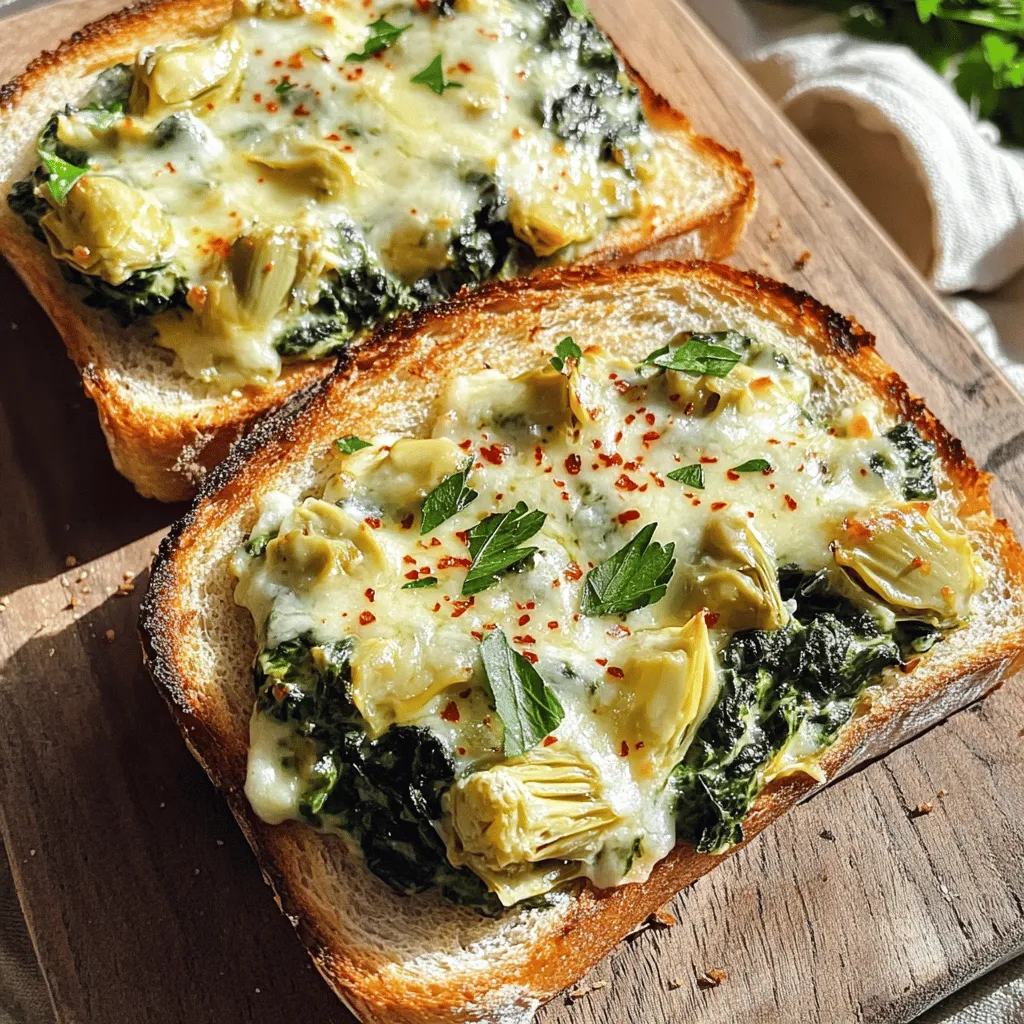
Are you ready to whip up a tasty treat that’s easy and satisfying? Spinach and Artichoke Melts are a perfect choice! Packed with fresh spinach, creamy cheeses, and a hint of garlic, these melts will wow your taste buds. Whether you’re hosting friends or looking for a quick snack, this recipe has you covered. Let’s dive into the ingredients and get cooking deliciousness today!
Ingredients for Spinach and Artichoke Melts
To make the best Spinach and Artichoke Melts, gather these fresh ingredients:
– 2 cups fresh spinach, chopped
– 1 cup canned artichoke hearts, drained and chopped
Next, you need some creamy dairy ingredients:
– 1 cup cream cheese, softened
– 1 cup shredded mozzarella cheese
– ½ cup grated Parmesan cheese
Finally, add the seasonings and other ingredients:
– 2 cloves garlic, minced
– 1 teaspoon red pepper flakes (adjust to taste)
– Salt and black pepper to taste
– 1 tablespoon olive oil
– 4 slices of sourdough bread
These ingredients create a rich, cheesy melt with a perfect balance of flavors.Enjoy!
Step-by-Step Instructions
Prepping the Oven and Ingredients
– Preheat the oven to 375°F (190°C).
– Chop spinach and any other ingredients as needed.
Sautéing Spinach and Garlic
– Heat olive oil in a skillet over medium heat.
– Add minced garlic and sauté for 1 minute.
– Stir in chopped spinach and cook until wilted.
Mixing the Filling
– In a mixing bowl, combine sautéed spinach with artichoke hearts, cream cheese, mozzarella, Parmesan, and seasonings. This mix is the heart of your melts.
Assembling and Baking
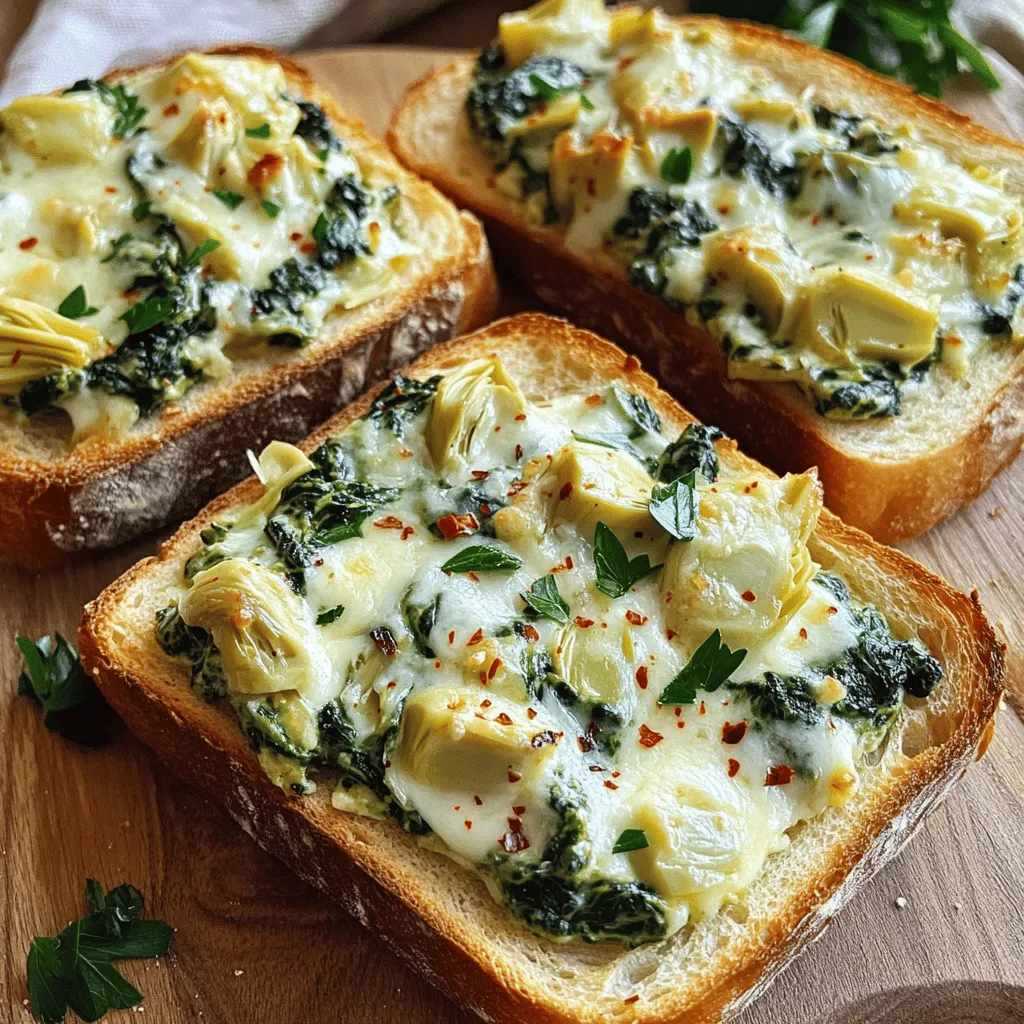
– Spread the filling generously over sourdough slices. Make sure to cover every edge.
– Bake for 15-20 minutes until cheese is melted and bubbly. The melts should look golden and inviting.
Tips & Tricks for Perfect Spinach and Artichoke Melts
Ingredient Substitutions
You can swap ingredients to suit your taste. For a lighter option, use low-fat cheese. Dairy-free alternatives like cashew cream or almond cheese work well. If you want to change the bread, try whole grain or ciabatta. Different cheese blends can also add a twist. Mixing cheddar with mozzarella gives a nice flavor.
Cooking Techniques
Sautéing spinach well is key. Heat the oil and add garlic first. This step builds flavor. Keep the heat medium to avoid burning. Cook the spinach just until it wilts. This keeps its bright green color and nutrients intact. For the perfect golden crust, bake at 375°F (190°C). Watch for bubbling cheese and a nice golden hue.
Serving Suggestions
Presentation matters! Serve your melts on a colorful platter. Garnish with fresh parsley for a pop of green. You can sprinkle extra red pepper flakes for a bit of heat. Pair your melts with a crisp side salad. Dips like ranch or a light vinaigrette also complement the dish.
Variations of Spinach and Artichoke Melts
Different Cheese Combinations
You can change the cheese to create new flavors. Try using feta cheese for a tangy bite. Cheddar also works well if you like a sharp taste. Mixing in these cheeses adds a unique twist to the classic melts. You can even combine different cheeses for a richer flavor profile. Just think about how each cheese melts and tastes together.
Add-In Ingredients
Want to boost your melts? You can add cooked chicken or crispy bacon for extra protein. This addition makes the dish heartier. You can also mix in other vegetables. Try adding chopped tomatoes or bell peppers for color and freshness. These add-ins bring new textures and tastes to your melts.
Seasonal Variations
You can adapt this recipe for special occasions. For holidays, think about adding festive spices like nutmeg or sage. This gives your melts a holiday flair. In summer, you can make them lighter. Use fresh herbs like basil or parsley for a fresh taste. These seasonal changes keep the dish exciting and fun year-round.
Storage Information
Storing Leftovers
To keep your Spinach and Artichoke Melts fresh, store them in an airtight container. Place them in the fridge within two hours of cooking. If you want to save them for later, you can freeze them. Wrap each piece tightly in plastic wrap and then put them in a freezer bag. This will keep them from getting freezer burn.
When reheating, the best method is to use an oven. Preheat your oven to 350°F (175°C). Place the melts on a baking sheet. Heat for about 10-15 minutes until warm and the cheese is gooey again. This keeps the bread crispy and the filling creamy.
Shelf Life
Your Spinach and Artichoke Melts will last in the fridge for about 3-4 days. If frozen, they can stay good for up to 2-3 months. Always check for any signs of spoilage. If you see mold or feel a strange texture, it’s best to toss them out. Trust your senses; they are usually right!
FAQs About Spinach and Artichoke Melts
Common Preparation Questions
What can I use if I don’t have sourdough bread?
If you don’t have sourdough bread, use any thick bread. Options like ciabatta or whole wheat work well. You want a sturdy base to hold the filling.
How can I make this recipe vegetarian-friendly?
This recipe is already vegetarian! Just ensure all your ingredients are meat-free. You can also add more vegetables if you like.
Cooking and Baking Queries
How do I know when the melts are done?
The melts are done when the cheese is melted and bubbly. Look for a golden crust on top. A light browning indicates they are ready.
Can I make these in advance and reheat them later?
Yes, you can prepare these melts ahead of time. Store them in the fridge for up to two days. Reheat in the oven at 350°F until warm.
Nutritional Information
What is the nutritional value per serving of Spinach and Artichoke Melts?
Each serving has about 300 calories, with protein from the cheese and fiber from the spinach. It’s a tasty way to enjoy veggies!
Are there any healthy adjustments for this recipe?
You can use low-fat cream cheese or cheese alternatives. Adding more spinach and artichokes boosts nutrients without adding many calories.
Spinach and artichoke melts combine tasty fresh ingredients with creamy cheeses. You learned how to prepare and bake these delicious treats in just a few steps. Remember to use fresh spinach and add spices for the best flavor. Don’t hesitate to try different cheeses or veggies for a twist. Store leftovers well and enjoy them later. This dish is perfect for any occasion, so get creative. Enjoy your cooking journey and impress others with these yummy melts!