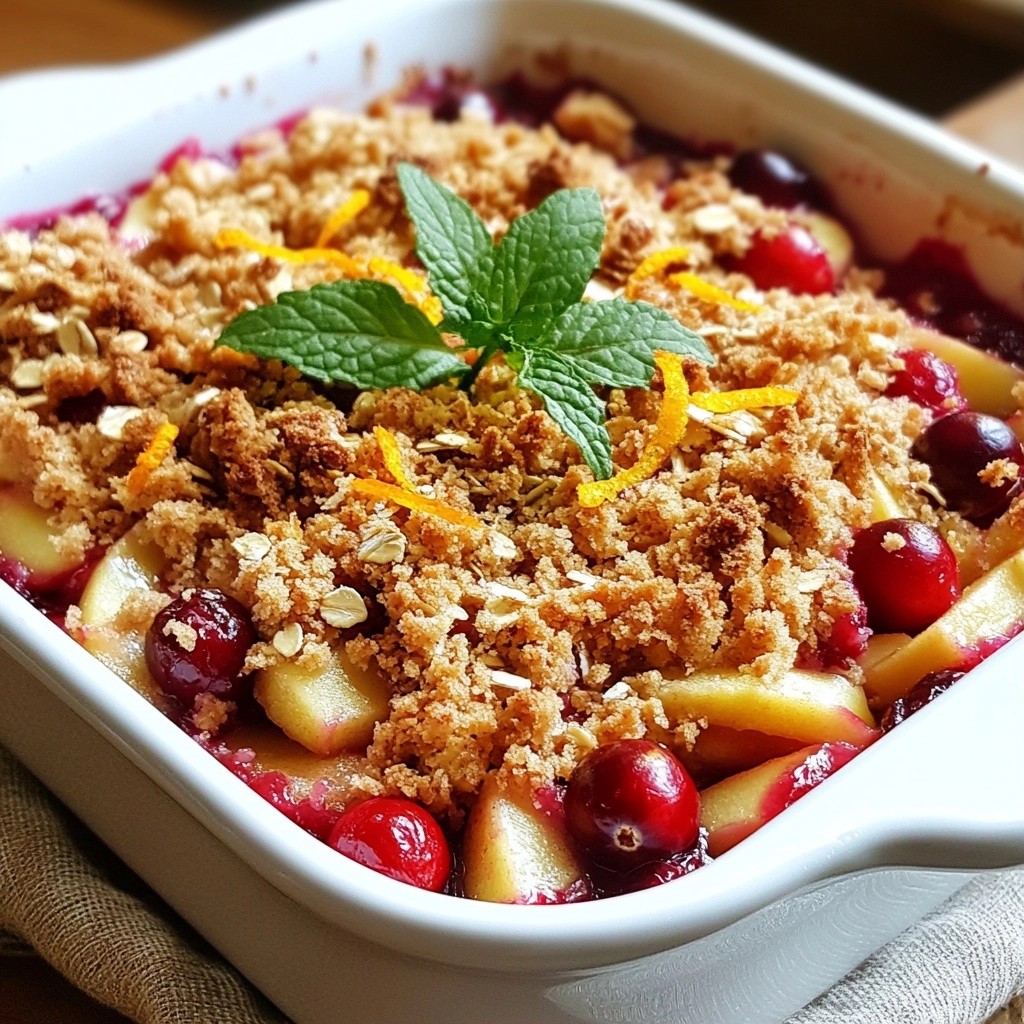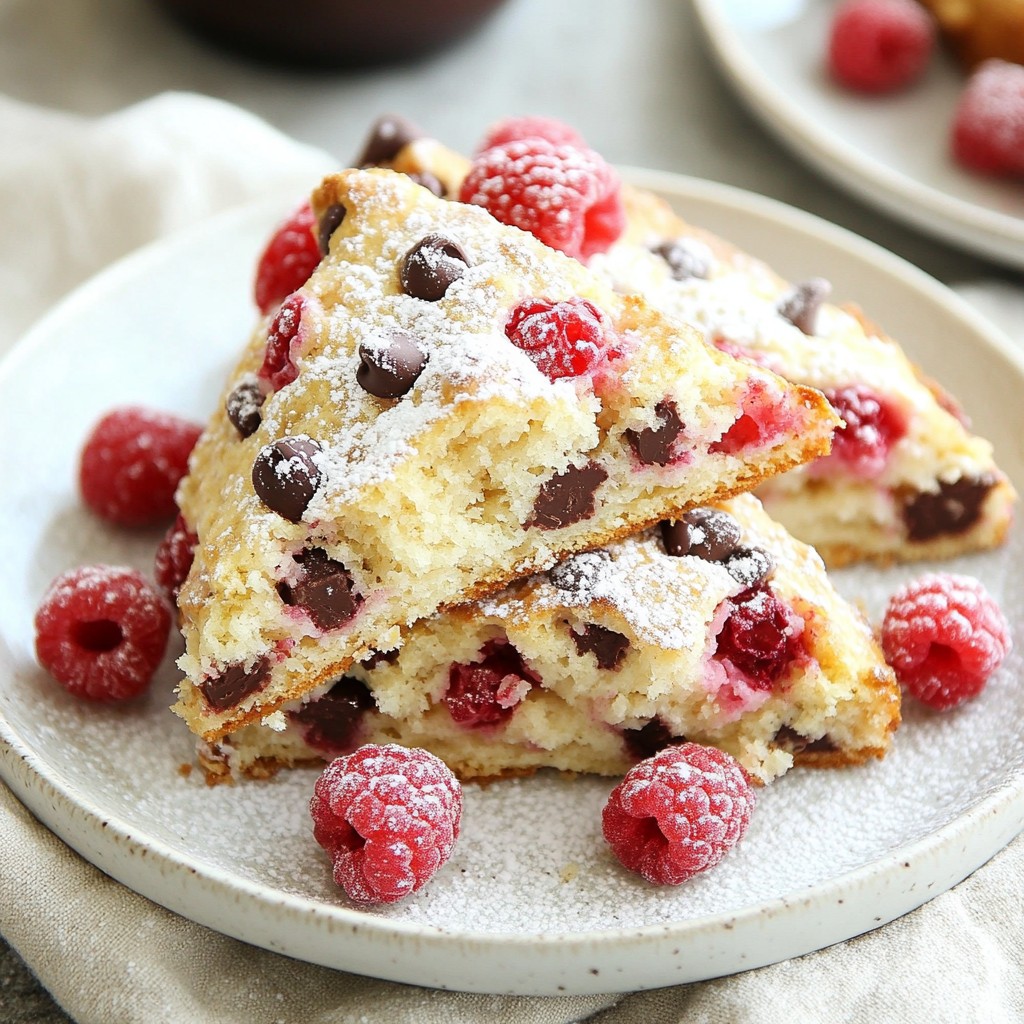
Craving a sweet treat that's easy to make? Then you’ll love my Raspberry Chocolate Chip Scones! This delightful recipe mixes fresh raspberries and rich chocolate chips into a tender, buttery dough. Perfect for breakfast or a cozy afternoon snack, these scones are sure to impress. Join me as I share step-by-step instructions, handy tips, and fun variations to make your baking a breeze! Let’s get started!
Why I Love This Recipe
- Delicious Flavor Combination: The tartness of fresh raspberries pairs perfectly with rich chocolate chips, creating a delightful balance that’s hard to resist.
- Quick and Easy to Make: This recipe comes together in just 15 minutes of prep time, making it perfect for a last-minute treat.
- Perfect for Any Occasion: Whether it's breakfast, brunch, or afternoon tea, these scones are a versatile addition to any meal or gathering.
- Customizable: You can easily swap in different fruits or add nuts to the dough, allowing you to make these scones your own.
Ingredients
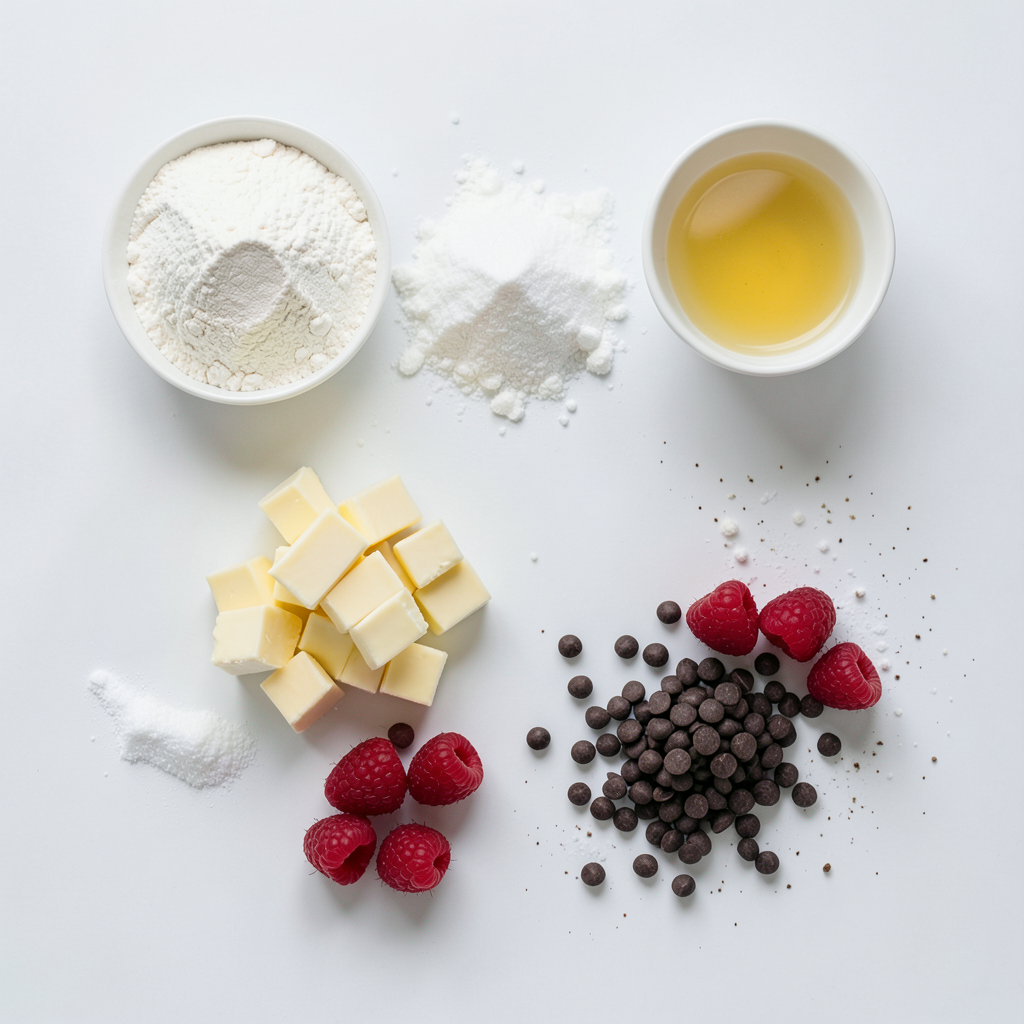
To make these delightful Raspberry Chocolate Chip Scones, you will need the following ingredients:
- 2 cups all-purpose flour
- 1/4 cup granulated sugar
- 1 tablespoon baking powder
- 1/2 teaspoon salt
- 1/2 cup unsalted butter, cold and diced
- 1/2 cup heavy cream
- 1 large egg
- 1 teaspoon vanilla extract
- 1 cup fresh raspberries
- 1/2 cup semi-sweet chocolate chips
- Optional: Additional sugar for sprinkling on top
Each ingredient plays a key role in creating the perfect scone. The all-purpose flour gives structure, while sugar adds a touch of sweetness. Baking powder helps the scones rise, making them light and fluffy. Salt enhances flavor and balances the sweetness.
Using cold unsalted butter is crucial. It creates a flaky texture. Heavy cream adds richness and moisture. The egg binds everything together, and vanilla adds a lovely aroma. Fresh raspberries bring a burst of tartness, while chocolate chips add sweetness and depth.
For a little extra sweetness, you can use optional sugar for topping. This step is not necessary, but it can make the scones look extra special. Each ingredient contributes to making these scones a delightful treat.
Step-by-Step Instructions
Preparation Steps
1. Preheat the oven and prepare the baking sheet: Start by setting your oven to 400°F (200°C). Line a baking sheet with parchment paper. This helps the scones not stick.
2. Mix dry ingredients in a bowl: In a large bowl, whisk together 2 cups of all-purpose flour, 1/4 cup of granulated sugar, 1 tablespoon of baking powder, and 1/2 teaspoon of salt. Mix well to combine.
3. Incorporate cold butter into the flour mixture: Add 1/2 cup of cold, diced unsalted butter to the flour mix. Use a pastry cutter or your fingers. Work the butter into the dry mix until it turns into coarse crumbs.
4. Combine wet ingredients in a separate bowl: In another bowl, whisk together 1/2 cup of heavy cream, 1 large egg, and 1 teaspoon of vanilla extract. Make sure the mixture is smooth.
Combine Mixtures and Shape the Dough
5. Pour wet ingredients into dry ingredients: Slowly add the wet mix to the dry flour mix. Stir gently until just combined. Do not overmix; this keeps the scones light.
6. Fold in raspberries and chocolate chips: Gently fold in 1 cup of fresh raspberries and 1/2 cup of semi-sweet chocolate chips. Ensure they are evenly mixed in the dough.
7. Shape the dough and cut into wedges or circles: Turn the dough onto a lightly floured surface. Shape it into a disk about 1 inch thick. Cut it into 8 wedges or use a round cutter for circles.
Baking Instructions
8. Place scones on the baking sheet: Put the shaped scones on the prepared baking sheet. Leave some space between each scone for even baking.
9. Optional sugar topping: If you want, sprinkle a bit of sugar on top of each scone for added sweetness.
10. Bake and cool: Bake the scones in the preheated oven for 18-20 minutes. They should turn golden brown. Once baked, take them out and let them cool on a wire rack.
Tips & Tricks
Perfecting Your Scones
To make the best raspberry chocolate chip scones, focus on the texture. You want them to be tender inside and crisp outside. Use cold butter. This helps create those flaky layers. Cut the butter into the flour using a pastry cutter or your fingers. Stop when the mix looks like coarse crumbs. If you overwork the dough, the scones can turn tough.
Serving Suggestions
Pair your scones with clotted cream or whipped cream. This adds a nice touch. You can also serve them with a side of fresh berries. For presentation, dust the warm scones with powdered sugar. Arrange them on a nice plate to impress your guests. A small bowl of jam can also enhance the experience. Enjoy your delightful treat!
Pro Tips
- Butter Temperature: Ensure your butter is very cold to achieve a flaky texture. You can even freeze it for 10 minutes before using.
- Fresh Berries: Gently fold in the raspberries to avoid crushing them, which can lead to a soggy scone.
- Don’t Overmix: Mix the dough just until combined to keep the scones light and tender, as overmixing can toughen the dough.
Variations
Flavor Adjustments
You can change the flavor of your scones in fun ways. Try using different berries. Blackberries, blueberries, or strawberries work well. These fruits bring their unique taste and color. You can even mix berries for a burst of flavor.
For chocolate, you have options too. If you want a richer taste, use dark chocolate chips. White chocolate can add sweetness. You can also try using chocolate chunks for a more rustic look.
Dietary Modifications
If you need gluten-free scones, you can swap the flour. Use a gluten-free flour blend. Make sure it has xanthan gum for the right texture. You will still enjoy the soft and flaky scones.
For vegan scones, replace the butter and cream. Use coconut oil instead of butter. Almond milk or oat milk can work instead of heavy cream. You can use a flax egg instead of a regular egg. This will keep your scones moist and tasty while making them vegan-friendly.
Storage Info
Best Practices for Storing Scones
To keep your Raspberry Chocolate Chip Scones fresh, store them properly. Here are some tips:
- Short-term storage in the fridge: Place the scones in an airtight container. This keeps them moist for up to three days. If you notice them getting dry, a slice of bread in the container can help add moisture.
- Long-term freezing tips: For longer storage, freeze the scones. Wrap each scone in plastic wrap. Then, place them in a freezer bag or container. They can last up to three months in the freezer. When ready to enjoy, just thaw them in the fridge overnight.
Reheating Instructions
To enjoy your scones warm and fresh, reheating is key:
- Best methods for keeping scones fresh: The oven works best for reheating. Preheat it to 350°F (175°C). Place scones on a baking sheet and warm them for about 5-10 minutes. This restores their crispy edges and soft inside. You can also use a microwave, but be cautious. Heat them for 10-15 seconds to avoid making them tough. Enjoy your scones just like fresh!
FAQs
Common Questions
Can I make scones in advance? Yes, you can make scones in advance. You can prepare the dough and shape it into wedges. Wrap the dough tightly in plastic wrap and store it in the fridge for up to 24 hours. When you're ready, simply bake them straight from the fridge. This method keeps them fresh and tasty.
How do I know when my scones are done? You can tell your scones are done by looking for a golden brown color. They should feel firm to the touch. A toothpick inserted in the center should come out clean. The baking time is about 18 to 20 minutes. Keep an eye on them to avoid overbaking.
Where can I buy Raspberry Chocolate Chip Scones? You can find Raspberry Chocolate Chip Scones at local bakeries or cafes. Many grocery stores may also carry them in the bakery section. If you're looking for a quick treat, check online for delivery options from local shops.
You learned how to make delicious raspberry chocolate chip scones. We covered each step, from mixing the ingredients to baking them. I shared tips for the best texture and serving ideas. You can even modify these scones for special diets. Whether you enjoy them fresh or stored, these treats are easy to make. Try out different flavors and toppings for a fun twist. Now, grab your ingredients and start baking! You’ll impress everyone with your new skills. Enjoy your tasty creations!