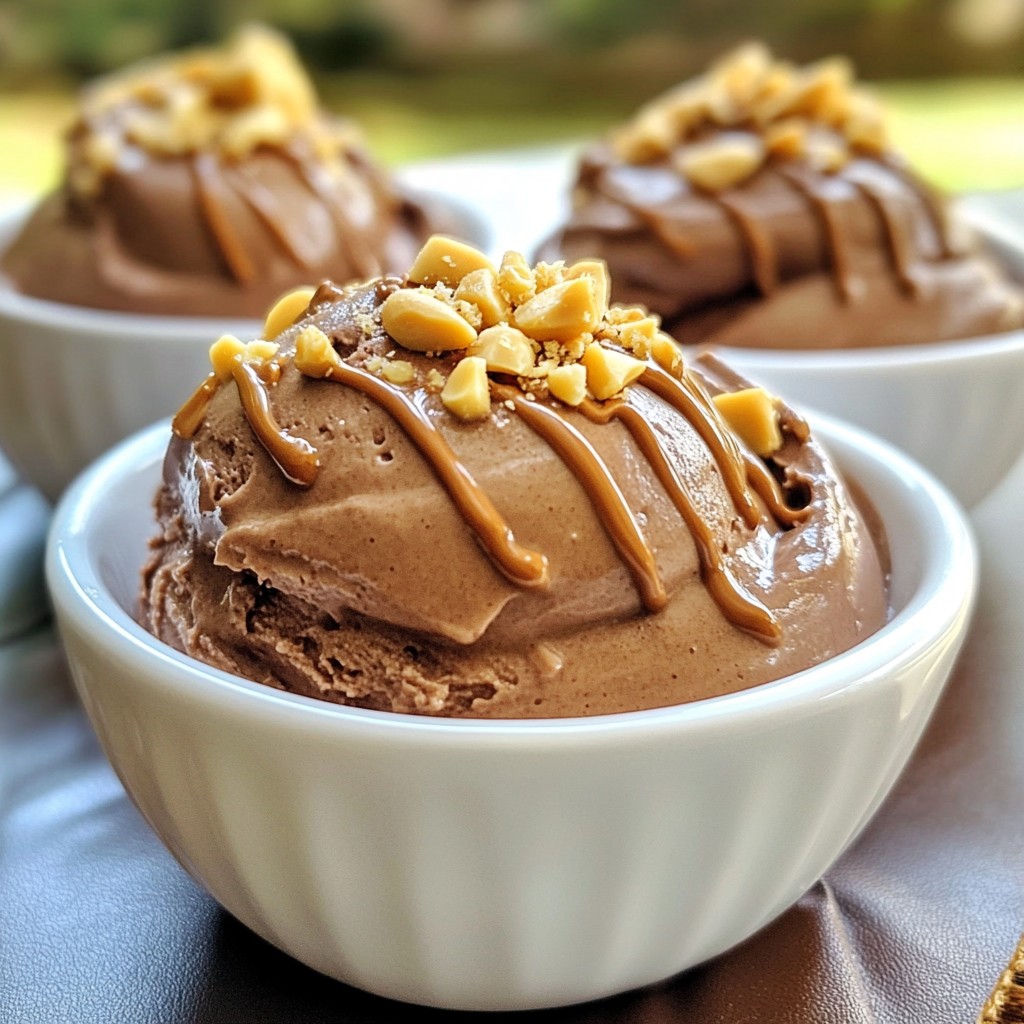
If you love chocolate and peanut butter, you’re in for a treat! This Delicious Chocolate Peanut Butter Nice Cream is creamy, sweet, and oh-so-satisfying. It’s made with just a few simple ingredients, like ripe bananas and rich cocoa powder. Plus, it’s a fun and healthy dessert option that your whole family will enjoy. Ready to make this delightful treat? Let’s dive into the easy steps and tips!
Why I Love This Recipe
- Deliciously Creamy: This nice cream offers a rich and creamy texture that mimics traditional ice cream without any dairy.
- Healthy Indulgence: Made with wholesome ingredients, this recipe is a guilt-free treat that satisfies your sweet tooth.
- Quick and Easy: With only a few simple steps, you can whip up this delightful dessert in no time.
- Customizable Flavors: Feel free to adjust the sweetness or add mix-ins like nuts or chocolate chips for a personalized touch.
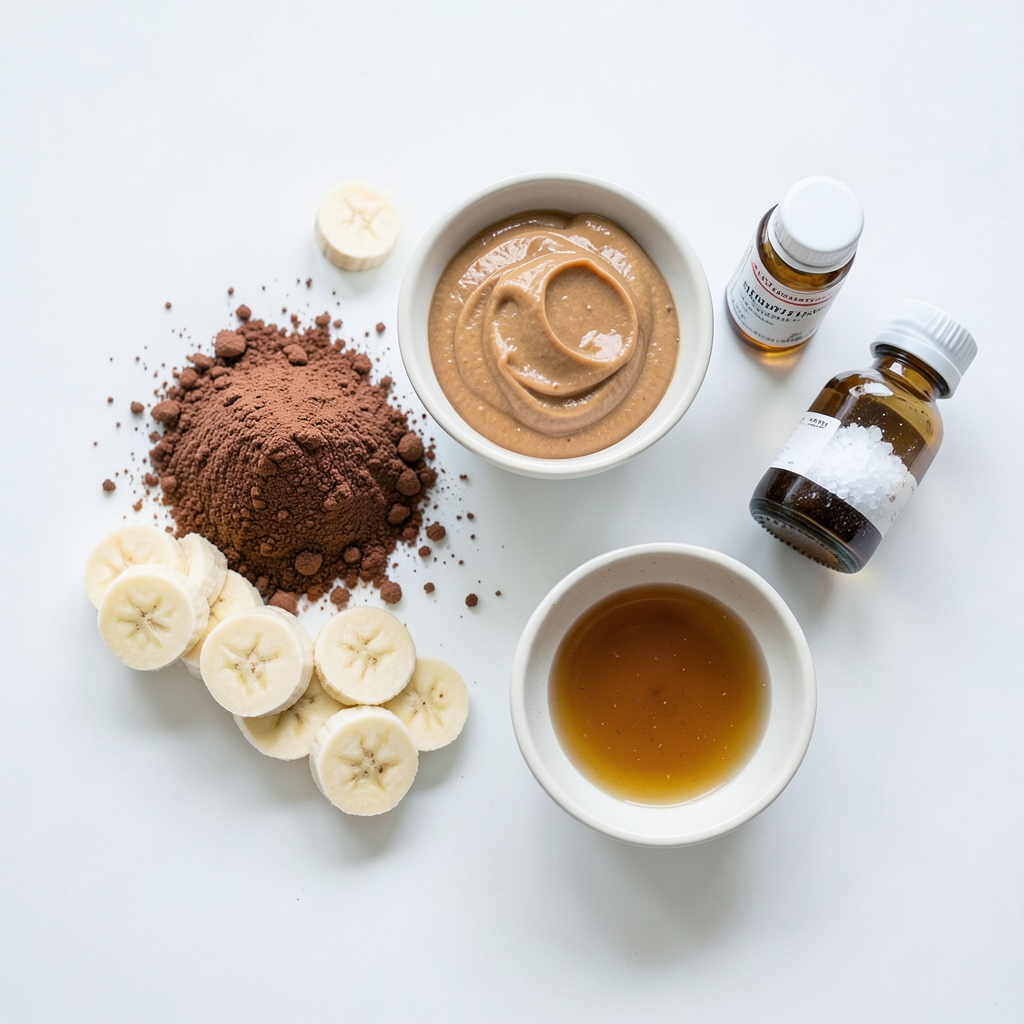
Ingredients
Main Ingredients
- 4 ripe bananas, sliced and frozen
- 2 tablespoons unsweetened cocoa powder
- 3 tablespoons creamy peanut butter
- 1 tablespoon maple syrup (optional for extra sweetness)
Optional Flavor Enhancers
- A pinch of sea salt
- 1/2 teaspoon vanilla extract (optional)
To make my Chocolate Peanut Butter Nice Cream, you need ripe bananas. The bananas should be sweet and brown. This helps them blend well. You will also need unsweetened cocoa powder for a rich chocolate taste. Creamy peanut butter adds a nutty flavor. If you want it sweeter, add maple syrup.
Some flavor enhancers can take this nice cream further. A pinch of sea salt can balance sweetness. Adding vanilla extract makes it taste even better. You can mix and match these ingredients to suit your taste. Enjoy your nice cream with just these key ingredients!
Step-by-Step Instructions
Preparation of Bananas
Start with ripe bananas. Look for ones with brown spots. These have the best flavor. Peel the bananas and slice them into small coins. Spread the slices on a baking sheet. Make sure they do not touch each other. This helps them freeze better. Place the sheet in the freezer for at least 2 hours. You want the banana slices to be solid and frozen.
Blending the Ingredients
Once the bananas are frozen, take them out of the freezer. Place the frozen banana slices in a high-powered blender or food processor. Add in the unsweetened cocoa powder, creamy peanut butter, and maple syrup if you want extra sweetness. Don't forget the pinch of sea salt and vanilla extract for flavor. Blend everything on high speed. You want to stop a few times to scrape down the sides. This ensures all the ingredients mix well. Blend until the mixture is smooth and creamy. If it’s not sweet enough, add more maple syrup and blend again.
Serving and Storing
If you like your nice cream firmer, transfer it to an airtight container. Freeze it for at least 1 hour. When you are ready to serve, scoop the nice cream into bowls. You can enjoy it right away. For a fun twist, drizzle extra peanut butter on top or sprinkle chopped peanuts. If you want to save some for later, just keep it in the freezer.
Tips & Tricks
Achieving the Perfect Texture
Using ripe bananas is key. Ripe bananas have more natural sweetness and a soft texture. This makes your nice cream creamy and smooth. When you blend the bananas, they become fluffy and light.
For blending, use a high-powered blender. Start on low speed, then increase. Stop to scrape down the sides. This helps mix all the ingredients well. Blend until everything is smooth. If you want it extra creamy, blend a little longer.
Sweetness Adjustments
To taste and adjust sweetness, scoop out a small bit of nice cream. If it needs more sweetness, add maple syrup slowly. Blend again to mix it well.
For maple syrup, use pure maple syrup if you can. It has a rich flavor. Avoid imitation syrup, as it can taste fake. You can also try different types of maple syrup to find your favorite.
Pro Tips
- Use Ripe Bananas: The riper the bananas, the sweeter the nice cream will be. Look for bananas with plenty of brown spots for the best flavor.
- Customize Your Flavors: Feel free to experiment with different nut butters, like almond or cashew, to create your own unique flavor combinations.
- Serving Suggestions: Serve with fresh fruits, chocolate chips, or granola for added texture and flavor. This will elevate your dessert presentation.
- Storage Tips: If you have leftovers, store them in an airtight container in the freezer. Let it sit at room temperature for a few minutes before serving to soften.
Variations
Flavor Variations
You can change the flavor of your nice cream easily. Try adding other nut butters. Almond or cashew butter can give a new taste. Just swap the peanut butter for your choice. Blend it in with the other ingredients.
Another fun idea is to add fruits. Strawberries or raspberries work great. Slice them up and mix them in before you blend. This adds a fruity twist to your nice cream. You can even layer the fruit in for a pretty look.
Dietary Modifications
Want a low-carb or sugar-free option? Use sugar-free peanut butter. You can skip the maple syrup too. This keeps it sweet without the sugar. You might think about using a sugar substitute if you want more sweetness.
If you need a nut-free version, try sun butter. It tastes great and works just like peanut butter. You can also use tahini, which is made from sesame seeds. Just swap it in for the peanut butter. Enjoy your nice cream without the nuts!
Storage Info
How to Store Nice Cream
To keep your nice cream fresh, use airtight containers. Glass or plastic containers work great. Avoid using regular plastic bags, as they can let air in. Air causes ice crystals to form, which can ruin the texture. Label your containers with the date. This way, you know how long the nice cream has been stored.
For long-term storage, freeze the nice cream. It lasts up to two weeks if frozen. If you want to enjoy it later, scoop it into smaller portions. This helps you take out just what you need without thawing the whole batch.
Thawing Tips
When you want to eat the nice cream, take it out of the freezer. Let it sit at room temperature for about 5 to 10 minutes. This helps soften it without losing its creamy texture. If you wait too long, it may melt too much.
For quick servings, scoop some nice cream right after blending. You can enjoy it right away! If you freeze it longer, just remember to thaw it a bit before serving. This gives you the best taste and creaminess.
FAQs
Can I make Chocolate Peanut Butter Nice Cream without bananas?
Yes, you can try other fruits. You could use frozen mango or avocado. Both can give a creamy texture. You might also try using silken tofu for a smooth base. Just remember, the flavor will change a bit.
How long does it last in the freezer?
Chocolate Peanut Butter Nice Cream will last about one month in the freezer. Just keep it in an airtight container. After a month, the taste may change, but it should still be safe to eat.
Is this recipe suitable for kids?
Yes, this nice cream is great for kids. It has healthy ingredients like bananas and peanut butter. Bananas provide vitamins, while peanut butter offers protein. Kids love the sweet taste, and it’s fun to eat!
We explored how to make delicious chocolate peanut butter nice cream using ripe bananas and simple ingredients. You learned about preparation tips, blending techniques, and optional flavor enhancers. Remember, you can customize your recipe with different nut butters or fruits to suit your taste. Storing your nice cream properly ensures it stays fresh and tasty. Enjoy this frozen treat guilt-free, knowing it’s healthy and easy to make. Dive in and create your own delightful variations!