If you love sweet treats, you're in for a real delight! These Chocolate Dipped Cannoli Cones combine rich flavors and satisfying textures that will please everyone. With a creamy ricotta filling and a crunchy chocolate shell, this recipe transforms classic cannoli into a fun, cone-shaped dessert. I'll guide you through each step. Get ready to impress your friends and family with this tasty treat!
Why I Love This Recipe
- Decadent Flavor: The combination of rich chocolate and creamy cheese filling creates a delightful explosion of flavors in every bite.
- Easy to Make: This recipe requires minimal preparation and can be assembled quickly, making it perfect for any occasion.
- Customizable: You can easily switch up the garnishes or fillings to suit your taste or dietary preferences.
- Impressive Presentation: The chocolate-dipped ends and colorful toppings make these cones visually stunning and sure to impress your guests.
Ingredients
List of Ingredients
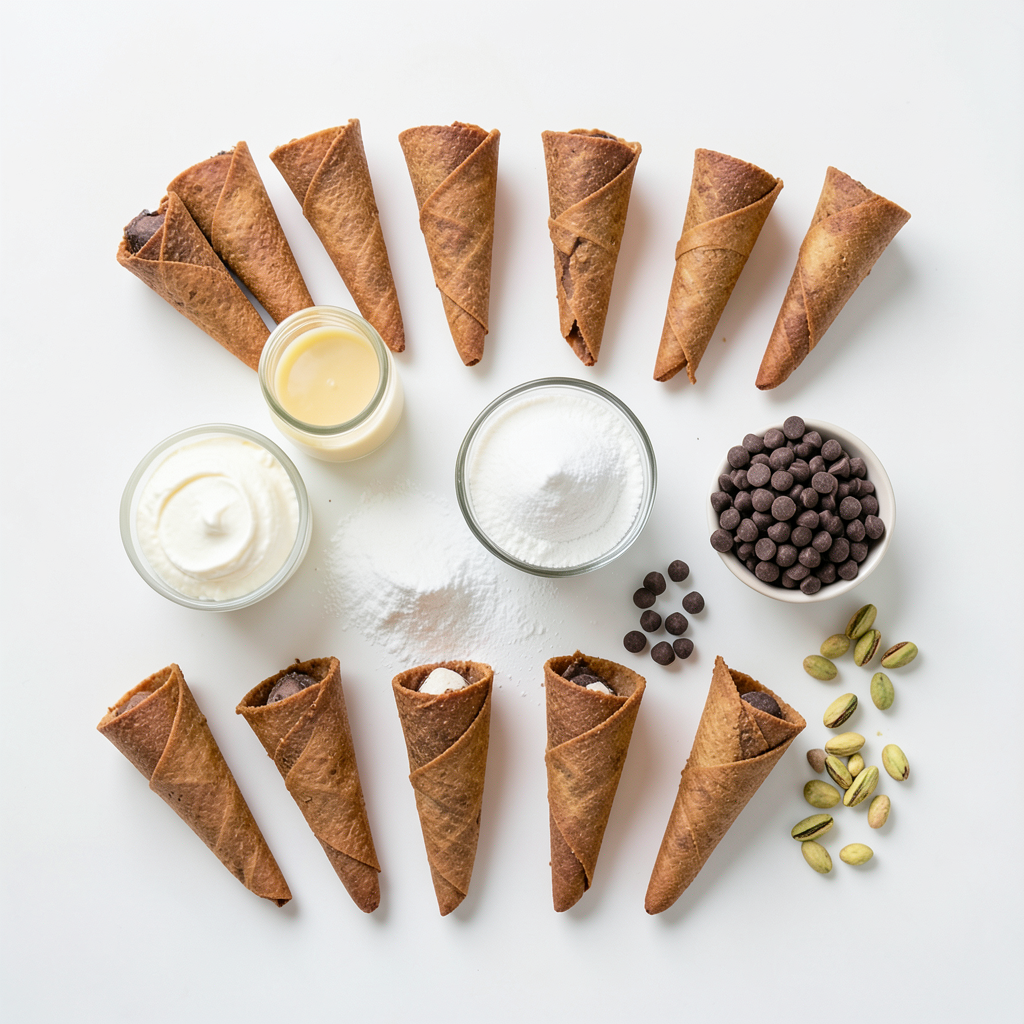
- 12 cannoli cones (store-bought or homemade)
- 1 cup ricotta cheese, drained
- 1 cup mascarpone cheese
- 1/2 cup powdered sugar
- 1 teaspoon vanilla extract
- 1/2 cup mini chocolate chips
- 1/2 cup semi-sweet chocolate chips (for dipping)
- 1 tablespoon coconut oil (or vegetable oil)
- Chopped pistachios or sprinkles for garnish (optional)
To make chocolate dipped cannoli cones, you need simple ingredients. Start with 12 cannoli cones. You can buy these or make them at home. Next, you need the filling. Mix 1 cup of drained ricotta cheese and 1 cup of mascarpone cheese.
For sweetness, add 1/2 cup of powdered sugar. A dash of vanilla extract, about 1 teaspoon, gives it nice flavor. Don't forget the fun part! Use 1/2 cup of mini chocolate chips to add texture to the filling.
For the chocolate dip, we’ll melt 1/2 cup of semi-sweet chocolate chips. To make it smooth, add 1 tablespoon of coconut oil or vegetable oil. Finally, for a tasty garnish, have chopped pistachios or colorful sprinkles ready.
With these ingredients, you will create a delightful treat that everyone will love.
Step-by-Step Instructions
Preparing the Creamy Filling
Start by mixing 1 cup of ricotta cheese and 1 cup of mascarpone cheese in a bowl. Use a spatula to blend these cheeses well. The goal is a smooth and creamy texture. Next, add 1/2 cup of powdered sugar and 1 teaspoon of vanilla extract. Stir until everything combines perfectly. This filling will be rich and sweet.
Incorporating Chocolate Chips
Now, gently fold in 1/2 cup of mini chocolate chips. This adds a nice crunch and extra flavor to your filling. Be careful not to overmix. You want to keep that creamy texture while evenly distributing the chocolate chips.
Filling the Cannoli Cones
Grab your 12 cannoli cones. Using a piping bag or a spoon, fill each cone with the cheese mixture. Make sure to pack the filling well. If you don’t pack it tightly, the filling might fall out when you bite into it.
Melting the Chocolate for Dipping
For the chocolate dip, take 1/2 cup of semi-sweet chocolate chips and 1 tablespoon of coconut oil. Place them in a microwave-safe bowl. Heat the mixture in 30-second intervals, stirring after each interval. Stop when the chocolate is fully melted and smooth. The coconut oil helps keep the chocolate silky.
Dipping Cones in Chocolate
It’s time to dip! Hold each filled cannoli cone by the end and dip the top end into the melted chocolate. Twist the cone slightly as you dip for an even coat. Let any excess chocolate drip off back into the bowl. This step is key for a clean look.
Garnishing the Cannoli
Right after dipping, sprinkle your choice of toppings. You can use chopped pistachios or colorful sprinkles. This step is important because the chocolate needs to be wet for the toppings to stick well.
Chilling and Serving
Place the dipped cannoli cones upright in a glass or container. Chill them in the refrigerator for about 30 minutes. This cooling time helps the chocolate set. When ready to serve, enjoy these delightful treats as a sweet ending to your meal!
Tips & Tricks
Perfecting the Cheese Mixture
To create the best filling, focus on texture. You want it creamy and smooth. Start with high-quality ricotta and mascarpone cheeses. I recommend brands like BelGioioso for ricotta and Galbani for mascarpone. Drain the ricotta well to avoid excess moisture. This will help keep your filling thick and delicious.
Avoiding Chocolate Mess
Dipping can get messy, so keep the cones upright while the chocolate cools. Use a glass or container for support. This way, the chocolate stays on top, and you avoid drips. For a neat dip, lower the cone straight down into the melted chocolate. Remove it slowly, letting any excess chocolate drip back into the bowl.
Storing Leftover Ingredients
After making your delicious filling, store any leftover ricotta and mascarpone in sealed containers. Keep them in the fridge for up to a week. To prevent chocolate waste, pour any leftover melted chocolate into a silicone mold. Let it cool and harden. You can use it later for more treats!
Pro Tips
- Use Fresh Ingredients: Always use fresh ricotta and mascarpone for the best flavor and texture in your filling.
- Chill the Filling: Chill the cheese mixture for 15 minutes before filling the cones to make it easier to pipe.
- Experiment with Flavors: Add a splash of almond extract or some citrus zest to the filling for a unique twist on traditional cannoli.
- Serve Immediately: For the best texture, enjoy the cannoli cones soon after making them, as the filling can soften the cone over time.
Variations
Flavor Enhancements
You can change the flavor of your cannoli cones. Adding extracts can make a big difference. For example, try orange extract for a bright twist. Almond extract can add a lovely nutty flavor. You can also mix in fruit flavors. Chopped strawberries or blueberries can brighten the filling. These small changes give your cones a unique touch.
Alternative Chocolate Options
Chocolate is key in this recipe, but you have options. You can use white chocolate for a sweet twist. Dark chocolate adds a rich flavor that many enjoy. You can also explore flavored chocolate dips. Mint or raspberry-flavored chocolate can surprise your taste buds. These choices let you match your cones to your mood.
Different Toppings
Toppings add fun and crunch. Nuts are a great choice. Chopped almonds or walnuts give a nice texture. If you want a healthier option, try coconut flakes. They add a tropical twist without extra sugar. You can also use seeds for a nutritious crunch. These toppings make your cannoli cones even more special.
Storage Info
Storing Cannoli Cones
To keep your chocolate dipped cannoli cones fresh, store them in the fridge. Place them in an airtight container. This way, they won’t dry out. They taste best within two days. If you want to freeze them, it’s best to freeze the empty cones. Fill them with the cheese mixture just before serving. This helps keep the cones crispy.
Shelf Life of Ingredients
Ricotta and mascarpone cheese last about one week in the fridge. Always check the expiration date. Store them in airtight containers to avoid spoilage. For chocolate, keep it in a cool, dry place. Avoid heat and moisture. Chocolate can last for months if stored correctly.
FAQs
How do I make homemade cannoli cones?
To make homemade cannoli cones, you need a simple dough. Combine flour, sugar, and a pinch of salt. Add a bit of white wine and an egg. Knead until smooth. Roll out the dough and cut it into circles. Wrap each circle around a metal cone. Fry until golden brown. Let them cool before filling.
Can I use low-fat cheese for the filling?
Yes, you can use low-fat cheese. It may change the texture. The filling might be less creamy. If you want a lighter option, low-fat works fine. Just be sure to drain it well.
What are some alternatives to chocolate for dipping?
You can use white chocolate or dark chocolate. Both add different flavors. Caramel or butterscotch sauces also work well. Consider melted peanut butter for a nutty twist.
How long can I store chocolate-dipped cannoli cones?
You can store them in the fridge for up to three days. Keep them in an airtight container. This helps maintain their freshness. The chocolate may soften, but they will still taste great.
Can I prepare the filling ahead of time?
Yes, you can prepare the filling a day in advance. Store it in the fridge in an airtight container. Just fill the cones right before serving for the best texture.
You’ve learned how to make delicious cannoli cones from scratch. We covered key ingredients, like ricotta and chocolate, and shared step-by-step instructions for a perfect filling. I also provided tips for a neat chocolate dip and ideas for tasty variations.
Creating these treats is simple and fun. Enjoy the process and the tasty results. Don’t forget to explore different flavors and toppings. Get ready to impress everyone with your homemade cannoli cones!