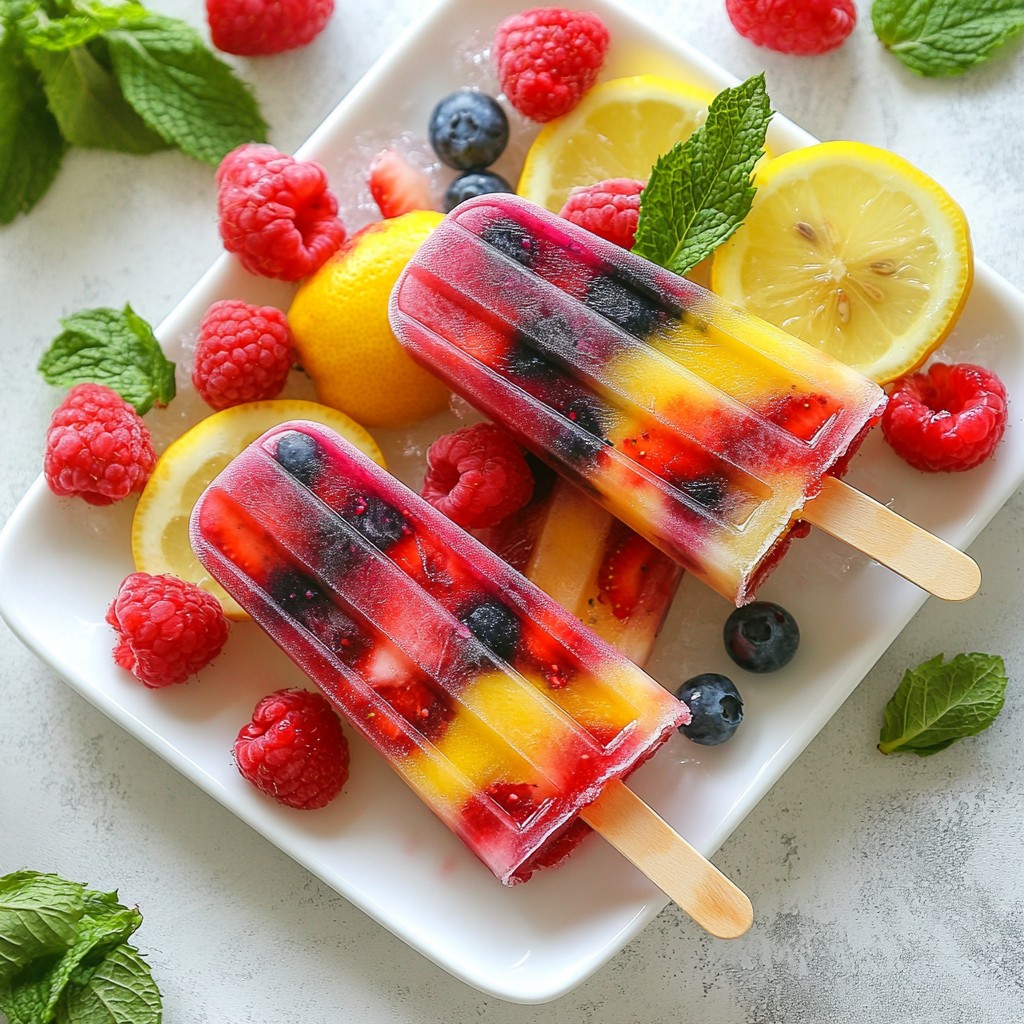
Summer is here, and what better way to cool down than with Berry Lemonade Popsicles? These treats are easy to make and full of fresh flavor. I’ll guide you through the simple steps to whip up these refreshing popsicles, plus share tips on adjusting sweetness and even some fun variations. Whether you’re by the pool or at a picnic, these cooling delights are a must-try. Let’s dive in!
Why I Love This Recipe
- Refreshing Delight: These popsicles are the perfect way to cool down on a hot day, offering a burst of fruity flavor with every bite.
- Natural Sweetness: Made with fresh berries and honey, these treats are a healthier alternative to store-bought popsicles that often contain artificial flavors and sugars.
- Customizable Flavor: You can easily adjust the sweetness or experiment with different berry combinations to suit your taste preferences.
- Fun for All Ages: These colorful popsicles are a hit with kids and adults alike, making them a perfect addition to summer gatherings and parties.
Ingredients
Fresh Mixed Berries
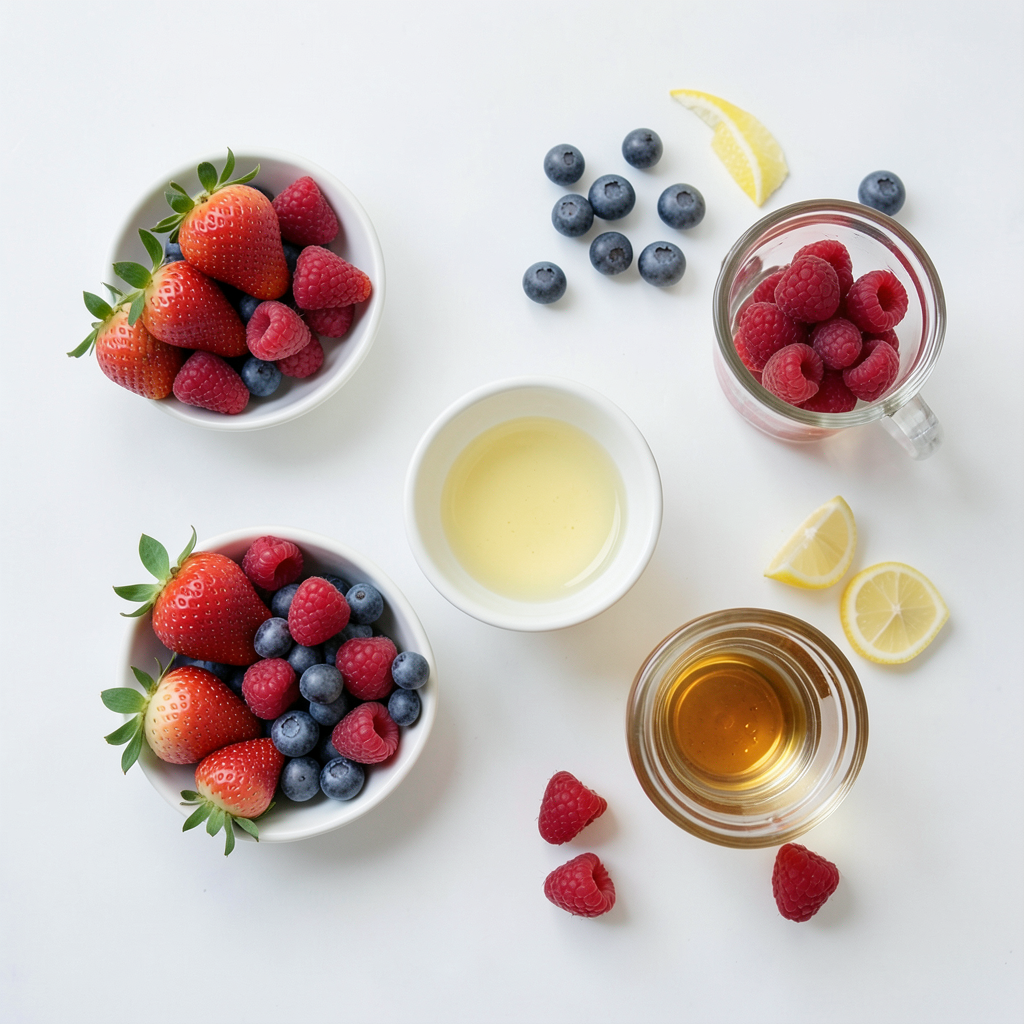
You need 2 cups of fresh mixed berries. I love using strawberries, blueberries, and raspberries. They add bright colors and sweet flavors. You can mix and match based on what you have. Make sure they are ripe for the best taste.
Lemon Juice
You will need 1 cup of fresh lemon juice. This comes from about 4 to 6 lemons. Fresh lemon juice gives a tangy kick. It balances the sweet berries well. I always prefer fresh over bottled juice for better flavor.
Sweetener Options
For sweetness, use 1/2 cup of honey or agave syrup. Adjust this to match your taste. If you like it sweeter, add more. If you want it less sweet, use less. Both options work great in this recipe.
Water and Lemon Zest
You will need 1 cup of water. This helps blend the berries smoothly. Also, zest 1 lemon for extra flavor. The zest adds a nice citrus note that brightens the popsicles. It makes them taste even more refreshing.
Step-by-Step Instructions
Prepare the Berry Mixture
First, take your fresh mixed berries. You can use strawberries, blueberries, or raspberries. Place them in a blender. Add one cup of water. Blend until the mixture is smooth. This step creates a vibrant berry base for your popsicles.
Strain the Berry Juice
Next, you need to strain the berry mixture. Use a fine-mesh sieve over a bowl. Pour the blended berries into the sieve. Press with a spoon to extract the juice. You should end up with about 1.5 cups of berry juice. This juice is full of flavor and color.
Combine Lemon Juice and Sweetener
Now, grab another bowl. In this bowl, whisk together fresh lemon juice, honey, and lemon zest. Use about one cup of lemon juice. Adjust the sweetness with honey or agave syrup, based on your taste. This mix adds a tangy kick to your popsicles.
Mix and Pour into Molds
After combining, mix the berry juice with the lemon mixture. Stir until fully blended. Then, pour this mixture into popsicle molds. Leave a little space at the top. This allows for expansion during freezing.
Freezing Process
Insert popsicle sticks into the molds. Place them in the freezer. Freeze for at least 4-6 hours. Check if they are completely solid before removing. This step is key for a perfect texture.
Removing the Popsicles
To remove the popsicles, run warm water over the outside of the molds. Do this for a few seconds. This helps them pop out easily. Enjoy your refreshing berry lemonade popsicles!
Tips & Tricks
Adjusting Sweetness Levels
You can change the sweetness to fit your taste. Start with half a cup of honey or agave syrup. If the mixture tastes too tart, add more sweetener. Mix well and taste again. You want a balance between sweet and tart. Fresh lemon juice can make it tangy, so sweetness is key.
Keeping Popsicles from Sticking
Removing popsicles can be tricky. After freezing, run warm water over the outside of the molds. This will help loosen them. Hold the molds upside down for a few seconds. If they still stick, try twisting the mold gently. This will help release the popsicle without breaking it.
Garnishing Suggestions
Garnishing makes your popsicles look even better. Use fresh mint leaves for a pop of color and flavor. Add a few whole berries on top for a fun touch. You can also drizzle a bit of honey over them before serving. These little details will impress your friends and make the treat even more enjoyable.
Pro Tips
- Adjust Sweetness: Feel free to adjust the amount of honey or agave syrup based on your personal sweetness preference. You can start with less and add more to taste.
- Berry Choices: Use a mix of your favorite berries for a unique flavor. Blackberries, cherries, or even kiwi can be great additions!
- Garnishing: For an extra touch, garnish your popsicles with fresh mint leaves or a few whole berries before serving.
- Easy Removal: If you're having trouble removing the popsicles from the molds, running warm water over the outside for a few seconds can help loosen them.
Variations
Using Different Berry Combinations
You can mix and match berries for your popsicles. Try using blackberries, cherries, or even peaches. Each berry adds its own flavor. For a tart kick, add more raspberries. For sweetness, use strawberries. Blend them together, and you’ll have a unique taste every time!
Adding Other Fruits
Feel free to add other fruits to your popsicle mix. Slices of kiwi, mango, or watermelon enhance the fruity flavor. You can even try adding a splash of orange juice for a citrus twist. Just remember to keep the balance of flavors. Each addition should blend well with the berries.
Making a Vegan Version
To make a vegan version, swap honey for maple syrup or agave syrup. Both sweeteners work well and keep the popsicles yummy. Use coconut water instead of regular water for extra flavor. This way, you enjoy a refreshing treat that’s also vegan-friendly!
Storage Info
Proper Freezing Techniques
To keep your Berry Lemonade Popsicles fresh, use good freezing methods. After you fill the molds, leave some space at the top. This space helps the popsicles expand as they freeze. Cover the molds with a lid or plastic wrap. This keeps out air and ice crystals. If you use popsicle sticks, insert them right before freezing.
Shelf Life of Popsicles
When stored properly, these popsicles can last up to two months in the freezer. After that, they may lose flavor and texture. Always check for any ice buildup or freezer burn before eating. If they look or smell off, it's best to toss them out.
Best Practices for Thawing
Thaw your popsicles before eating for the best taste. Hold the mold under warm water for a few seconds. This helps them slide out easily. If you’re in a hurry, leave them at room temp for a few minutes. Avoid using a microwave, as it can melt them unevenly. Enjoy your frozen treat once it’s soft enough to eat!
FAQs
How long do I need to freeze the popsicles?
You need to freeze the popsicles for at least 4 to 6 hours. This time lets them freeze solid. If you try to eat them too soon, they may be mushy. I recommend freezing them overnight for the best results.
Can I use frozen berries instead of fresh?
Yes, you can use frozen berries. They work well in this recipe. Just let them thaw a bit before blending. This step helps you blend them easily. The flavor will still be great, so don’t worry!
What can I substitute for honey?
You can use agave syrup or maple syrup as a substitute for honey. Both sweeteners taste nice and blend well. If you want a lower-calorie option, try stevia or monk fruit sweetener. Adjust the amount to match your taste.
How can I make these popsicles without a mold?
If you don’t have a mold, you can use small cups. Just fill them with the mixture and add a stick. You can also use ice cube trays for mini pops. Just make sure to check them often.
Can I add yogurt to the recipe?
Yes! Adding yogurt can make the popsicles creamier. Use plain or flavored yogurt based on your taste. Mix it in when combining the berry and lemon juice. This will add a new layer of taste and texture.
You learned how to make tasty berry popsicles with fresh fruits and simple steps. Start by mixing berries, lemon juice, and sweeteners. Then, freeze them in molds for a cool treat. Remember to adjust the sweetness to your taste and try different fruits for fun flavors. Store them well to keep them fresh. Enjoy your healthy popsicles anytime!