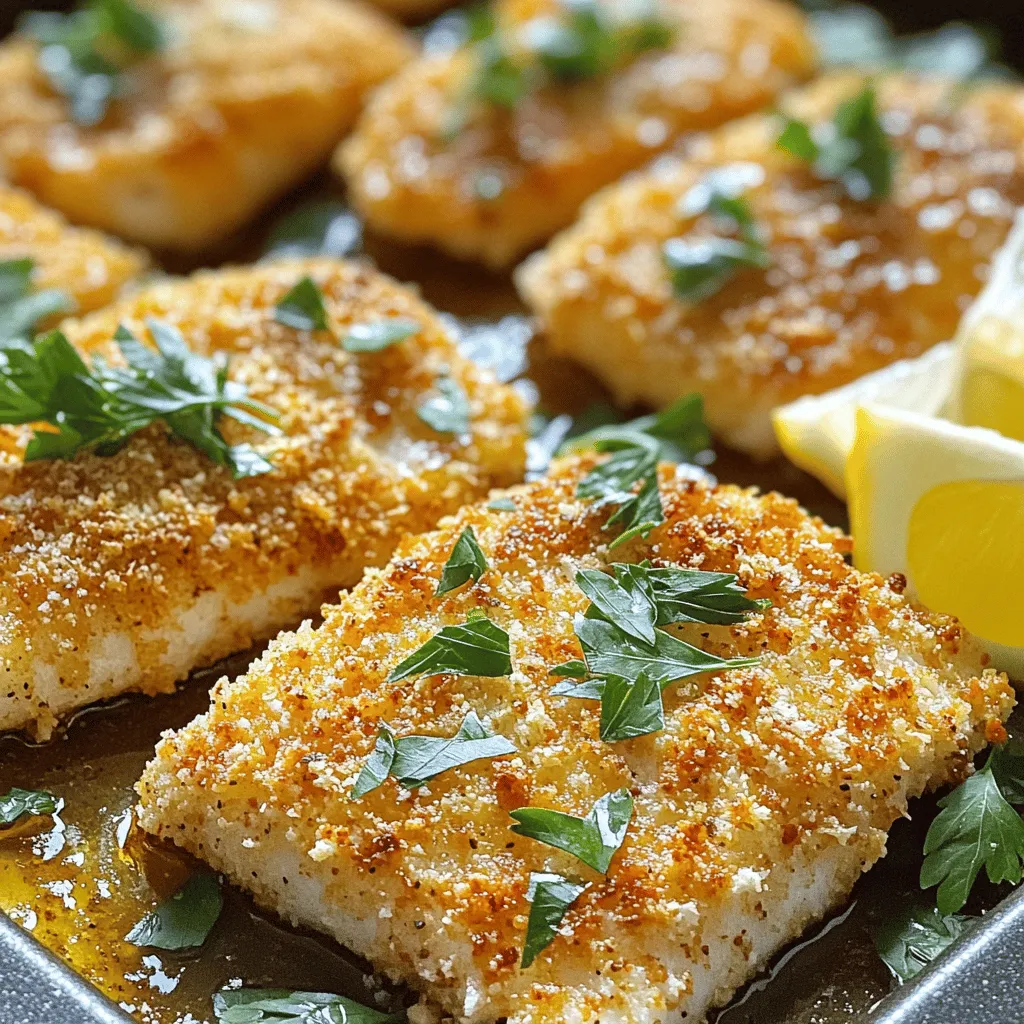
Looking for a simple and tasty meal that impresses? Baked Parmesan Crusted Tilapia is the answer! This dish combines flaky fish with a crunchy, cheesy topping. It’s quick to make and full of flavor. You’ll learn about the best ingredients, easy steps to prepare, and tips to avoid common mistakes. Ready to elevate your dinner game? Let’s dive into this delicious recipe and create a meal that everyone will love!
Ingredients
Key Ingredients for Baked Parmesan Crusted Tilapia
To make baked Parmesan crusted tilapia, you need a few key ingredients. Here’s what you will need:
– 4 tilapia fillets
– 1 cup grated Parmesan cheese
– 1/2 cup breadcrumbs (preferably panko)
– 1 teaspoon garlic powder
– 1 teaspoon onion powder
– 1 teaspoon paprika
– Salt and pepper to taste
– 2 tablespoons olive oil
– 1 tablespoon lemon juice
These ingredients create a tasty crust that enhances the tilapia flavor. The Parmesan cheese gives a rich taste, while the breadcrumbs add crunch.
Optional Ingredients for Extra Flavor
Want to add more flavor? Here are some optional ingredients you can use:
– Fresh herbs like dill or thyme
– A pinch of cayenne pepper for heat
– Lemon zest for a bright touch
– A splash of white wine for depth
These add-ons can make your dish even more exciting. Feel free to mix and match based on what you love.
Recommended Accompaniments
For a complete meal, pair the tilapia with these sides:
– Steamed vegetables like broccoli or green beans
– A light salad with mixed greens
– Garlic bread for a crunchy side
These options will balance the meal and add more nutrients.
Step-by-Step Instructions
Preparation Overview
First, gather all your ingredients. You need tilapia fillets, Parmesan cheese, breadcrumbs, and spices. Lay out the measuring cups and bowls. Preheat your oven to 400°F (200°C). This step ensures that the fish cooks evenly. Line a baking sheet with parchment paper. This makes cleaning up easier.
Cooking Method Explained
Now, let’s start cooking! In a medium bowl, mix the grated Parmesan cheese with breadcrumbs and spices. I like to add garlic powder, onion powder, and paprika. These flavors make the fish so tasty! In another bowl, coat the tilapia fillets with olive oil and lemon juice. This gives them a nice flavor and helps the crust stick.
Next, press each fillet into the cheese mixture. Make sure to coat both sides well. Lay the coated fillets on the baking sheet, leaving space between them. Bake for about 15 to 20 minutes. You’ll know they’re done when the fish flakes easily with a fork. The crust should look golden brown and crisp.
How to Achieve the Perfect Crispiness
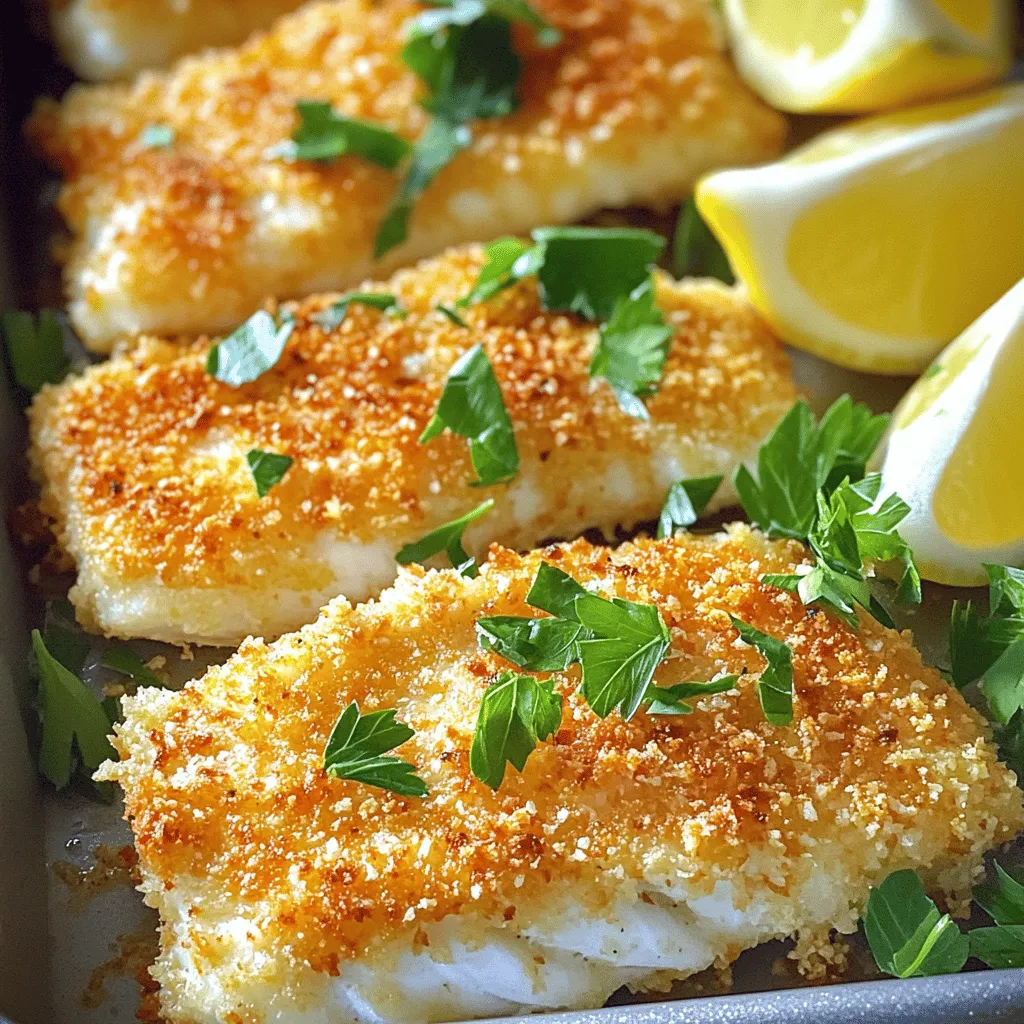
To get that perfect crispy crust, use panko breadcrumbs. They create a light, airy texture. Make sure the fish is well-coated with the cheese mixture. If you want extra crunch, you can spray the top lightly with olive oil before baking. This helps the crust brown nicely. Keep an eye on the fish as it cooks. You want it golden, not burnt.
For a complete meal, serve your tilapia with steamed vegetables or a light salad.Enjoy your delicious Baked Parmesan Crusted Tilapia!
Tips & Tricks
Common Mistakes to Avoid
One mistake is not preheating your oven. This can lead to uneven cooking. Make sure your oven is ready before you bake. Another mistake is not coating the fish well. Press the tilapia firmly into the crumb mixture. This helps form a nice crust.
Also, avoid overcooking the fish. Tilapia cooks quickly. Bake it for just 15 to 20 minutes. Check for doneness by flaking it with a fork. If it flakes easily, it’s done.
Pairing Suggestions for Side Dishes
Baked Parmesan crusted tilapia tastes great with many sides. I love to serve it with steamed broccoli. The bright green color looks nice on the plate. You can also try a fresh salad with mixed greens. A light vinaigrette adds a nice touch.
If you want something heartier, consider roasted potatoes. They add a nice crunch and flavor. You can even serve it with rice or quinoa. These sides balance the meal well.
How to Adjust Seasoning for Personal Taste
Adjusting the seasoning is easy. If you like more spice, add more paprika or some cayenne. For a milder taste, cut back on the garlic powder. You can also add herbs like thyme or dill for a fresh flavor.
Always taste your seasoning mix before coating the fish. This way, you can make changes as needed. Remember, cooking is about what you enjoy. Make it your own!
Variations
Alternative Crust Ingredients
You can switch up the crust if you want. Try using crushed cornflakes instead of breadcrumbs. They give a nice crunch. You can also add herbs like oregano or thyme for more flavor. For a spicy kick, mix in some cayenne pepper. You can even use different cheeses like cheddar or feta. Each option gives a unique taste to your dish.
Cooking Methods: Air Fryer and Grill
If you want a faster way to cook, use an air fryer. Preheat it to 400°F (200°C). Cook the tilapia for about 10-12 minutes. You’ll get a great crispy crust without much oil. If you prefer grilling, brush the fillets with oil. Grill them over medium heat for about 5-7 minutes on each side. Both methods keep the fish juicy and flaky.
Incorporating Additional Proteins or Vegetables
Feel free to add more to your meal. You can top the tilapia with shrimp before baking. This adds a seafood twist. Try mixing in chopped spinach or bell peppers with the crust. They add color and nutrients. You can also serve the tilapia with roasted asparagus or green beans. These choices make your dish even more healthy and flavorful.
Storage Info
Refrigeration Guidelines
After you enjoy your baked Parmesan crusted tilapia, store leftovers in the fridge. Place the fish in an airtight container. It stays fresh for up to three days. Make sure to cool it down before sealing it. This helps keep the crust crispy longer.
Freezing Tips for Leftovers
If you want to keep it longer, consider freezing the tilapia. Wrap each piece tightly in plastic wrap. Then, place them in a freezer bag. This method prevents freezer burn. You can freeze it for up to three months. When you’re ready to eat, just thaw it in the fridge overnight.
Reheating Instructions for Best Results
To reheat, preheat your oven to 350°F (175°C). Place the tilapia on a baking sheet. Cover it loosely with foil to keep it moist. Heat for about 10-15 minutes. Check if it’s warm all the way through. For extra crispiness, remove the foil for the last few minutes. Enjoy your meal again just like the first time!
FAQs
How long to bake tilapia at 400°F?
I bake tilapia at 400°F for about 15 to 20 minutes. The fish should flake easily with a fork when done. Keep an eye on it to avoid overcooking. Thin fillets cook faster, while thicker ones may need more time. Always check for a golden crust on top.
Can I use frozen tilapia for this recipe?
Yes, you can use frozen tilapia. Just remember to thaw it first. You can do this by placing it in the fridge overnight or using cold water for a quicker thaw. Make sure to pat the fillets dry before coating them. This helps the crust stick better and keeps it crispy.
What to serve with Baked Parmesan Crusted Tilapia?
Baked Parmesan Crusted Tilapia pairs well with many sides. Here are some tasty options:
– Steamed broccoli
– Roasted asparagus
– A light salad with lemon vinaigrette
– Quinoa or rice for a filling option
– Garlic bread for a crunchy bite
These sides balance the flavors of the fish and make a complete meal. Feel free to mix and match based on your taste!
This blog post shared the best way to make Baked Parmesan Crusted Tilapia. You learned about key ingredients, optional flavors, and perfect sides to pair. I explained how to prepare and cook this dish for crispiness. Also, I offered tips to avoid common mistakes and made suggestions for variations. Remember to store leftovers correctly to enjoy them later.
Cooking can be fun and easy. With these tips, you can impress family and friends. Enjoy your tasty meals!