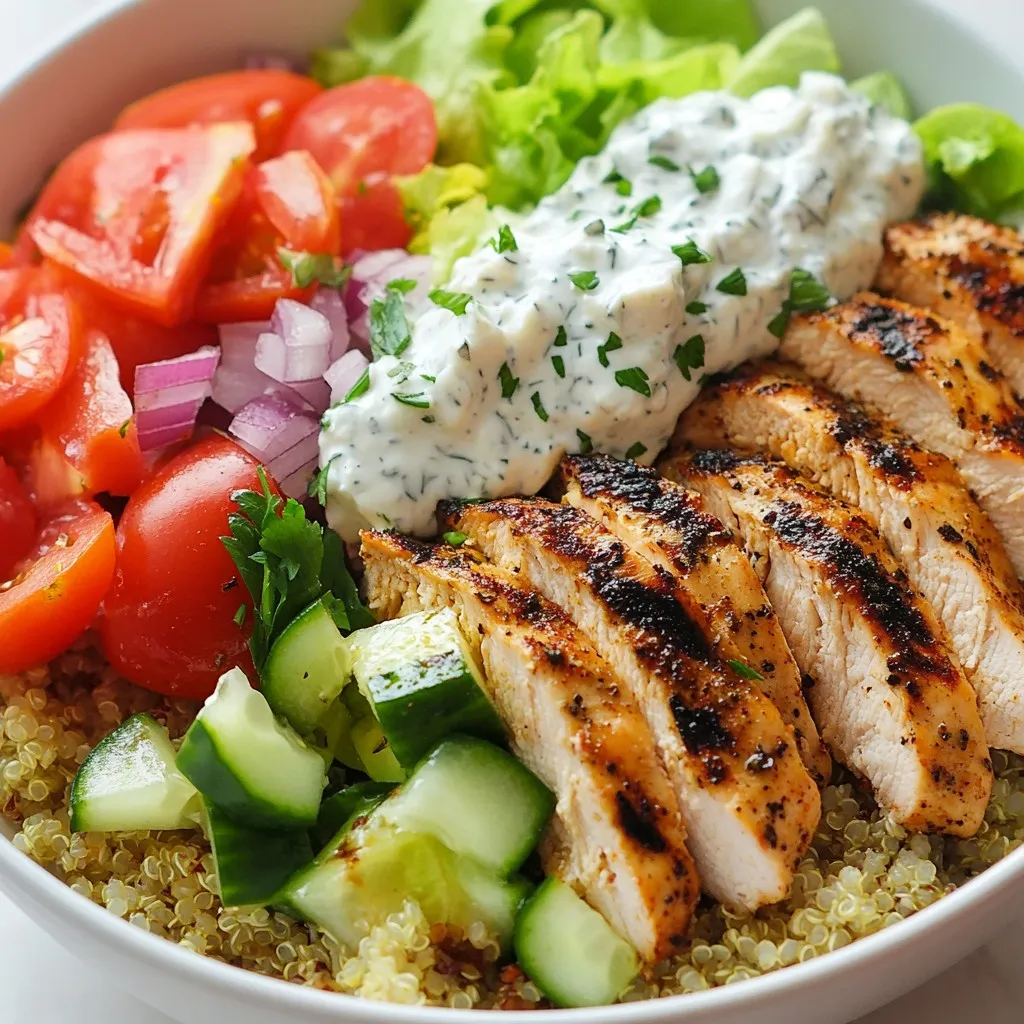
Greek Chicken Gyro Bowls Flavorful and Healthy Treat
If you crave a meal that’s both flavorful and healthy, you’ve come to the right place! Greek Chicken Gyro Bowls

If you crave a meal that’s both flavorful and healthy, you’ve come to the right place! Greek Chicken Gyro Bowls
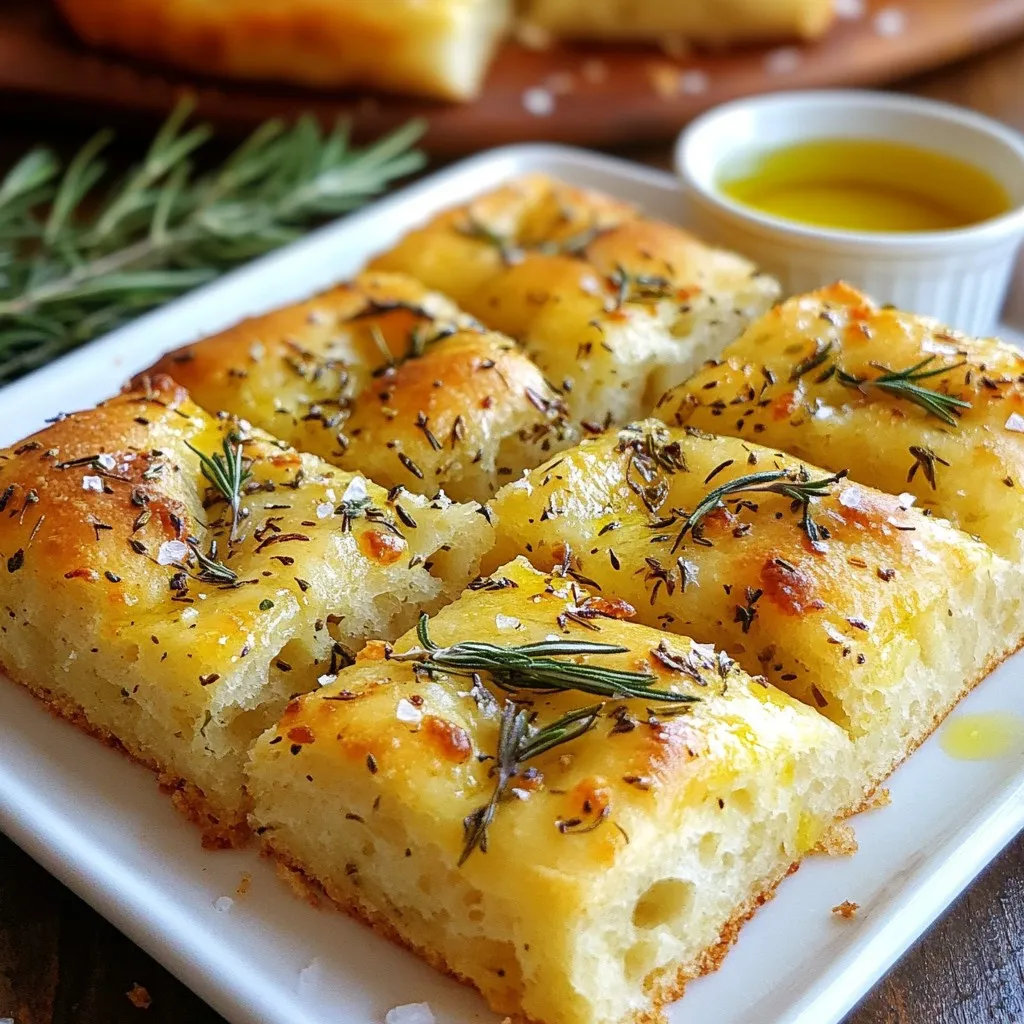
Are you ready to elevate your bread-baking game? This Herb Garlic Focaccia Bread recipe combines easy steps with bold flavors
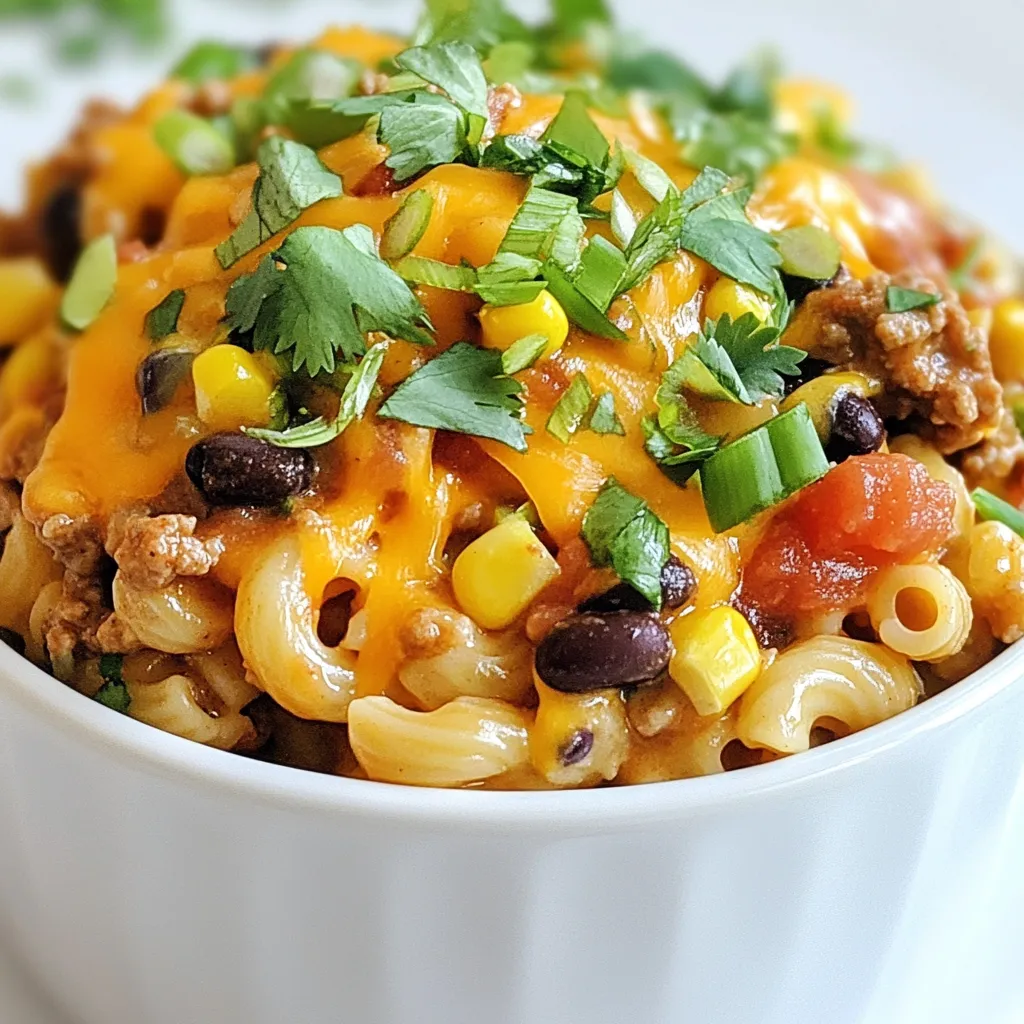
Looking for a quick and tasty dinner idea? Loaded Taco Macaroni is both flavorful and simple to make! With just
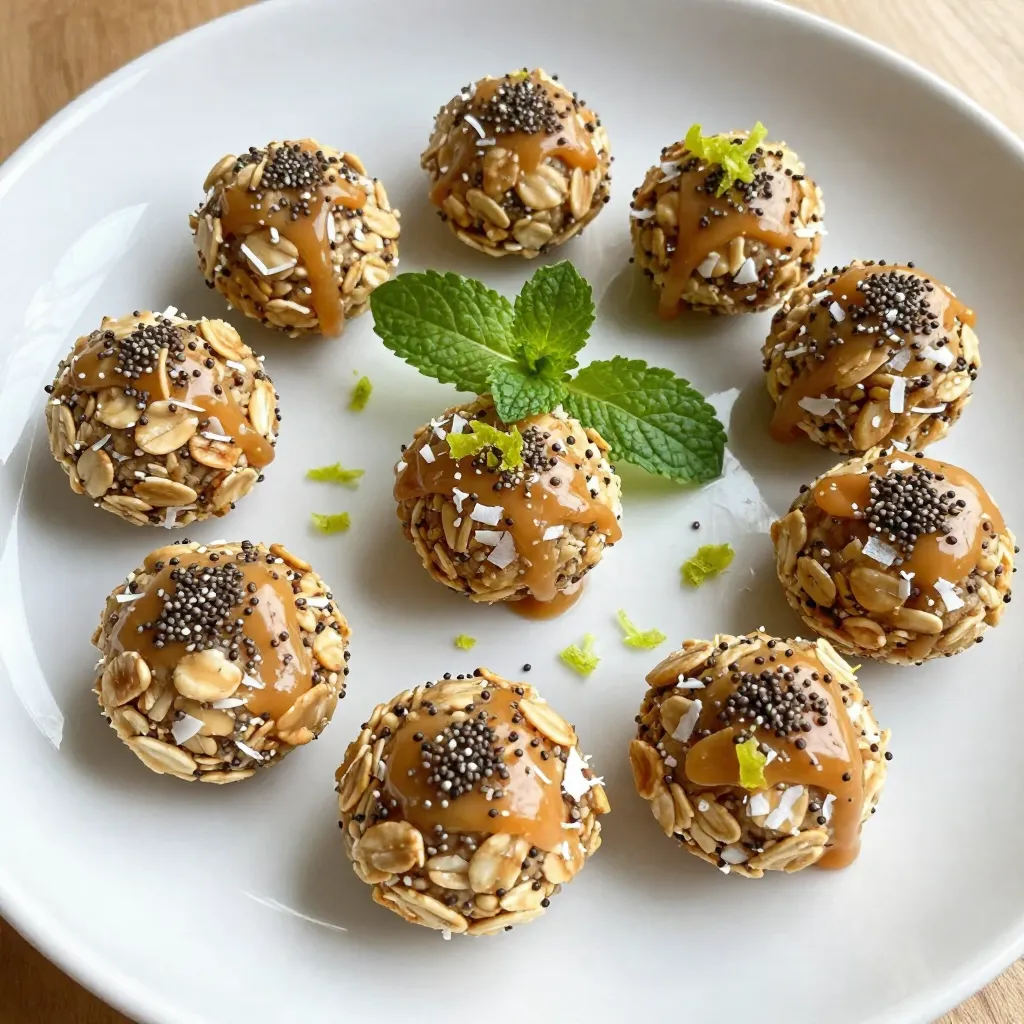
Looking for a healthy snack that tastes like a tropical getaway? Try my Coconut Lime Energy Bites! They’re packed with
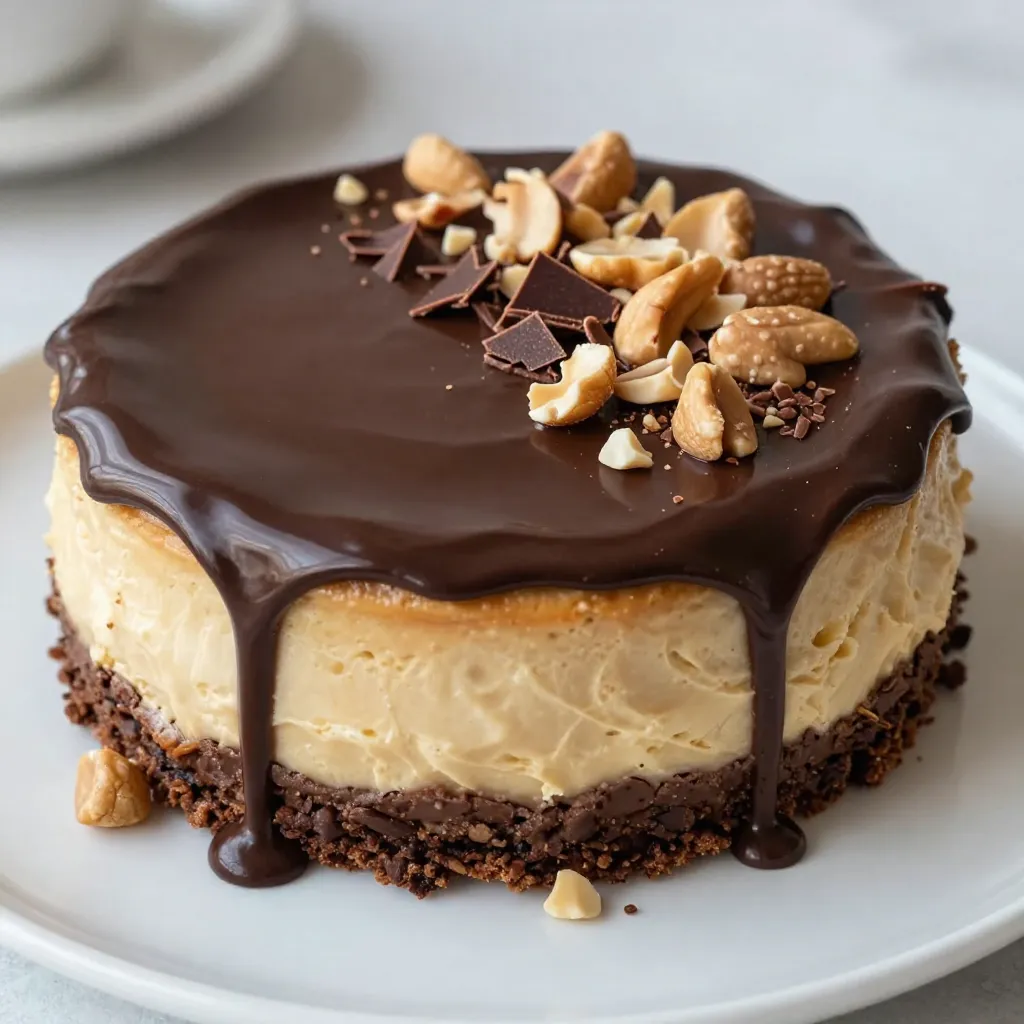
Get ready to indulge in a creamy delight! This Peanut Butter Chocolate Cheesecake will sweep you off your feet. With
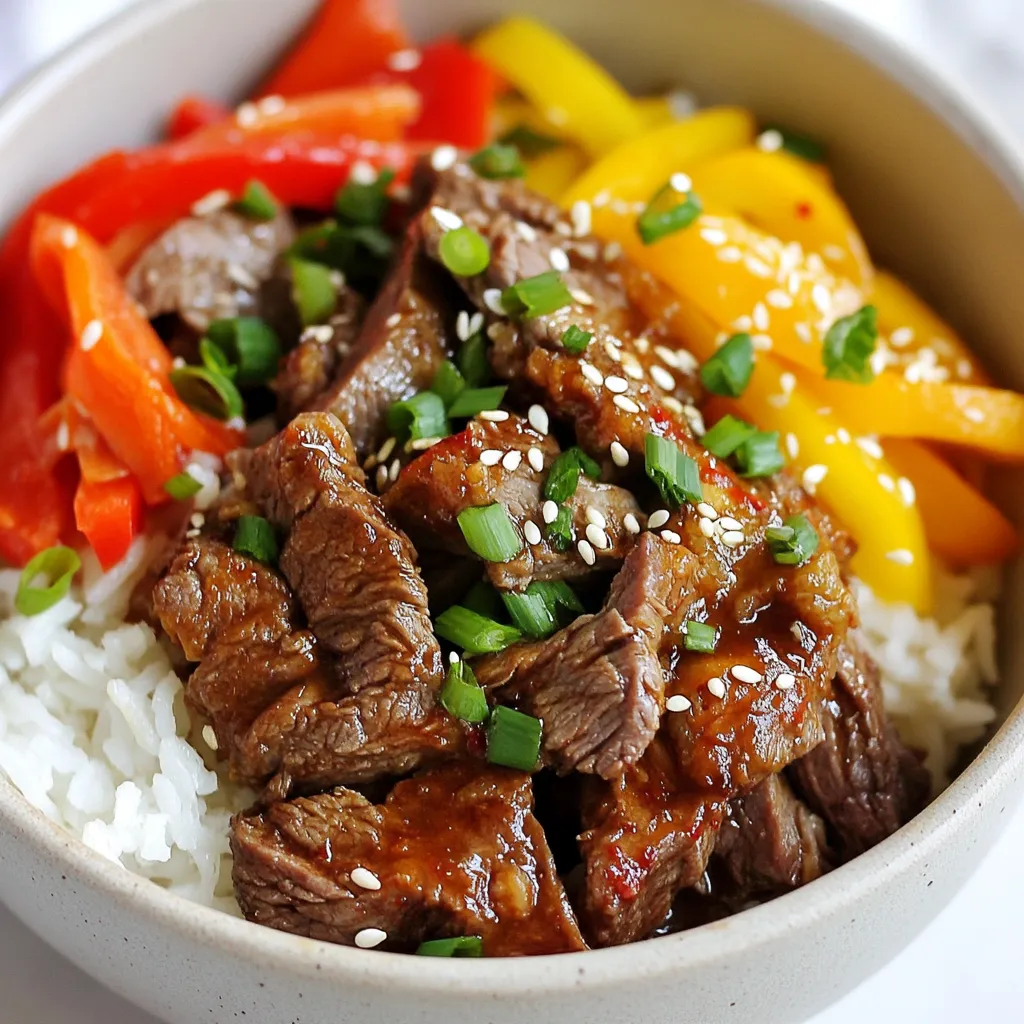
Are you ready to spice up your dinner routine? This Korean Bulgogi Beef Bowl recipe packs a flavorful punch while

Looking for an easy and delicious treat? My Crockpot Chocolate Peanut Clusters are just what you need! With just a
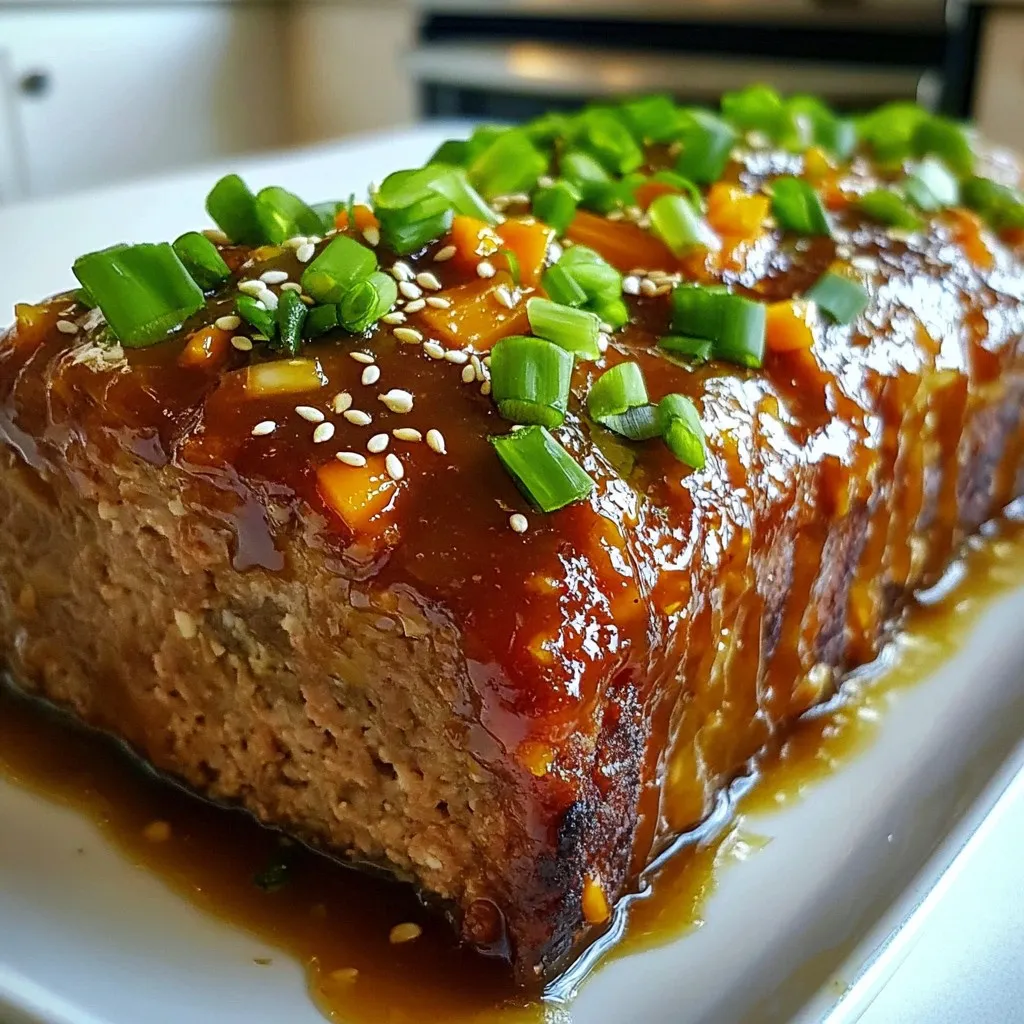
Are you ready to elevate your meatloaf game? This Teriyaki Glazed Meatloaf is a simple yet tasty twist on a

If you’re craving a warm, comforting dish, you’ll love this Creamy White Bean Chili. This easy recipe packs great flavor
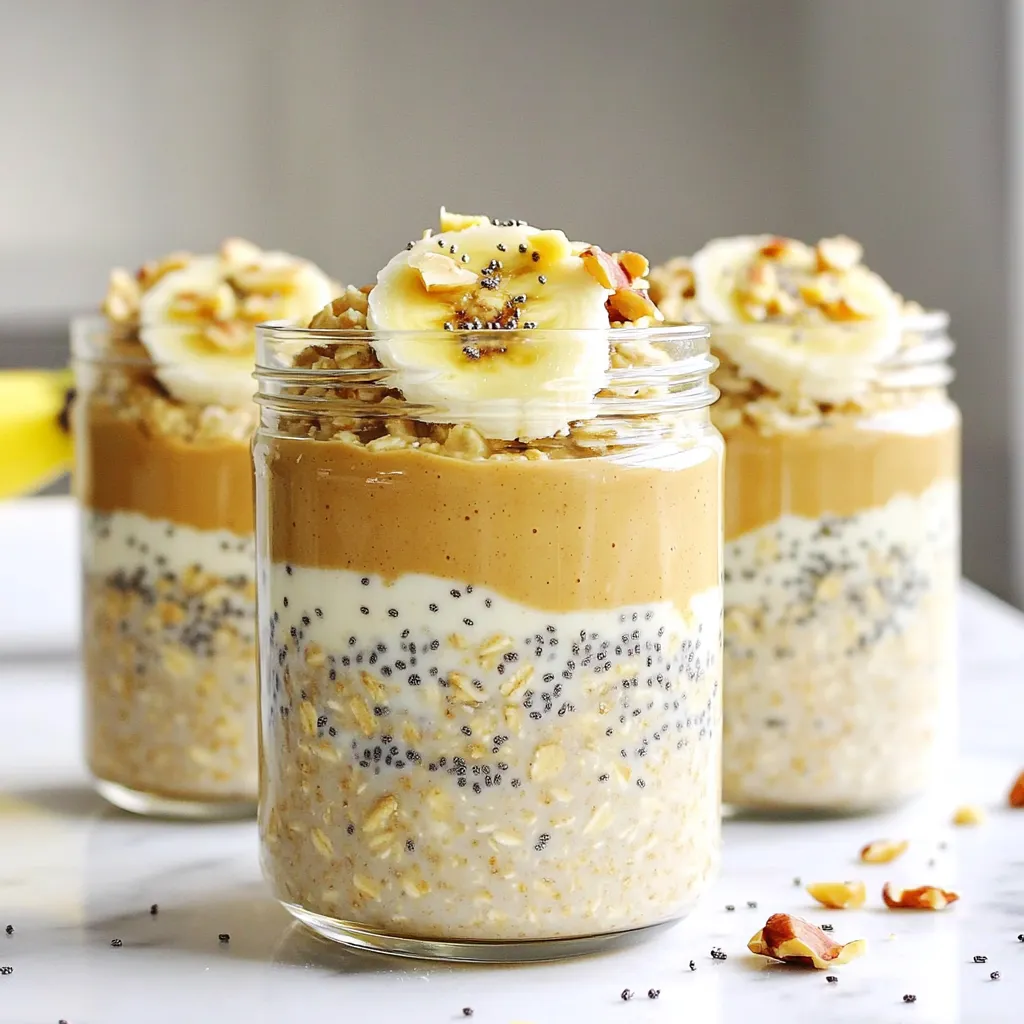
Start your day with a mouthwatering twist. Peanut butter overnight oats are simple to make and deliciously satisfying. You’ll only
