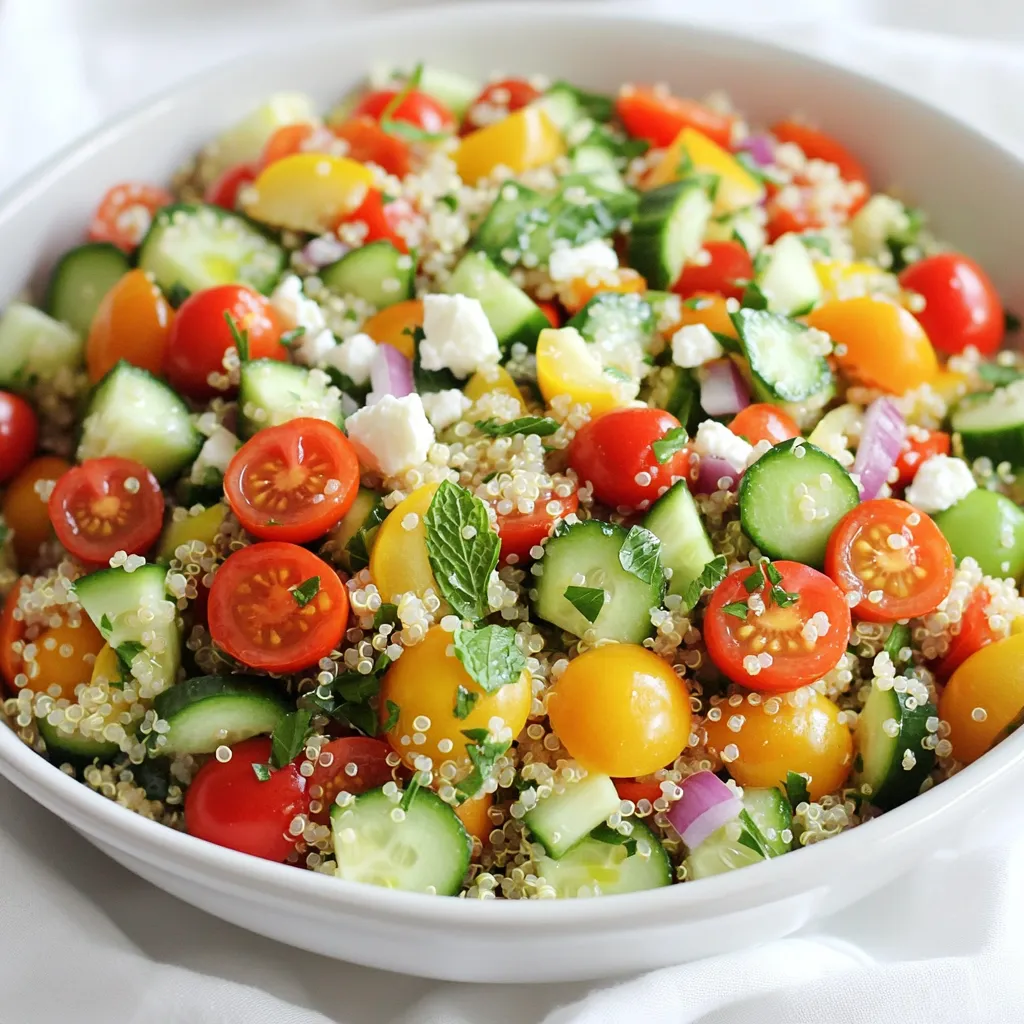
Lemon Herb Quinoa Salad Fresh and Flavorful Dish
Looking for a fresh dish that bursts with flavor? This Lemon Herb Quinoa Salad is perfect for you! Packed with

Looking for a fresh dish that bursts with flavor? This Lemon Herb Quinoa Salad is perfect for you! Packed with
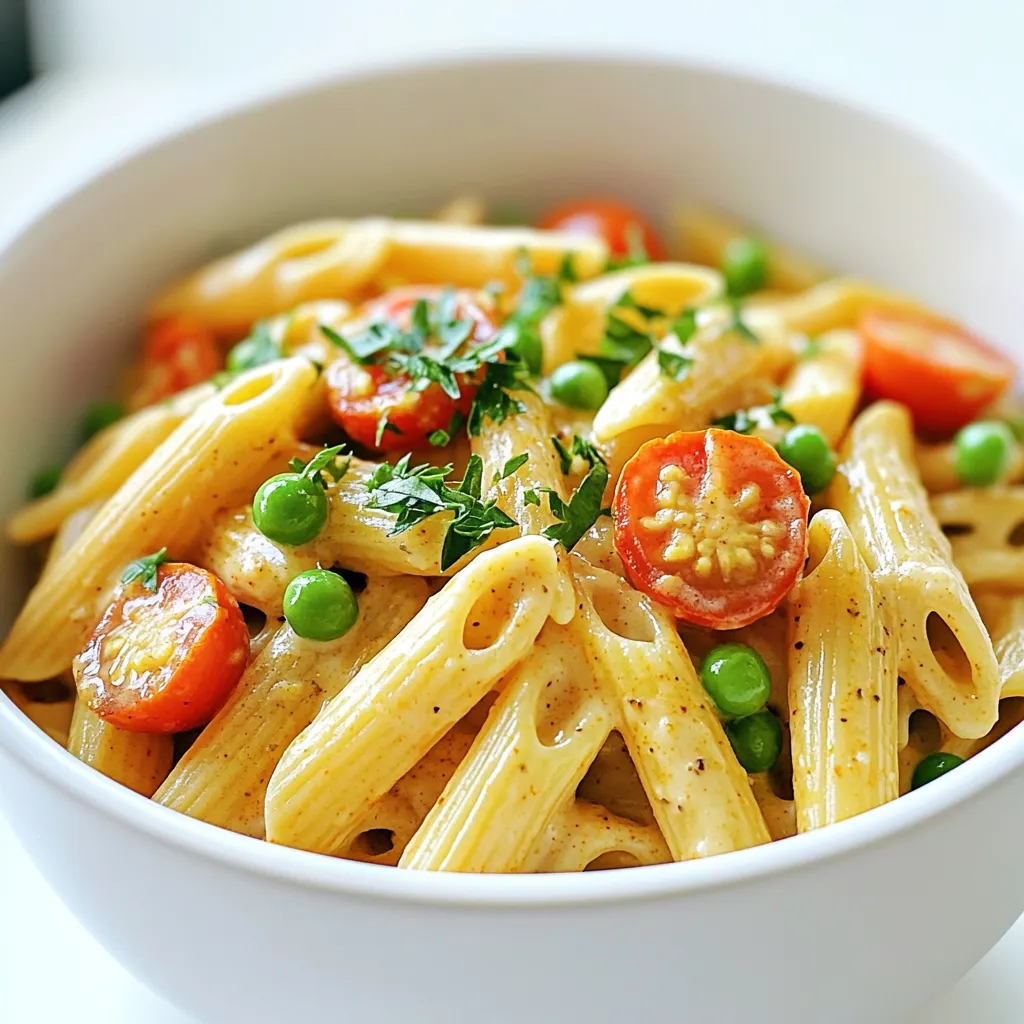
Ready to spice up dinner time? My One Pot Creamy Cajun Pasta delivers a simple flavor explosion that’s quick and
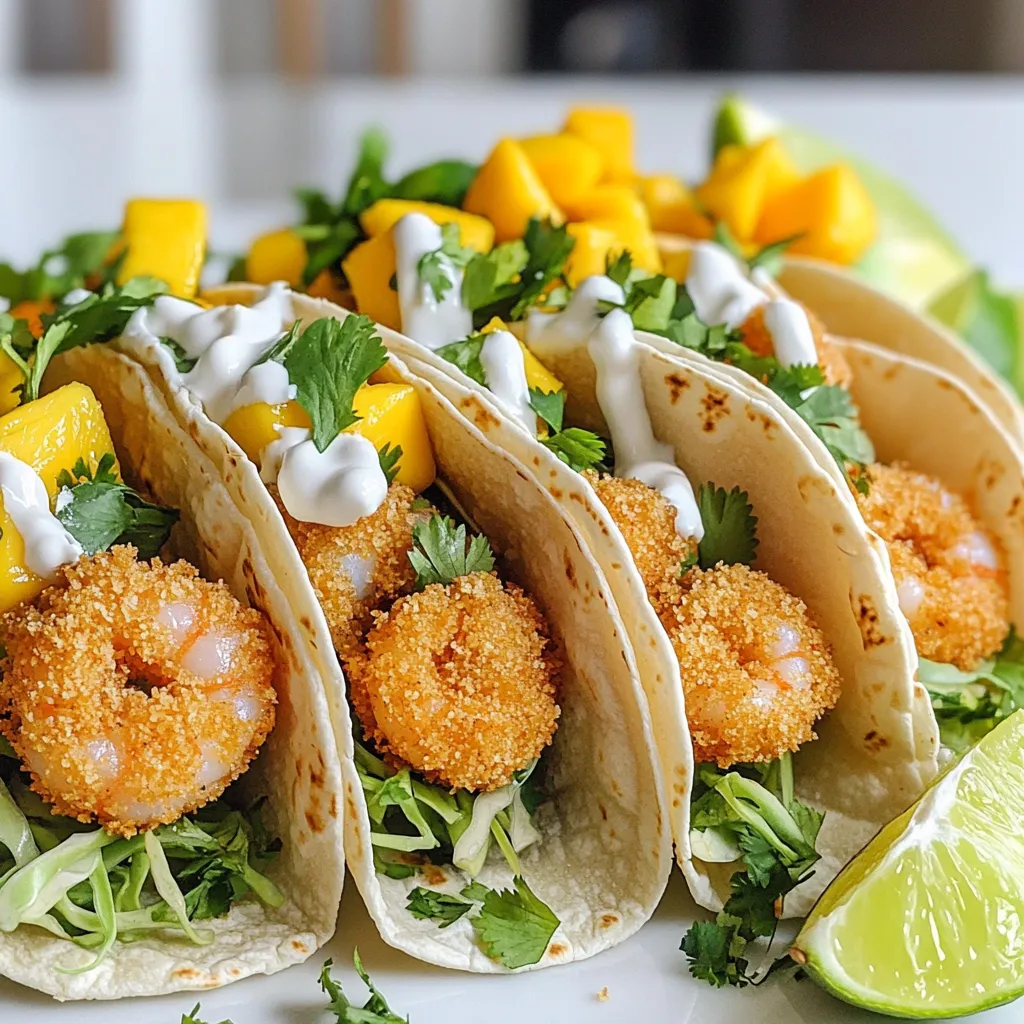
Are you craving a quick, delicious meal? Air Fryer Shrimp Tacos are the answer! With juicy shrimp and tasty toppings,

Are you ready to treat yourself to a delicious and healthy dessert? My Mango Coconut Chia Pudding is the perfect

Are you ready to indulge in a tropical treat? The Creamy Coconut Mango Smoothie is your new go-to for a
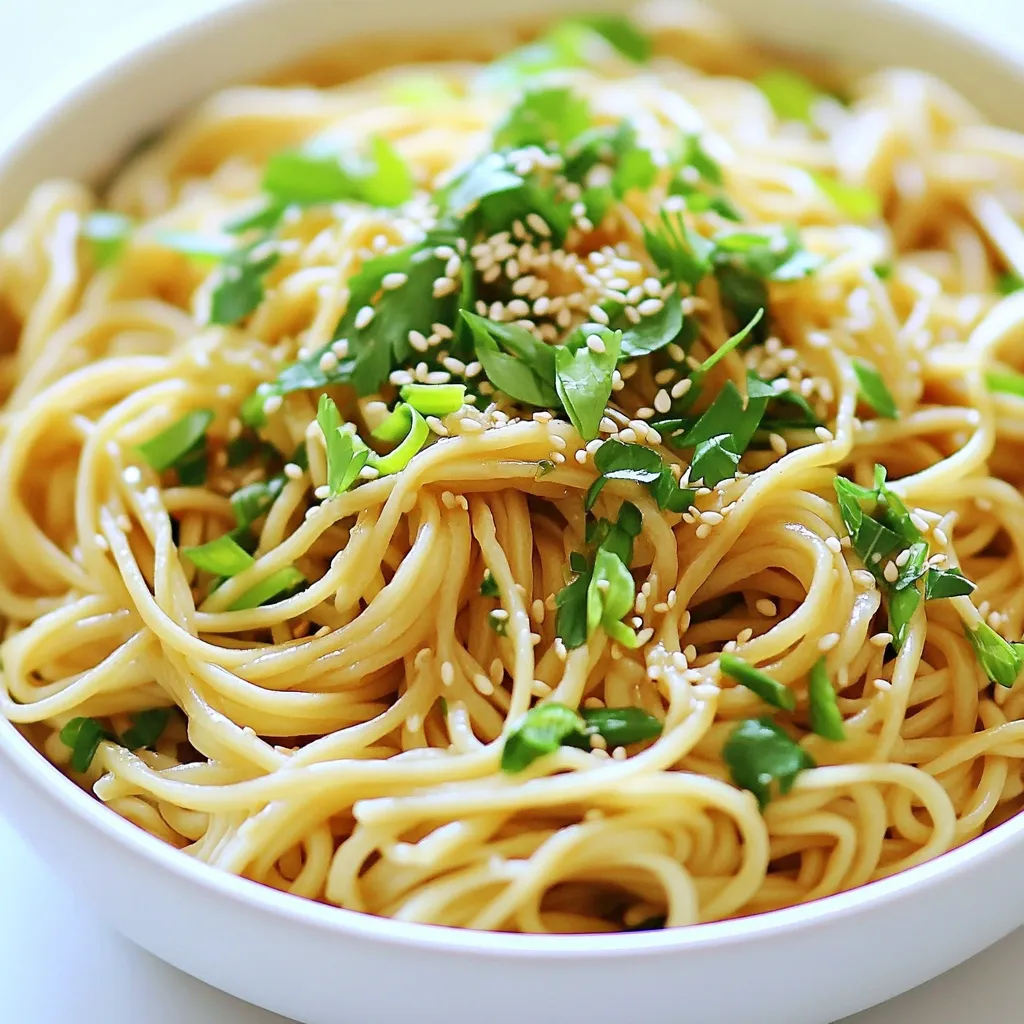
Craving a quick, tasty meal? These Minute Garlic Sesame Noodles are packed with flavor and come together in no time!

If you’re searching for a delicious treat that’s simple to make, you’re in the right place! These Maple Glazed Pecan
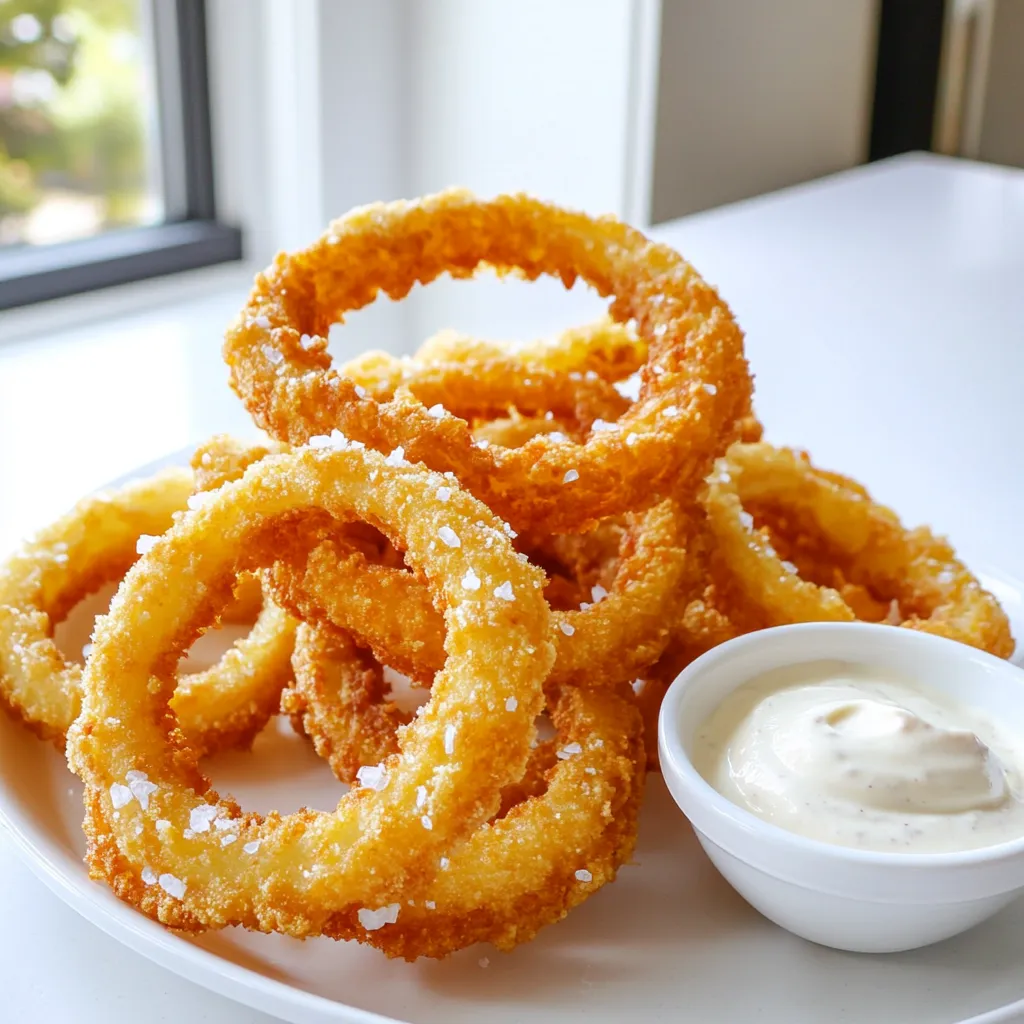
Craving a crunchy snack that’s full of flavor? You’re in the right place! Air fryer onion rings are a game-changer.

Get ready to enjoy the perfect blend of flavors with my Pumpkin Chocolate Swirl Banana Bread Delight Recipe! This moist
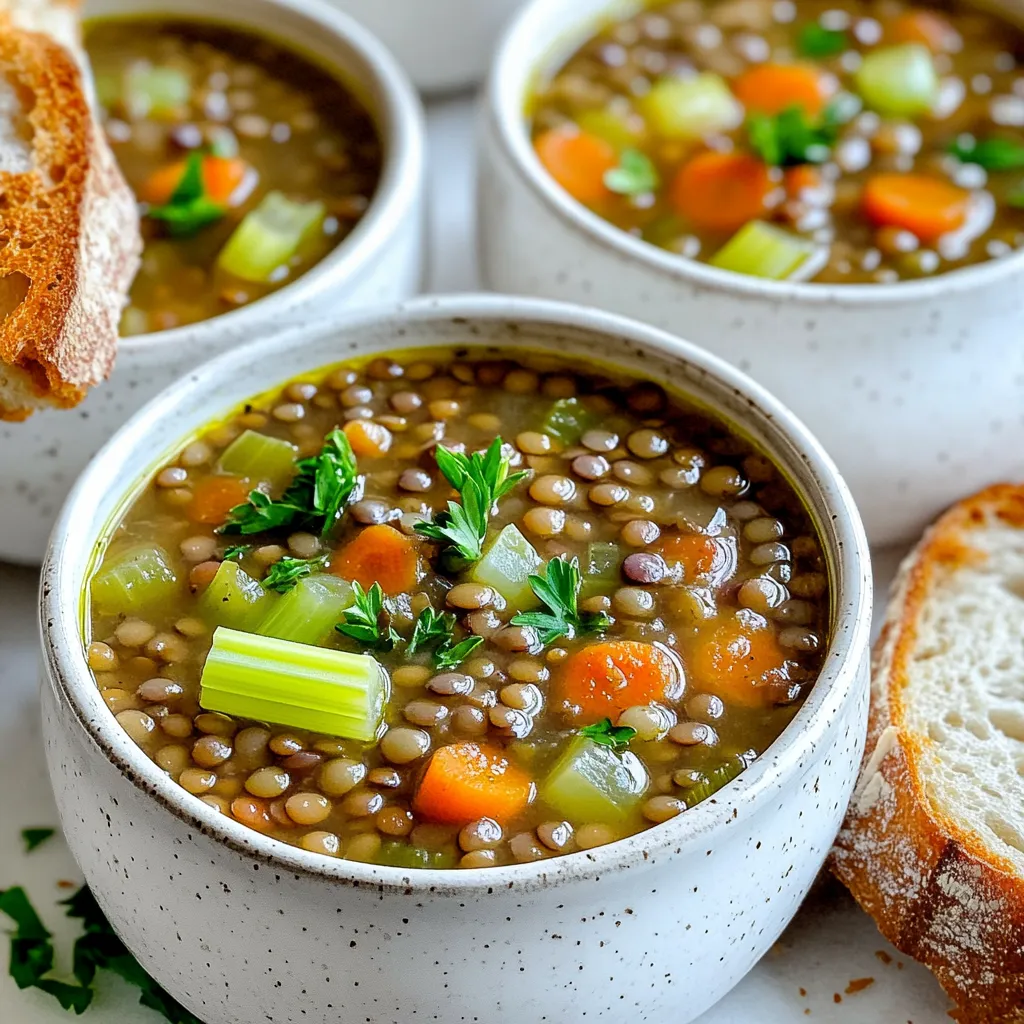
When the chill sets in, nothing warms you up like a bowl of hearty lentil soup. This Slow Cooker Hearty
