Creamy Cauliflower Alfredo Tasty Vegan Pasta Dish
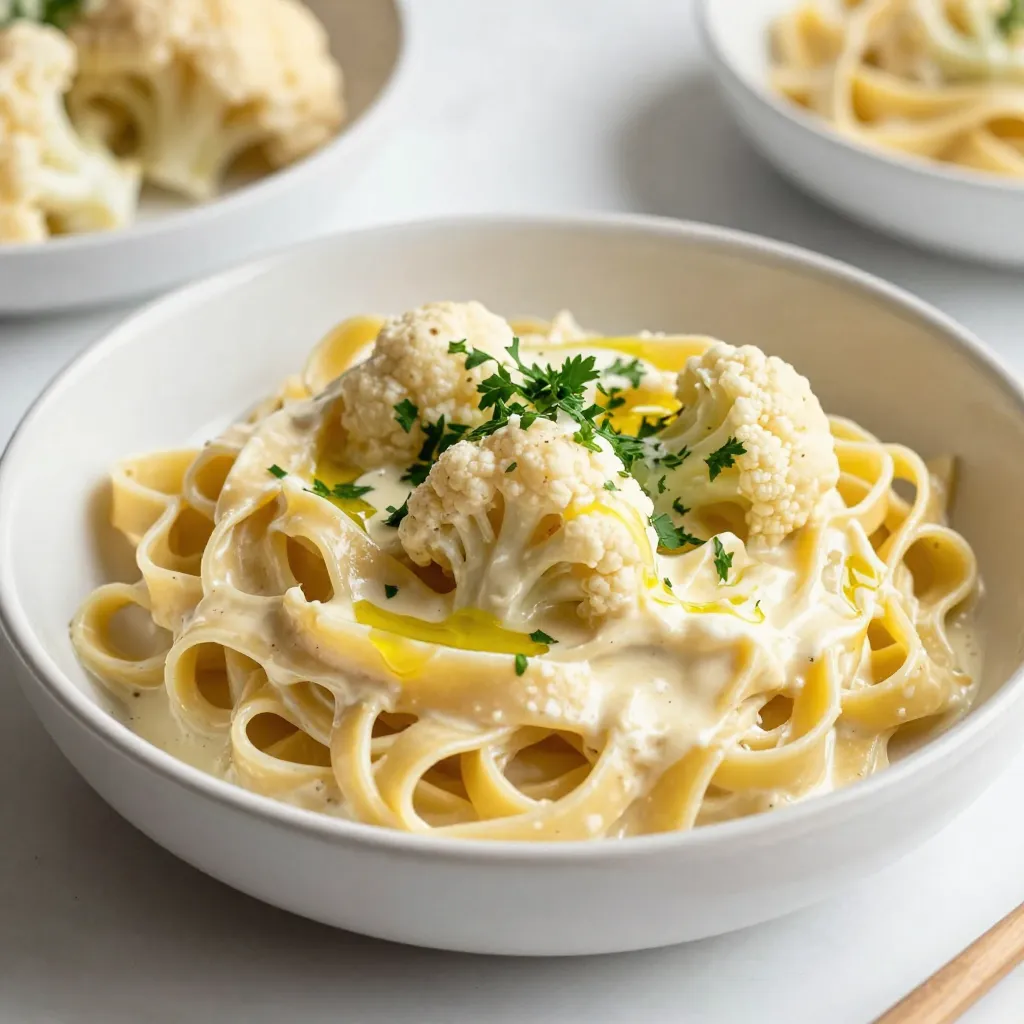
Looking for a delicious vegan pasta dish that’s both creamy and healthy? You’ll love my Creamy Cauliflower Alfredo! This dish

Looking for a delicious vegan pasta dish that’s both creamy and healthy? You’ll love my Creamy Cauliflower Alfredo! This dish
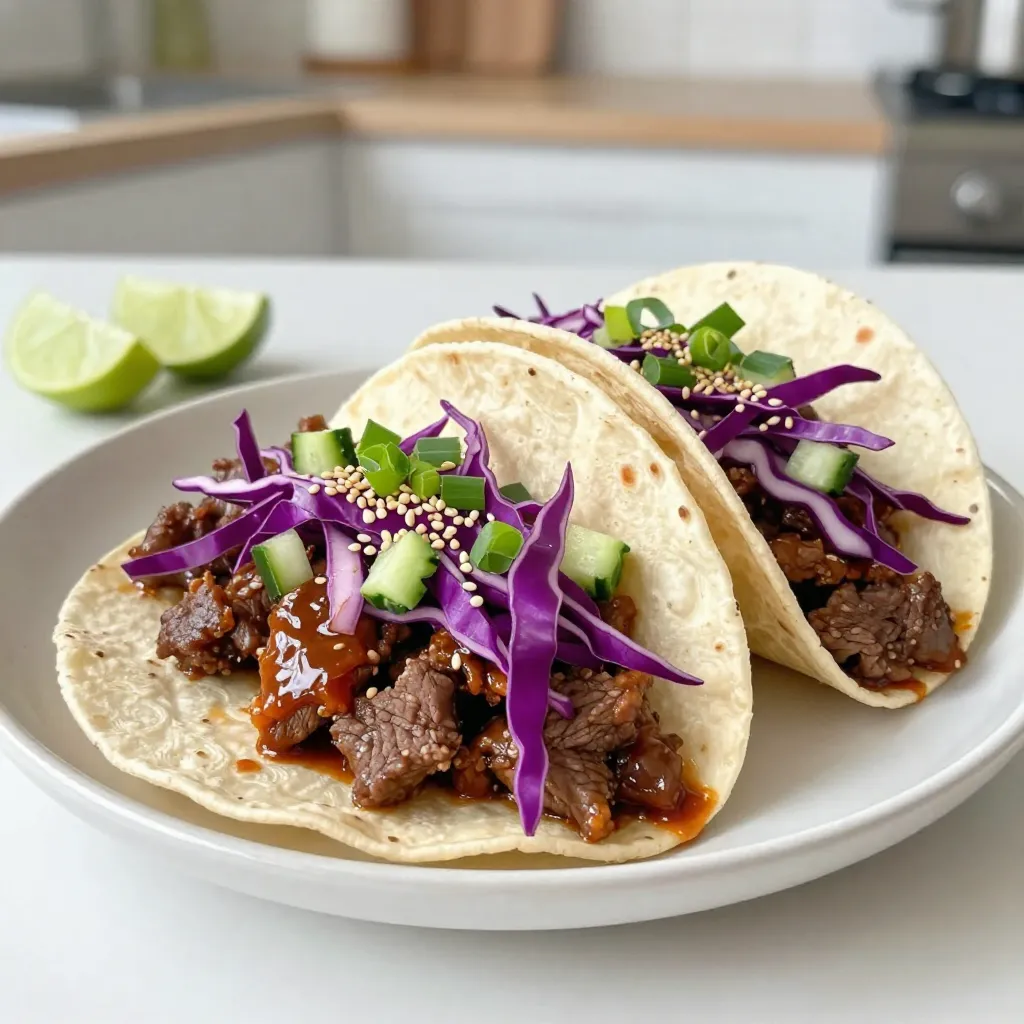
If you’re looking to spice up taco night, try my Korean Beef Bulgogi Tacos. This savory recipe blends sweet and
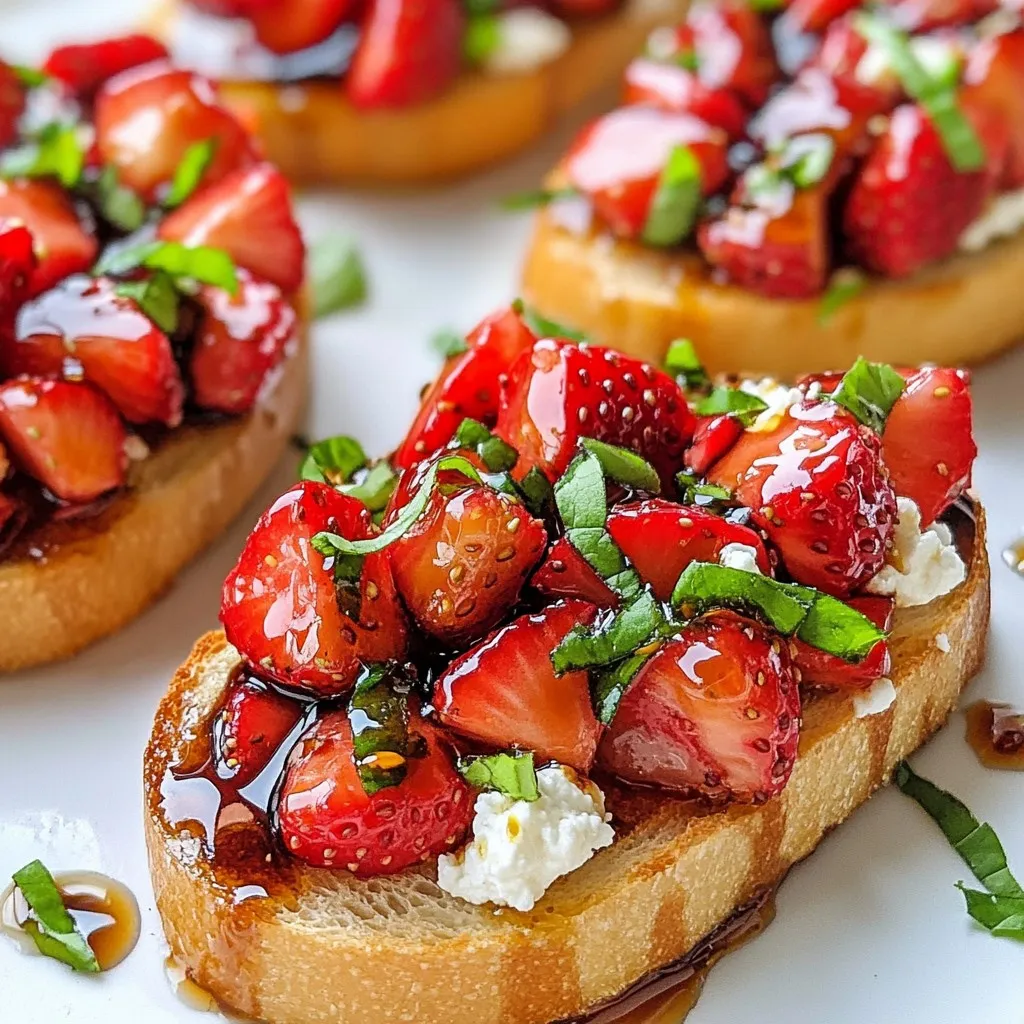
Are you ready to impress friends and family with a fresh and tasty treat? Balsamic Strawberry Bruschetta combines sweet strawberries,
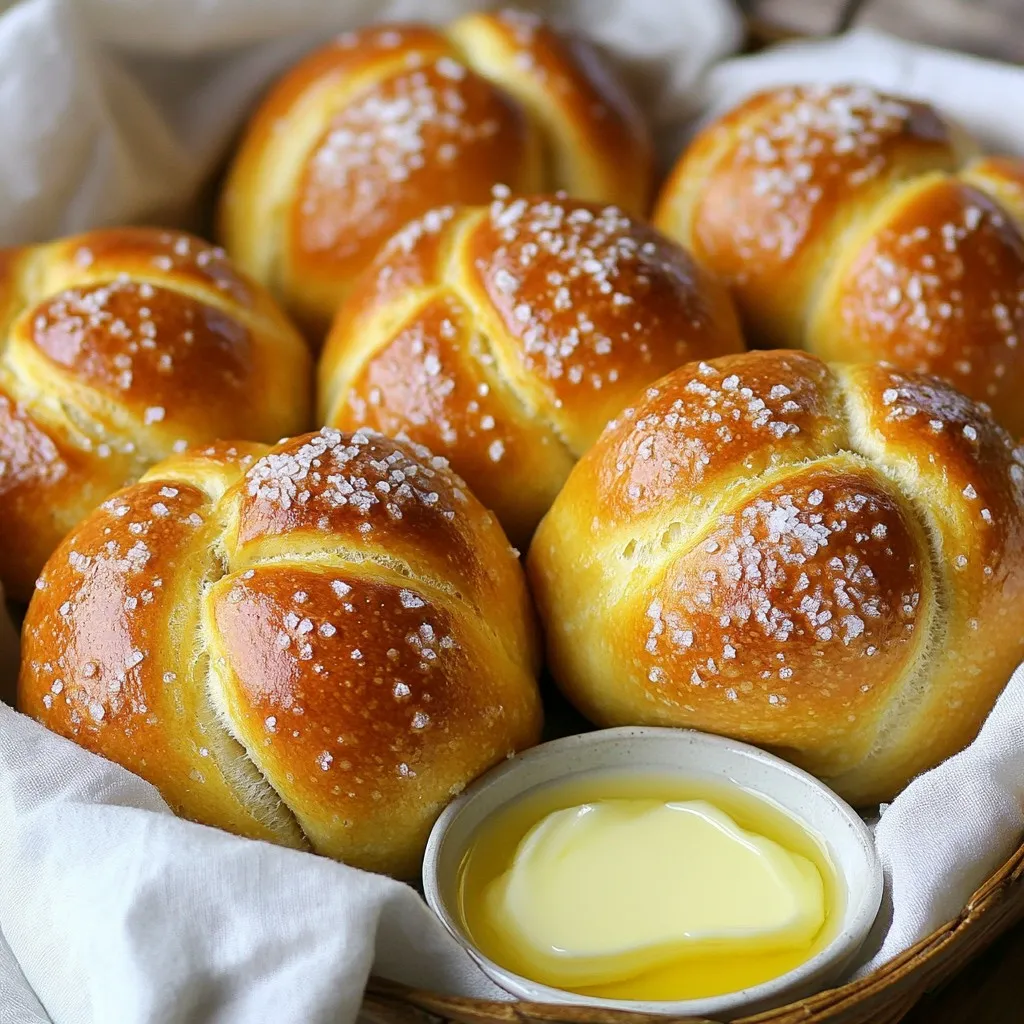
If you crave a warm, buttery snack, homemade pretzel rolls are a must-try! These irresistible rolls are soft, chewy, and

Are you ready to elevate your dinner game with a simple yet tasty dish? Honey Garlic Chicken Drumsticks are packed
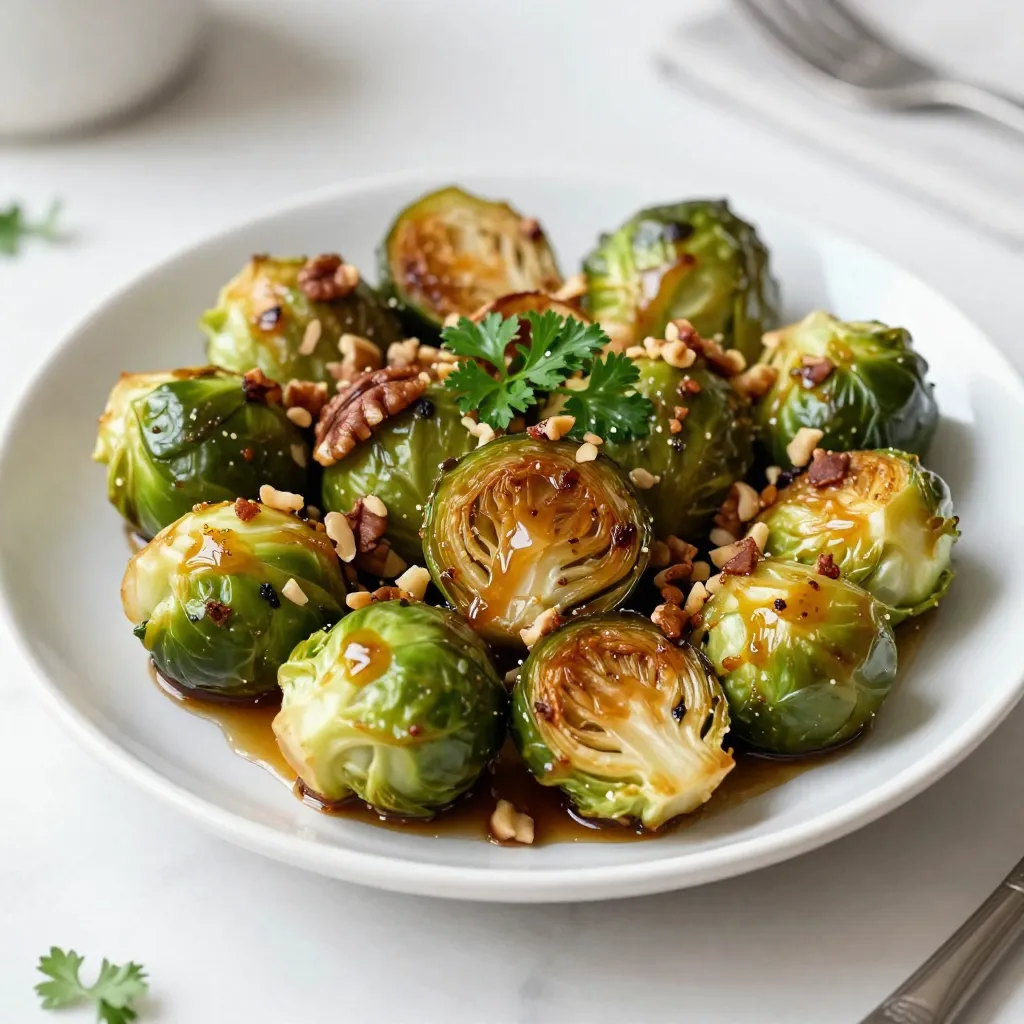
Looking for a tasty dish that will impress your family and friends? Balsamic Honey Roasted Brussels Sprouts are the perfect
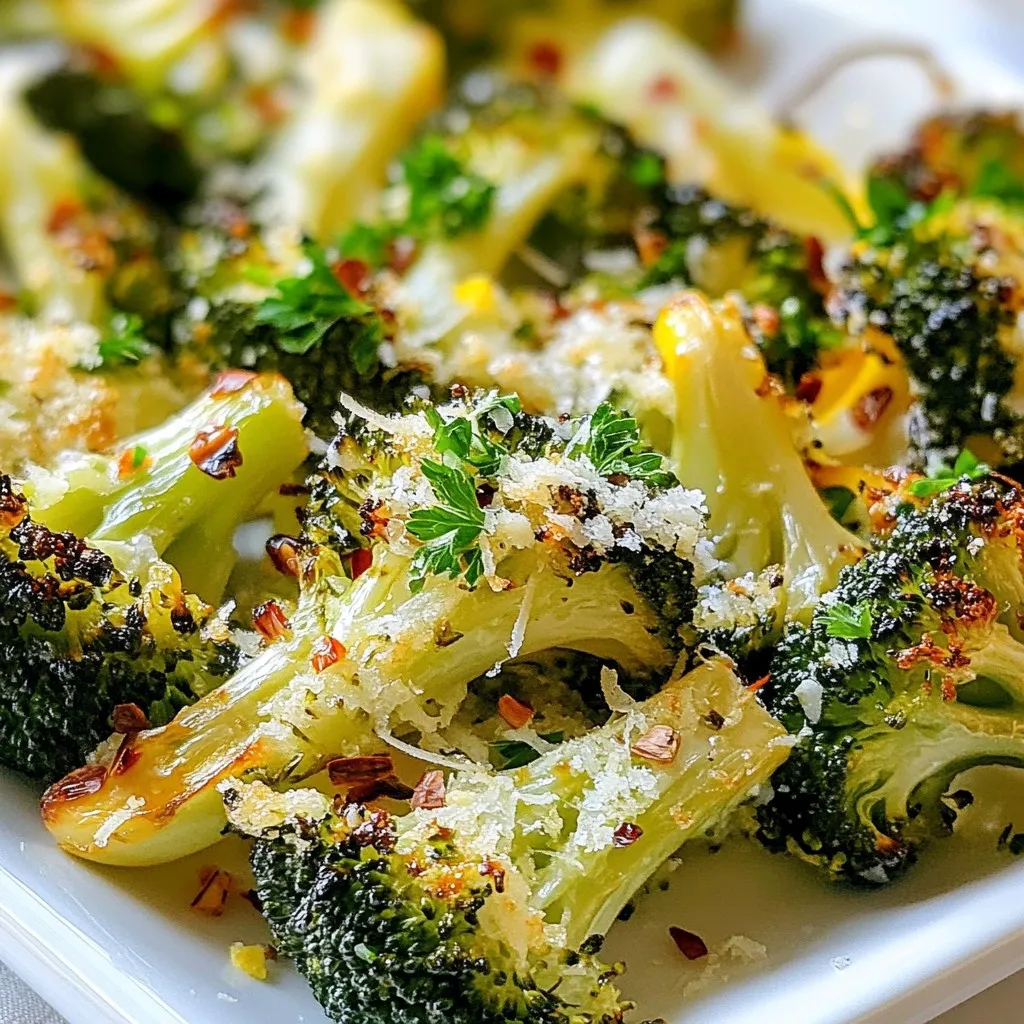
Are you ready to elevate your vegetable game? Roasted Garlic Parmesan Broccoli is a simple, tasty dish that transforms ordinary
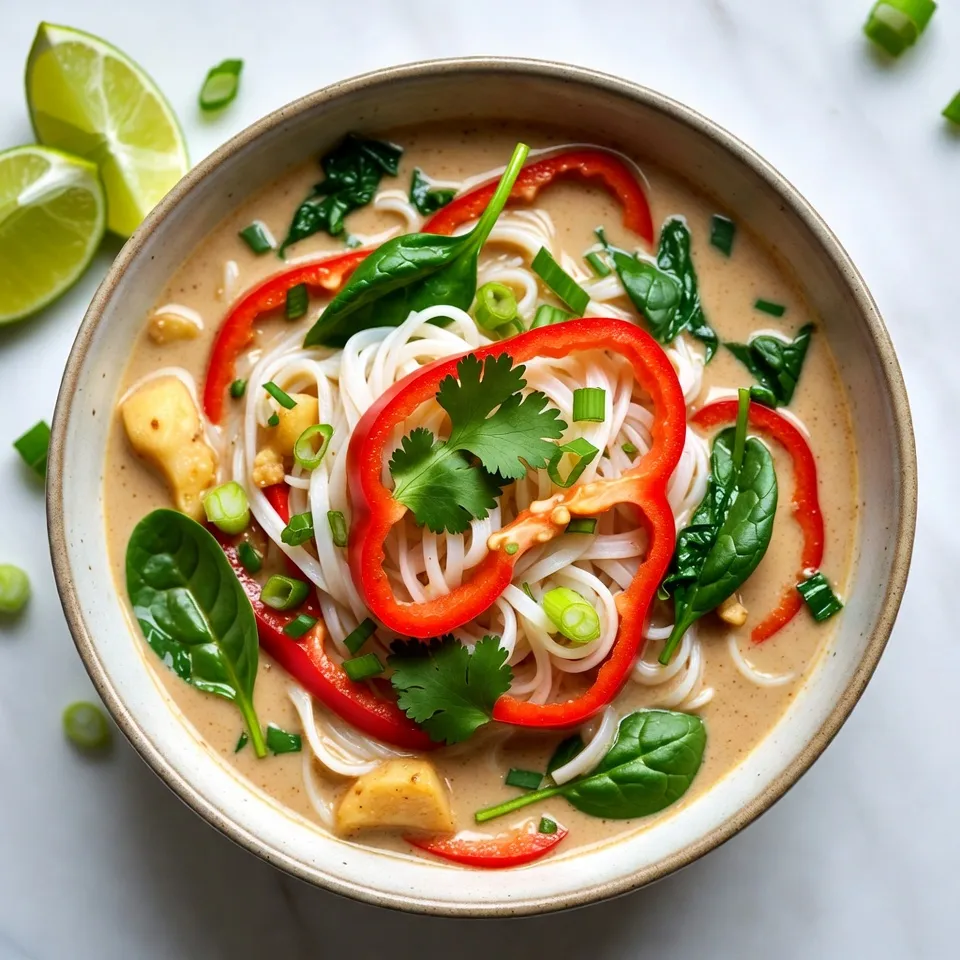
Looking for a bowl of warmth and flavor? Thai Coconut Curry Noodle Soup is your answer! This dish combines rich
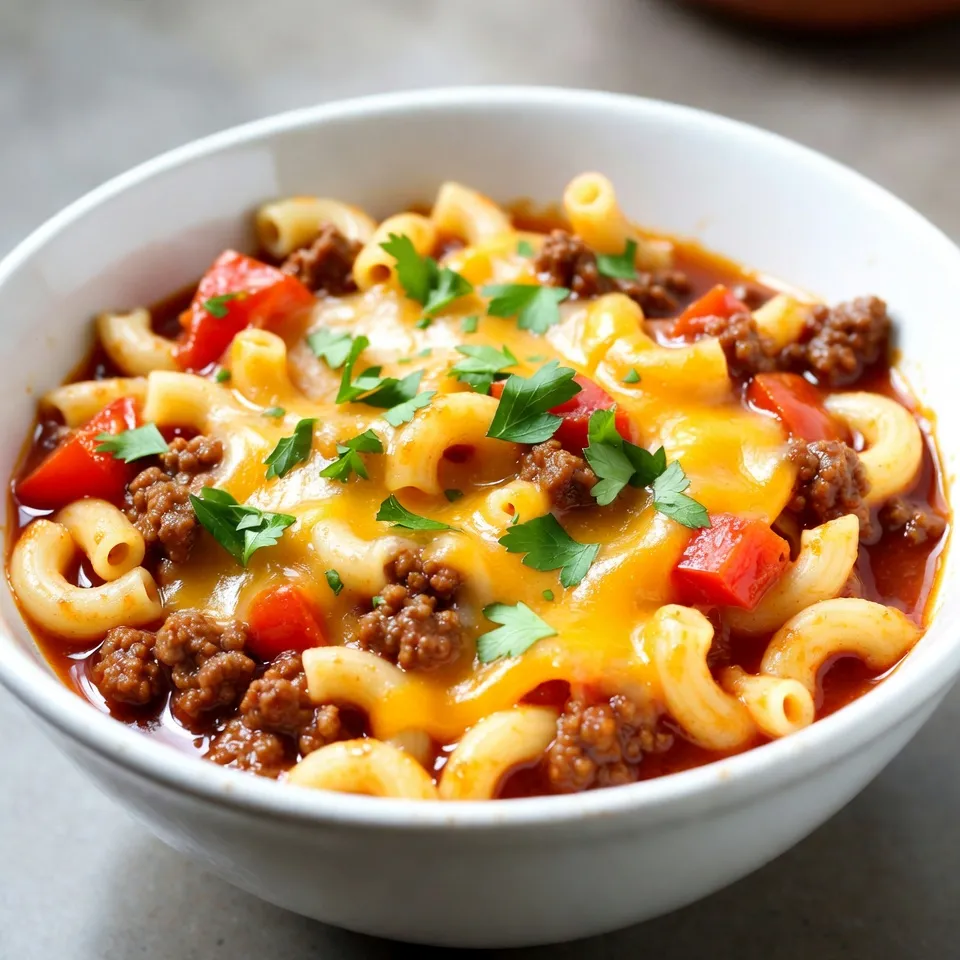
Looking for a quick, tasty meal? Try my Cheeseburger Pasta Skillet! This one-pan wonder combines all your favorite cheeseburger flavors
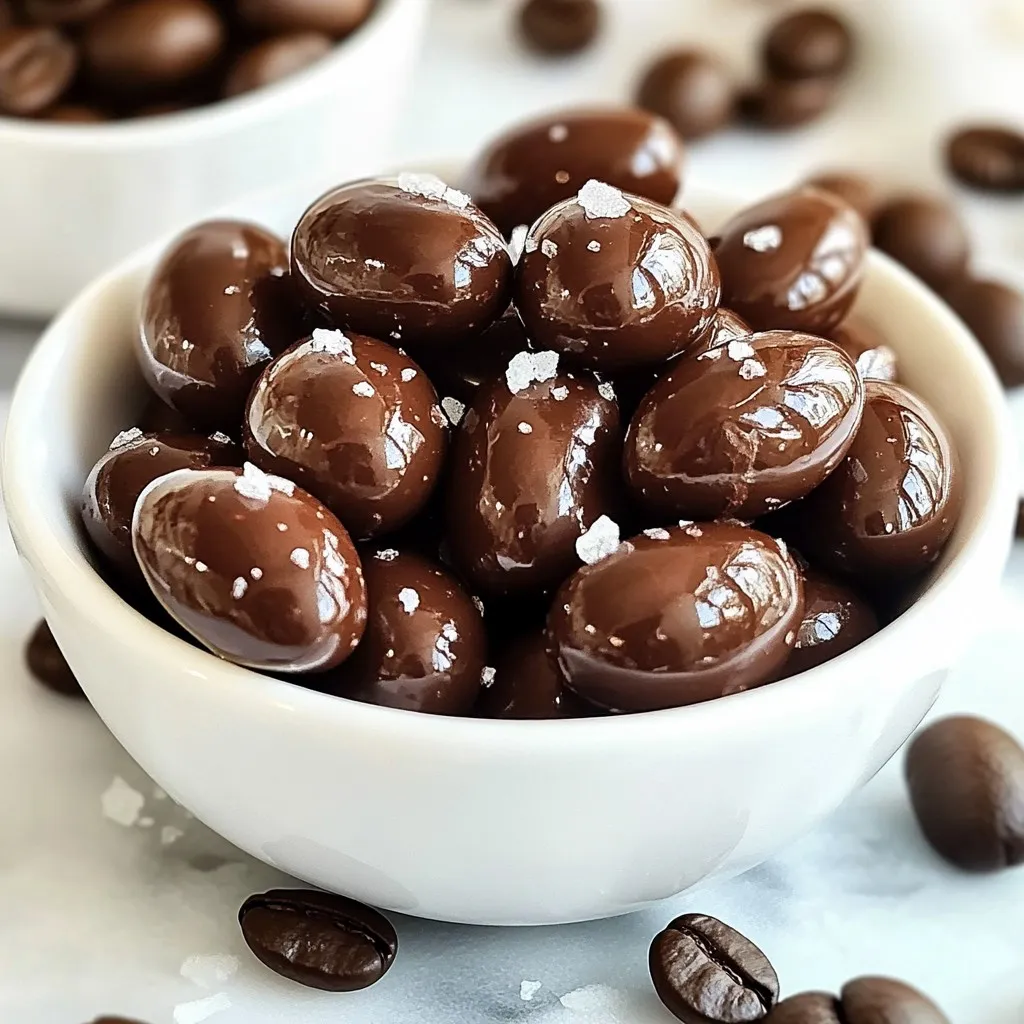
Are you ready to indulge in a treat that gives you an energy boost? Chocolate covered espresso beans are an
