


-min.png)
-min.png)
-min.png)
-min.png)
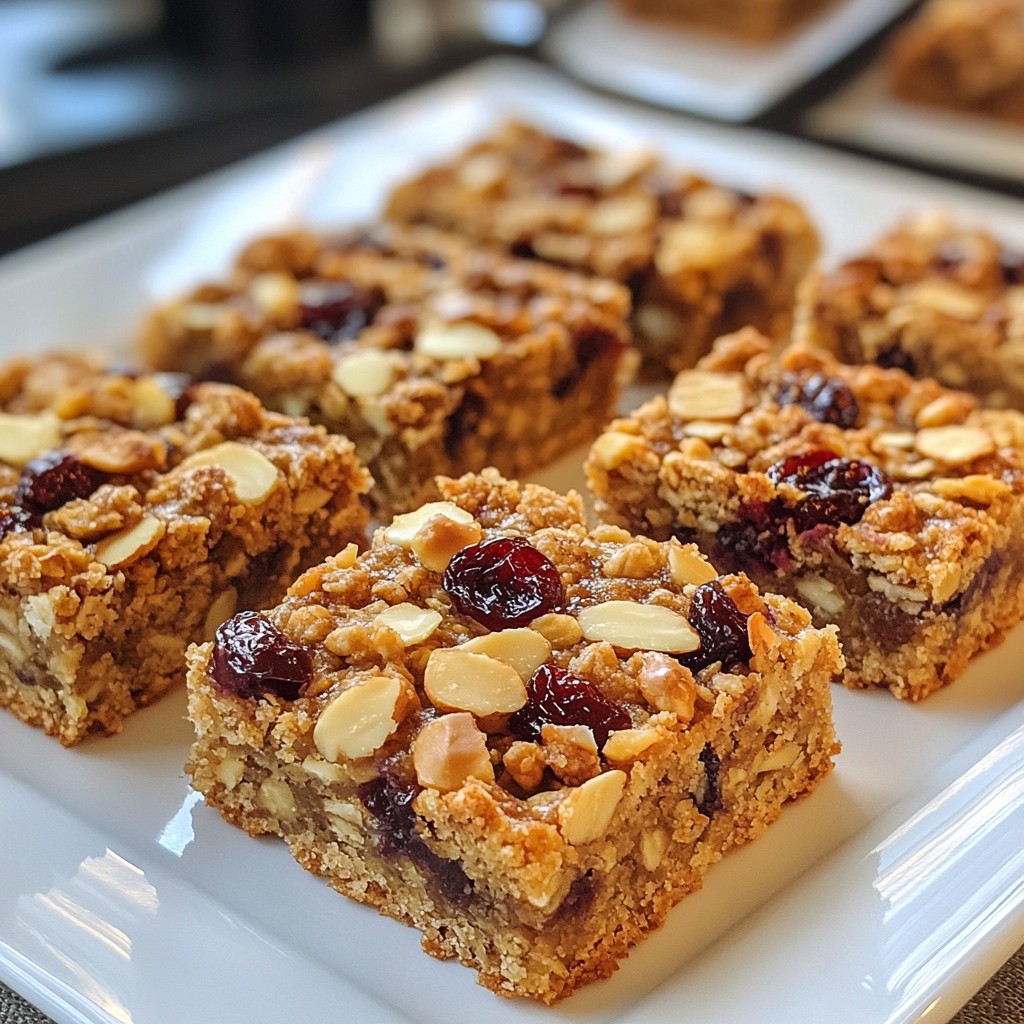
Cherry Almond Oat Bars Delightful Healthy Snack
Delicious and chewy oat bars packed with cherries and almonds.
Today's Special
Delicious and chewy oat bars packed with cherries and almonds.

Indulge in our collection of irresistible dessert recipes! From decadent chocolate treats to light and fruity delights, discover sweet creations that will satisfy every craving and make every occasion special!
More DessertsWhat are you craving?
Explore our delicious collection of recipes organized by category
Discover delicious dinner recipes that bring joy to your table! From quick weeknight meals to impressive family feasts, explore our collection of savory dishes that make every dinner time memorable!
More Dinners


Nice to meet you!
Julie Johnson, Founder & Recipe Developer of juliesdish, created the blog to share diverse culinary delights.
Learn More About MeLooking for something?
Fresh from the kitchen
Check out our newest additions - tried, tested, and absolutely delicious!
Delicious and chewy oat bars packed with cherries and almonds.
Delicious and flavorful chicken meatballs infused with garlic and herbs.
Delicious bell peppers stuffed with a savory mixture of quinoa, pizza sauce, mozzarella, and pepperoni.

A refreshing and aromatic lemonade infused with strawberries and basil.
A hearty and comforting vegan version of the classic shepherd's pie made with lentils and topped with creamy mashed pota...

A delicious pull-apart bread made with biscuit dough, apples, and caramel.