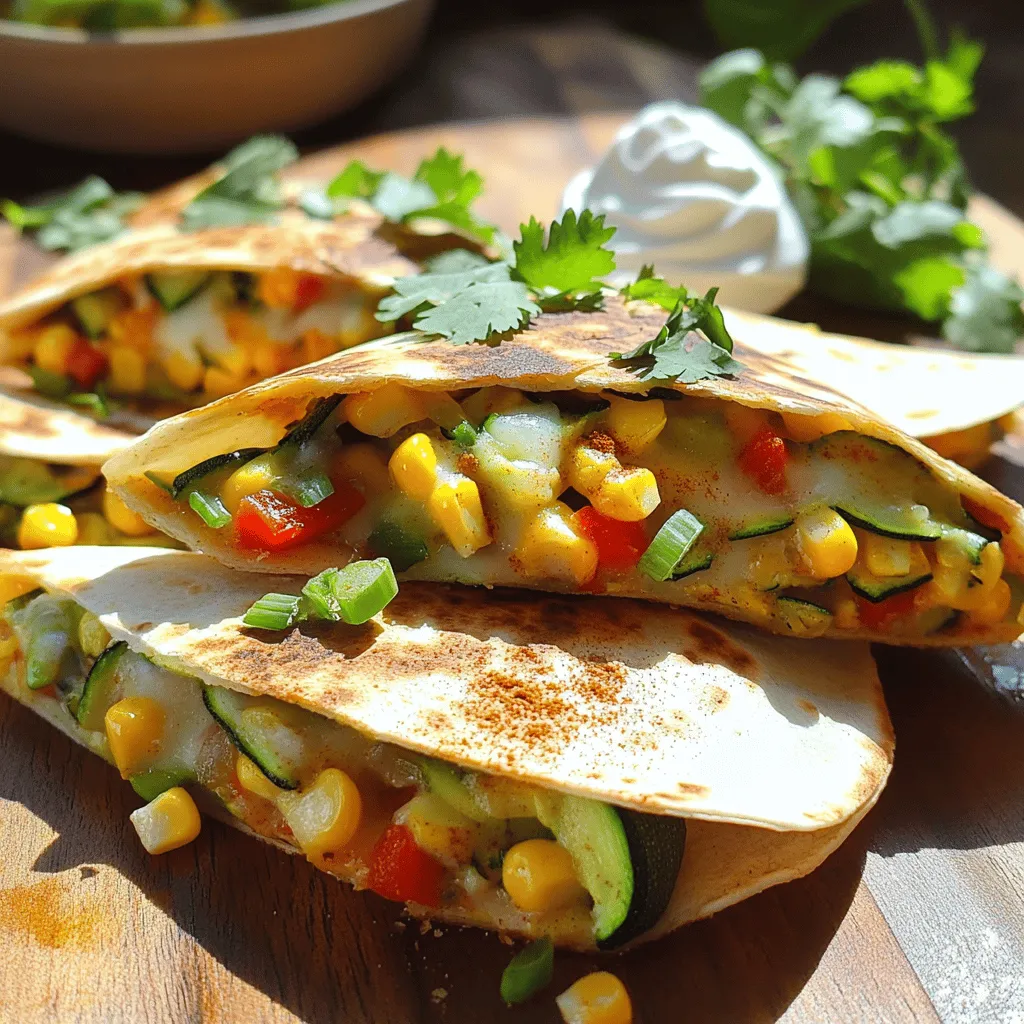
Craving a fun and tasty meal? Zucchini and corn quesadillas are the answer! They’re quick to make and packed with flavor. Just imagine crispy tortillas filled with fresh veggies and gooey cheese. In this post, I’ll guide you through the easy steps to create these delightful quesadillas. You’ll find tips, variations, and everything you need to impress your guests or enjoy a cozy meal at home. Let’s dive in!
Ingredients
Main Ingredients for Zucchini and Corn Quesadillas
To make zucchini and corn quesadillas, gather these main ingredients:
– 2 medium zucchinis, grated
– 1 cup fresh corn kernels (or frozen, thawed)
– ½ cup diced red bell pepper
– 2 green onions, sliced
– 1 teaspoon ground cumin
– 1 teaspoon paprika
– ½ teaspoon garlic powder
– Salt and pepper to taste
– 4 large flour tortillas
– 2 tablespoons olive oil
These fresh veggies add great flavor and texture. The spices give the quesadillas a warm kick.
Recommended Cheese Options
Cheese is key to a tasty quesadilla. I suggest using:
– 1 cup shredded cheddar
– 1 cup shredded Monterey Jack
Both options melt well and enhance the flavor. You can mix them for a creamy, cheesy delight.
Optional Garnishes and Dips
Garnishing makes your meal look pretty and tasty. Consider these options:
– Fresh cilantro, for garnish
– Sour cream, for dipping
– Greek yogurt, for a lighter option
These add fresh flavors and a nice contrast to the warm quesadilla.
Step-by-Step Instructions
Preparing the Filling
Start by grating the zucchinis. Use a box grater or food processor. You want about two medium zucchinis. Next, grab a large bowl. Add the grated zucchini, corn, cheese, diced red bell pepper, and sliced green onions. Then, sprinkle in the cumin, paprika, garlic powder, salt, and pepper. Mix all the ingredients well. This step is key for flavor.
Cooking the Quesadilla
Now, heat one tablespoon of olive oil in a large skillet over medium heat. Once the oil is hot, add half of the filling mixture to the skillet. Spread it evenly. Take one tortilla and place it over the filling. Press down gently with a spatula. Let it cook for about 3-4 minutes. You want the tortilla golden brown and the cheese to start melting.
Flipping and Finishing Touches
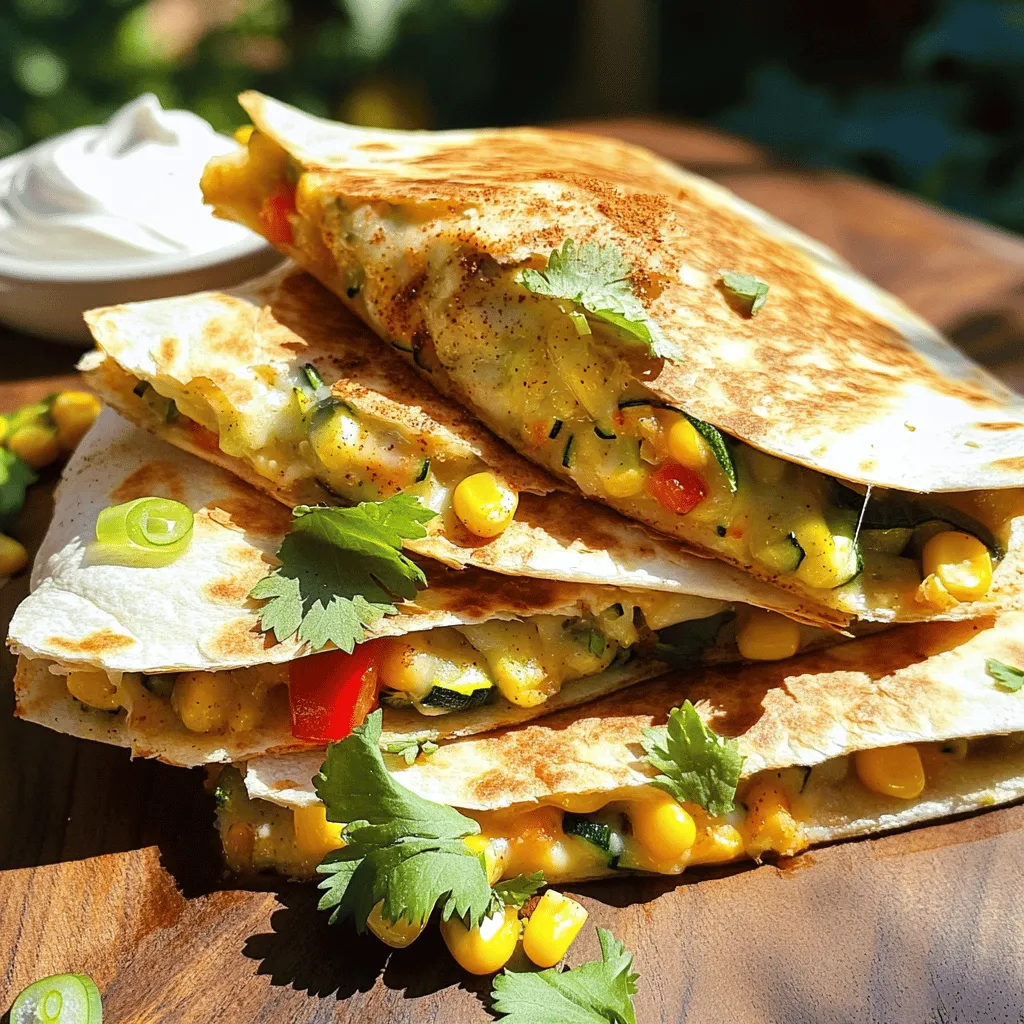
Carefully flip the quesadilla with a large spatula. Drizzle more olive oil around the edges. Cook for another 3-4 minutes until the other side is crispy and golden. Once done, remove the quesadilla and place it on a cutting board. Repeat this process with the remaining filling and tortillas. When finished, cut each quesadilla into wedges. Serve warm with fresh cilantro and some sour cream or Greek yogurt.
Tips & Tricks
Achieving the Perfect Crispy Texture
To get that nice crispy texture for your quesadillas, follow these steps:
– Use enough oil. A good amount helps the tortilla brown well.
– Heat the skillet properly before adding the quesadilla. A hot pan gives a better crunch.
– Press down with a spatula while cooking. This helps the filling and tortilla stick together.
– Flip carefully to avoid spills. A large spatula works best for this.
For the crispiest results, cook on medium heat. If the heat is too low, they can turn soggy. If it’s too high, they might burn before the cheese melts.
Adjusting Seasoning for Your Taste
Seasoning makes a big difference in flavor. Start with the basic spices listed in the recipe. Adjust as you like:
– Add more salt or pepper for a bolder taste.
– Try fresh herbs like cilantro for extra zest.
– Squeeze in lime juice for brightness.
Taste the filling before cooking. This way, you can tweak it to your liking. You can always add more spices, but it’s hard to take them out once added!
Vegetarian-Friendly Variants
These quesadillas are already vegetarian, but you can mix it up! Here are some ideas:
– Swap zucchini for spinach or bell peppers.
– Add black beans for extra protein and fiber.
– Use a blend of cheeses for different flavors.
Explore different veggies and beans to find your favorite combo. These swaps keep the meal fresh and fun!
Variations
Southwest-Style Zucchini and Corn Quesadillas
You can spice up your quesadillas with Southwest flavors. Add black beans for protein and fiber. Consider using pepper jack cheese for a kick. You might also mix in diced jalapeños for heat. These small changes create a fun twist on the classic. They bring a deeper flavor and excitement to each bite.
Adding Protein to Your Quesadillas
If you want a heartier meal, add protein. Cooked chicken or shrimp works well. You can also use tofu for a vegetarian option. Simply chop it into small pieces and mix it with the filling. This will make your quesadilla more filling and nutritious. Protein boosts energy and keeps you satisfied longer.
Gluten-Free Substitutions
For a gluten-free version, use corn tortillas. They are naturally gluten-free and add a nice crunch. You can also try using lettuce wraps for a fresh approach. Just skip the tortilla and use large lettuce leaves instead. This option is low-carb and refreshing. It’s perfect for summer days or anyone avoiding gluten.
These variations keep your meal interesting and cater to your taste. Feel free to experiment!
Storage Info
Storing Leftover Quesadillas
To store leftover quesadillas, let them cool first. Place them in an airtight container. You can keep them in the fridge for up to three days. This keeps them fresh and tasty for later. If you want to save space, stack them with parchment paper between each one.
Reheating Instructions
To reheat your quesadillas, use a skillet for best results. Heat the skillet over medium heat. Place the quesadilla in the pan and cover it. Cook for about three to four minutes on each side. This method gives you a warm, crispy quesadilla. You can also use a microwave, but it may not stay crispy.
Freezing and Thawing Quesadillas
If you want to freeze quesadillas, wrap each one in plastic wrap. Then, place them in a freezer bag. They can last up to three months in the freezer. When you’re ready to eat them, thaw them overnight in the fridge. Reheat in a skillet for the best texture. This way, you can enjoy your zesty zucchini and corn quesadillas anytime!
FAQs
Can I use canned corn instead of fresh?
Yes, you can use canned corn in your quesadillas. Just drain it well before adding. Canned corn gives you a sweet flavor and saves time. Fresh corn, however, adds a crisp texture. Choose based on your taste and what you have on hand.
What can I substitute for tortillas?
If you need a substitute for tortillas, try using lettuce wraps or rice paper. You can also use pita bread or even thinly sliced vegetables. Each option brings a unique flavor and texture to your quesadilla. Just make sure your choice can hold the filling well.
How do I make zucchini and corn quesadillas crispy?
To make your quesadillas crispy, use enough oil when cooking. Heat the oil well before adding the quesadilla. Press down gently with a spatula while cooking to get a good seal. Flip carefully to avoid spills. Cooking longer on low heat also helps achieve a nice crispiness.
Zucchini and corn quesadillas are simple and tasty. We went through key ingredients, cooking steps, and storage tips. You can customize these quesadillas with your favorite cheeses and proteins. Remember, crispiness comes from cooking them right. Feel free to adjust flavors to your liking. With these tips, you can make a great meal any time. Enjoy making this fun dish with fresh ingredients! You’ll love how easy and delicious they are.