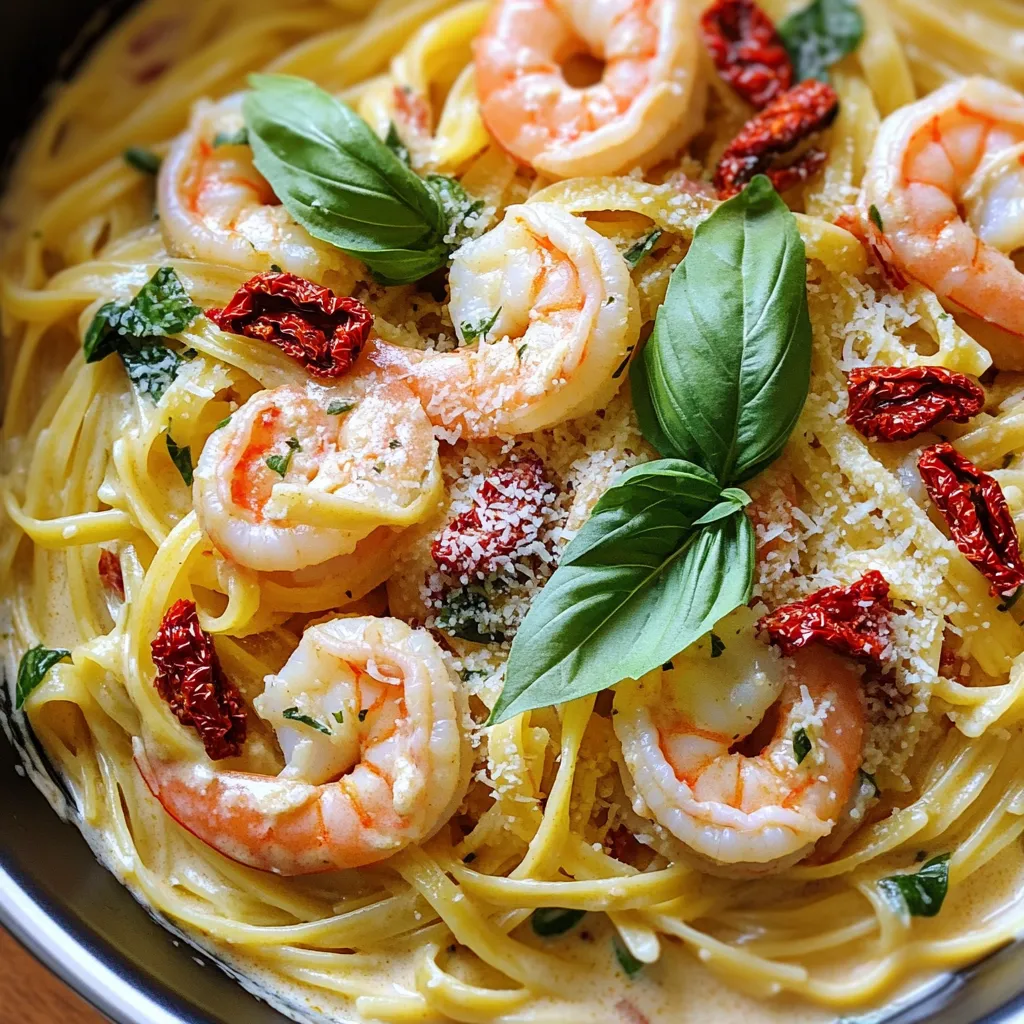
One-Pot Creamy Sun-Dried Tomato Shrimp Pasta Delight
Welcome to the ultimate comfort food: One-Pot Creamy Sun-Dried Tomato Shrimp Pasta Delight! In just one pot, you can whip
Welcome to the ultimate comfort food: One-Pot Creamy Sun-Dried Tomato Shrimp Pasta Delight! In just one pot, you can whip
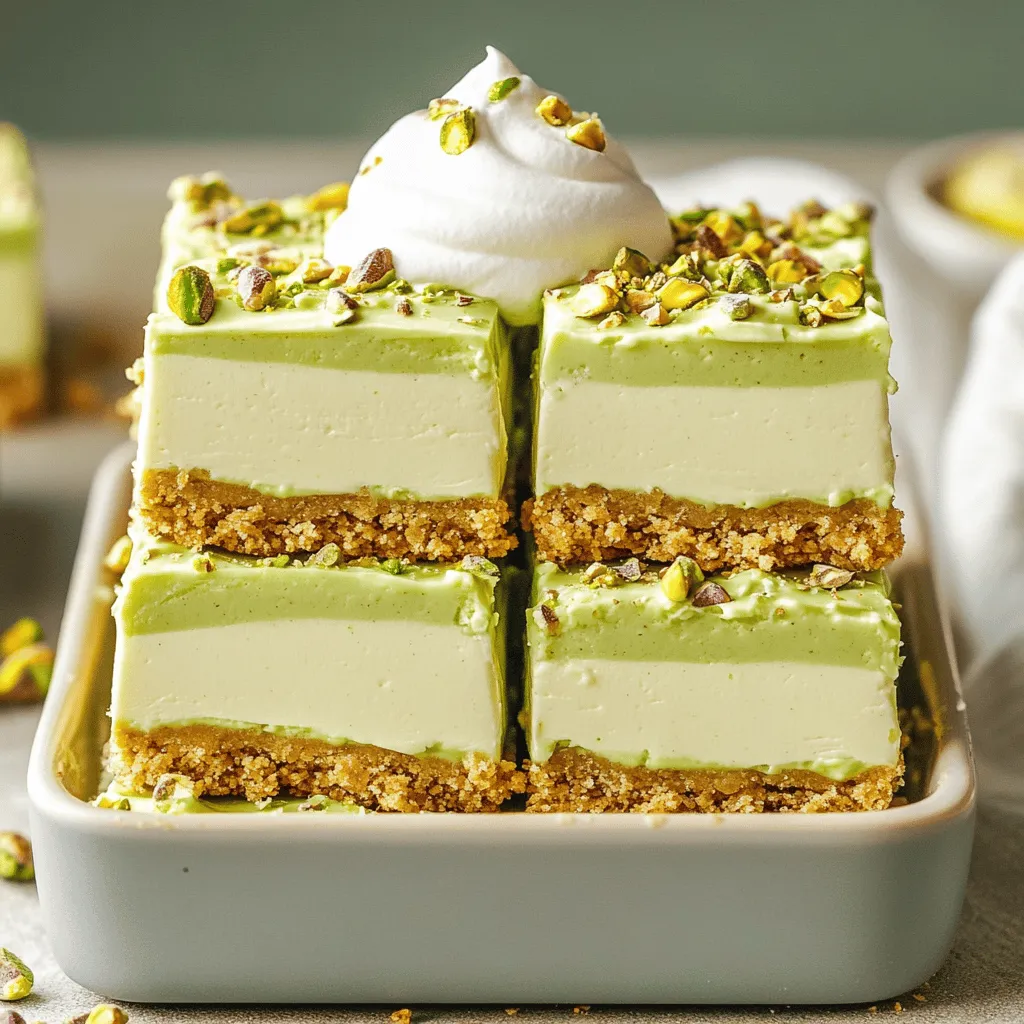
If you’re looking for a sweet treat that’s simple and delicious, you’re in the right place! These No Bake Pistachio
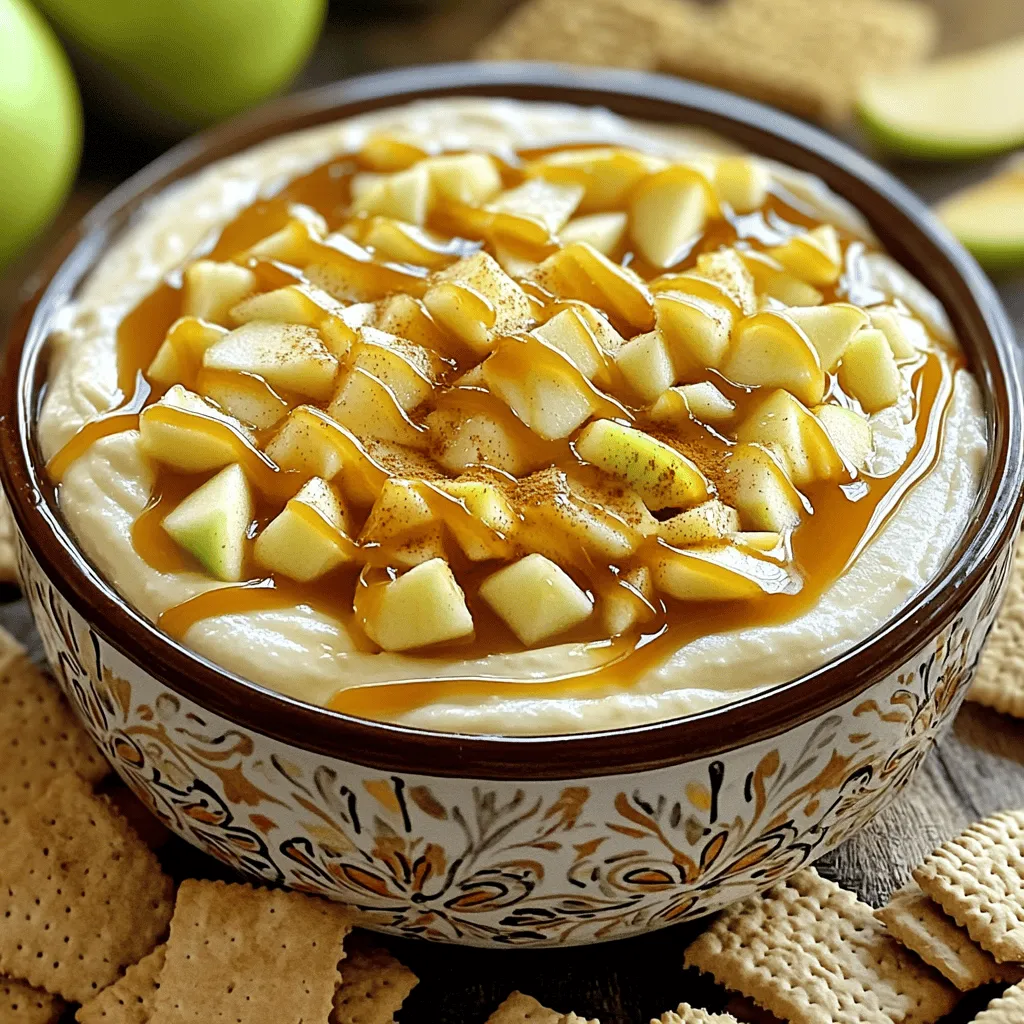
Fall is here, and it’s time to treat yourself with a warm, sweet snack! I’m excited to share my Caramel
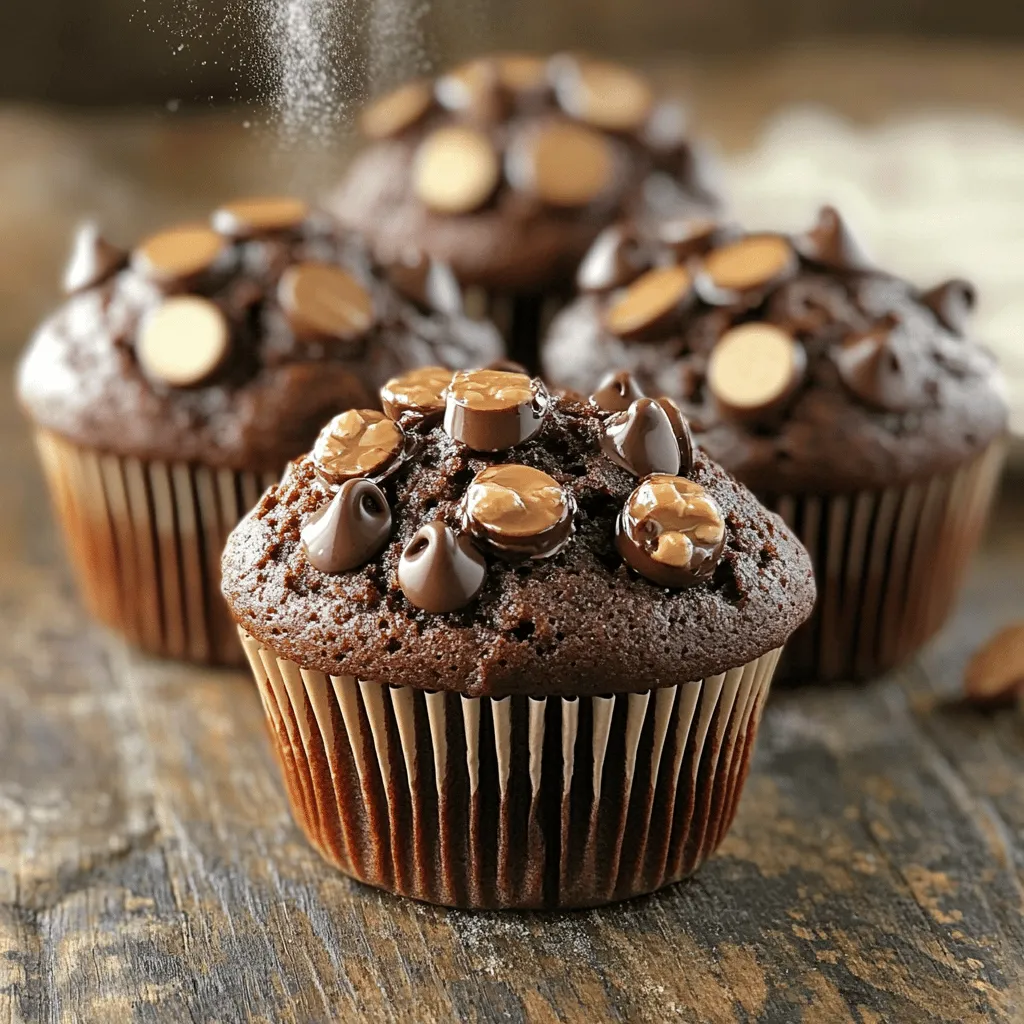
If you love the rich taste of chocolate and coffee, you’re in for a treat! These Bakery Style Chocolate Espresso
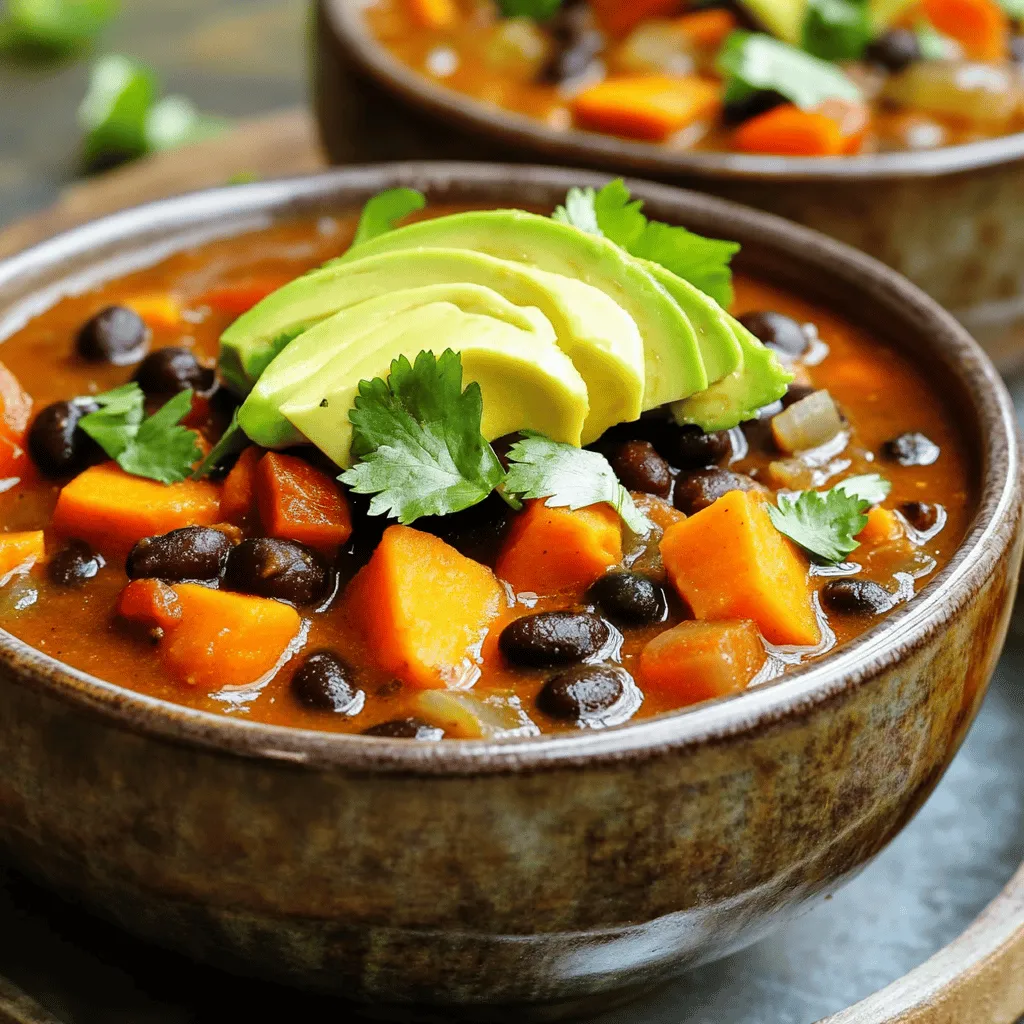
Get ready for a hearty and flavorful meal with my Slow Cooker Sweet Potato Black Bean Chili recipe. This dish
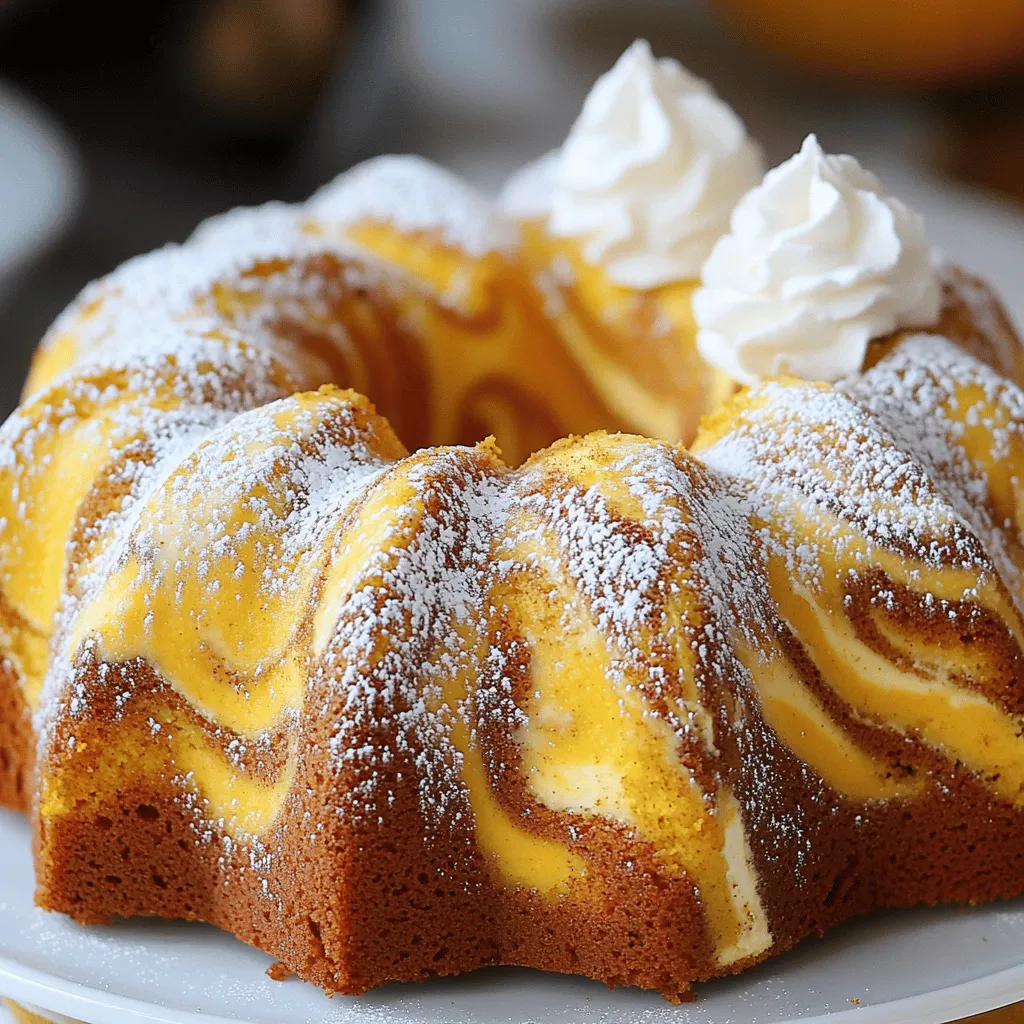
If you love fall flavors, you’ll adore this Pumpkin Cream Cheese Bundt Cake! It’s moist, flavorful, and topped with a
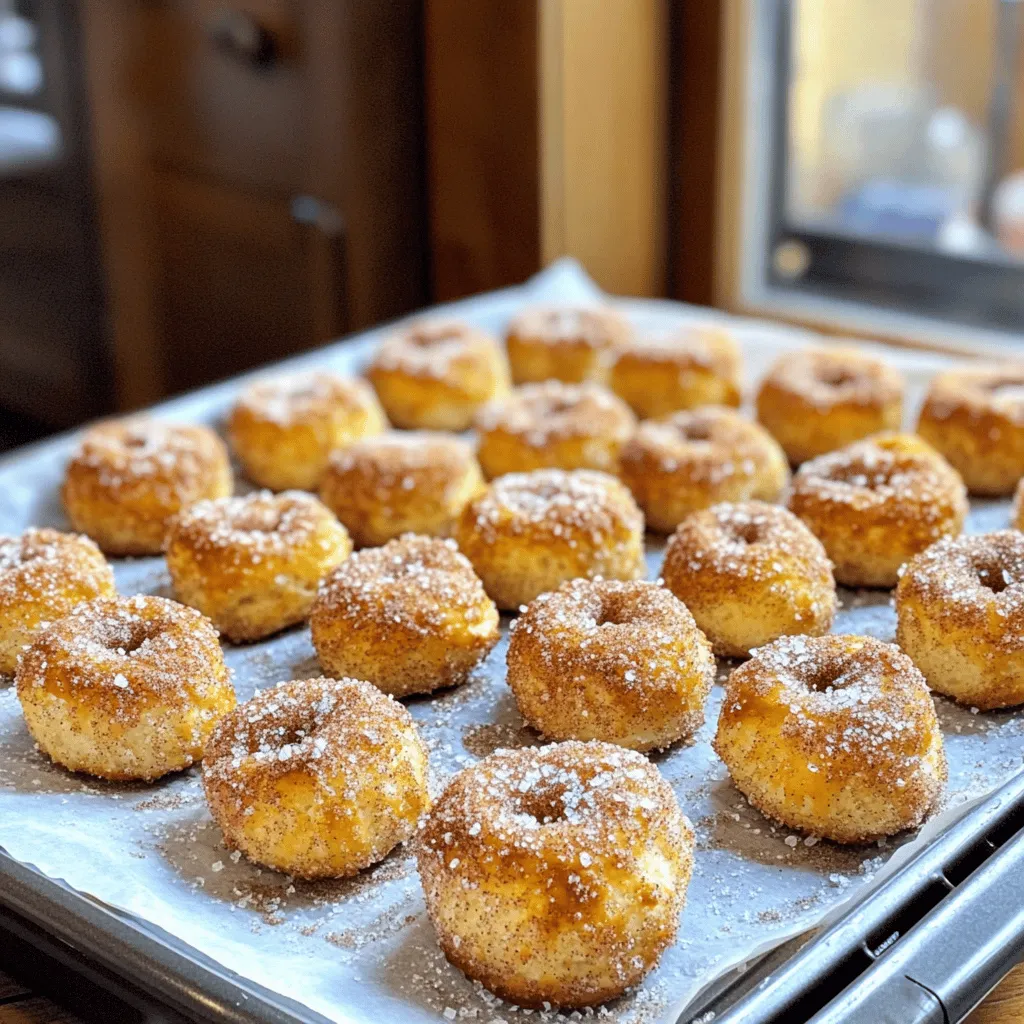
Snack enthusiasts, get ready to indulge! Today, I’m sharing a recipe for Air Fryer Cinnamon Sugar Pretzel Bites, a treat
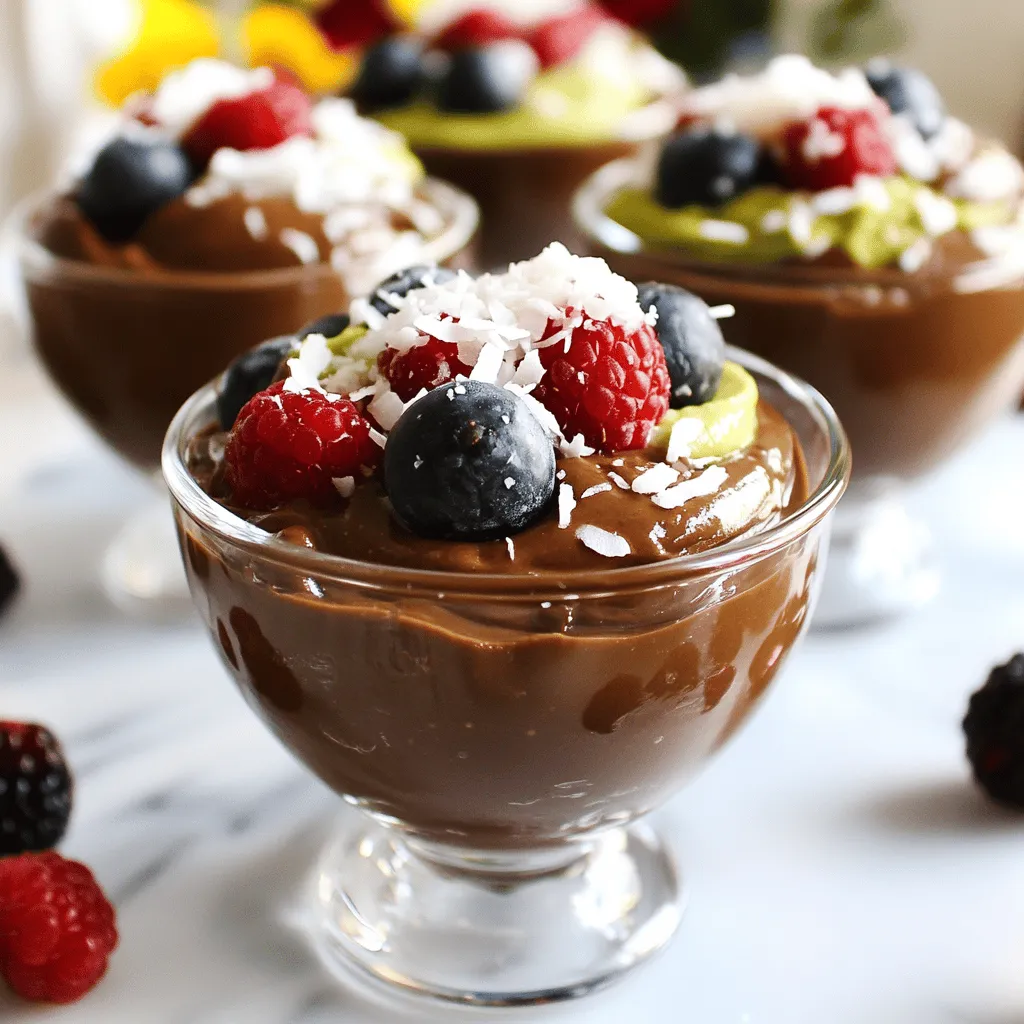
Are you ready to indulge in a dessert that’s both rich and guilt-free? My Vegan Chocolate Avocado Mousse is a
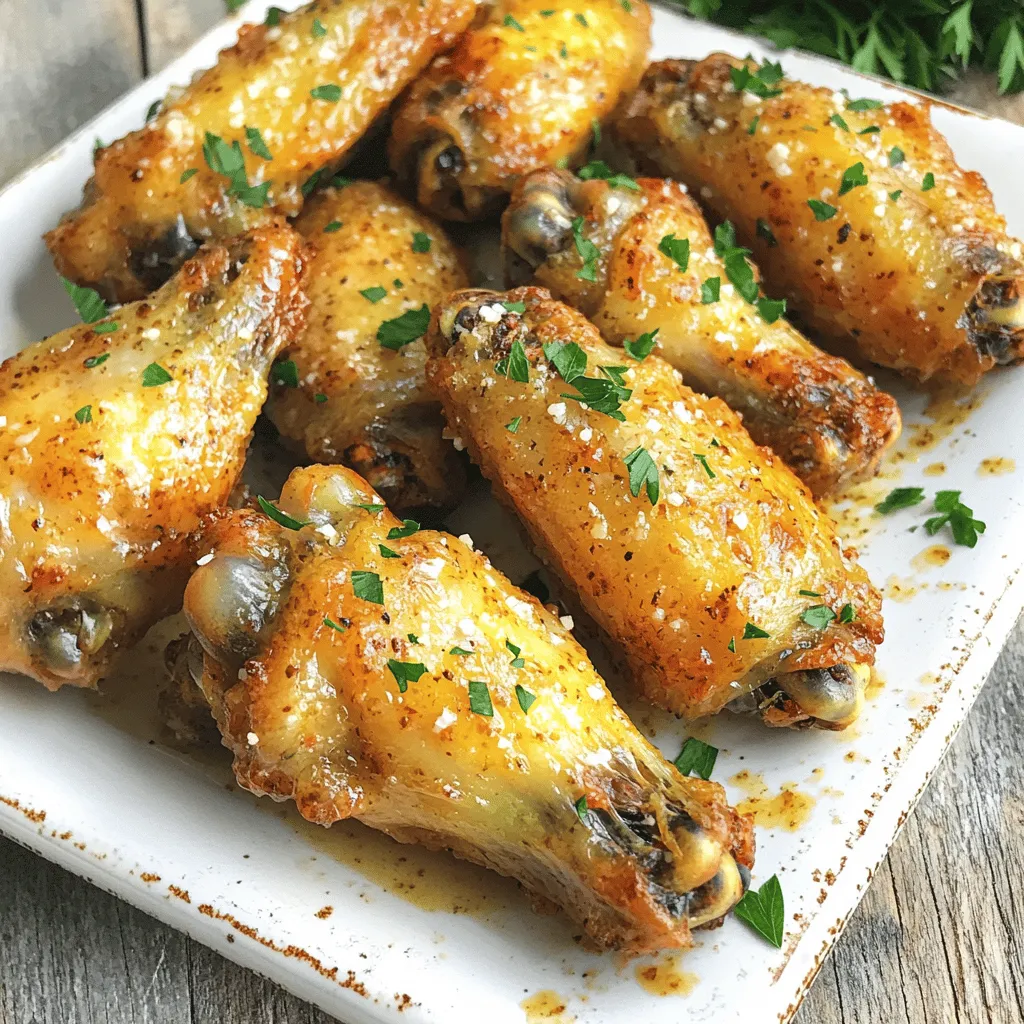
Are you ready for a game-changing snack? Baked Garlic Parmesan Wings are your new go-to treat. These wings are crispy,
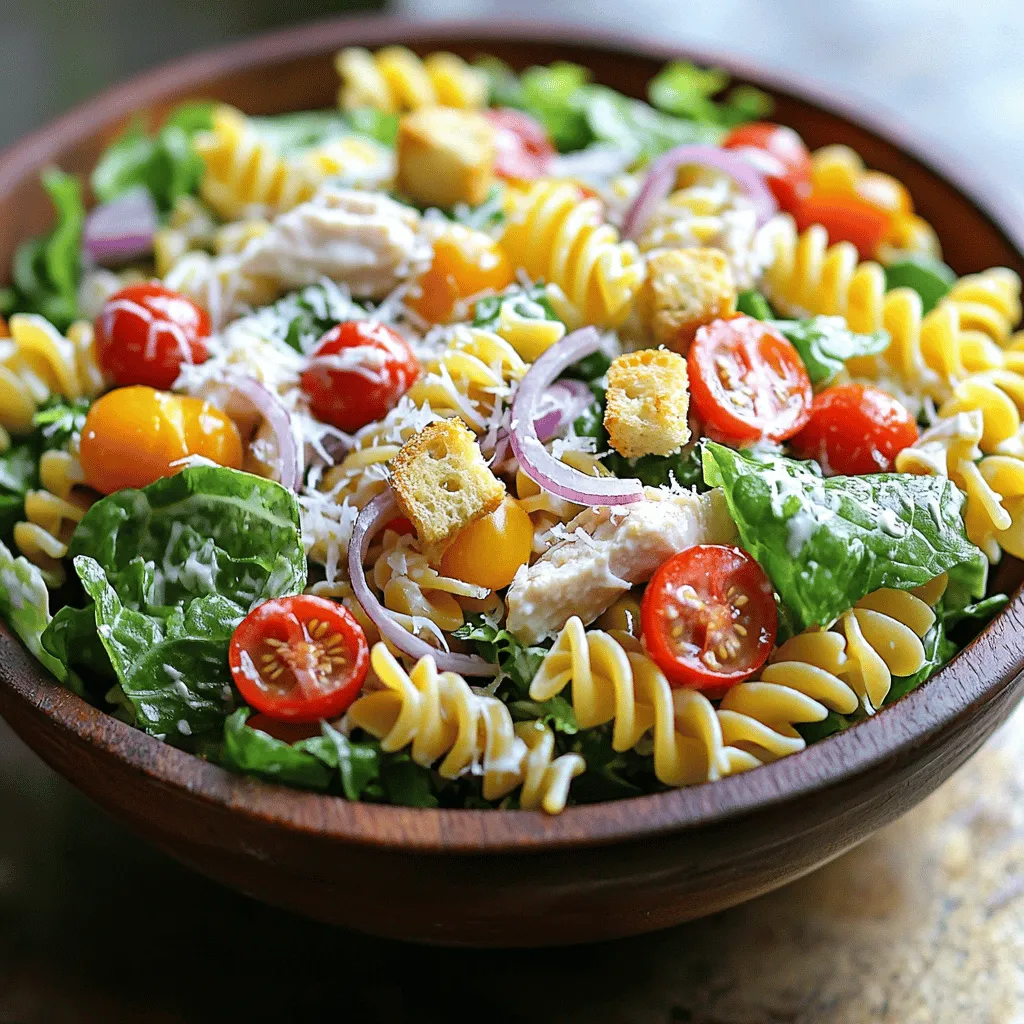
Looking for a tasty, easy meal that packs a flavor punch? Try my Chicken Caesar Pasta Salad! This dish combines
