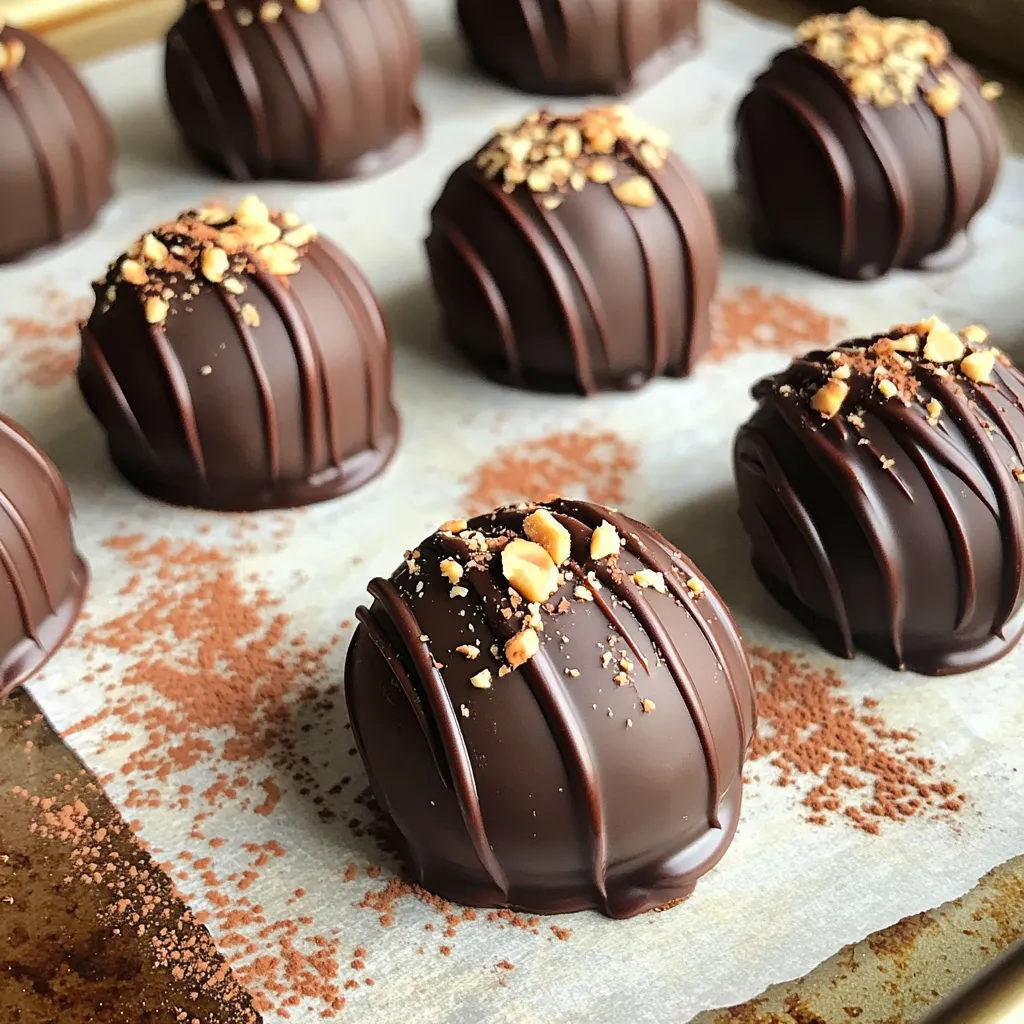
Do you crave a sweet treat that’s quick and easy? These No Bake Chocolate Peanut Butter Truffles are your answer! With just a few simple ingredients, you can create a deliciously indulgent dessert that requires no oven. I’ll walk you through every step, from mixing the base to coating in rich chocolate. Ready to make a delightful snack? Let’s dive in and get started!
Ingredients
Main Ingredients
– 1 cup creamy peanut butter
– 1/2 cup honey or maple syrup
– 2 cups rolled oats
– 1 cup dark chocolate chips
– 1/2 teaspoon vanilla extract
– A pinch of salt
These main ingredients create a rich and tasty treat. The creamy peanut butter adds smoothness. Honey or maple syrup gives sweetness. Rolled oats provide texture and fiber. Dark chocolate chips bring a deep chocolate flavor. Vanilla extract enhances all the flavors. Salt balances the sweetness, making each bite perfect.
Optional Add-ins
– Crushed nuts
– Cocoa powder
You can personalize your truffles with these add-ins. Crushed nuts add crunch and flavor. They can be almonds, walnuts, or pecans. Cocoa powder gives a rich chocolate flavor. You can roll the truffles in either for a fun finish. These options let you make the truffles your own.
Step-by-Step Instructions
Mixing the Base
First, grab a large mixing bowl. Add 1 cup of creamy peanut butter. Next, pour in 1/2 cup of honey or maple syrup. Use a spatula to mix these until smooth. Now, add 2 cups of rolled oats. Don’t forget 1/2 teaspoon of vanilla extract and a pinch of salt. Mix it all well until every part blends together.
Chilling the Mixture
Cover the bowl with plastic wrap. Place it in the fridge for about 30 minutes. Chilling helps the mixture firm up. This makes it easier to handle when you roll it into balls.
Forming the Truffles
Once chilled, take the mixture out. Use a tablespoon to scoop some mixture. Roll it between your hands into a ball. Aim for bite-sized pieces. Repeat this step until you finish the mixture.
Coating and Setting
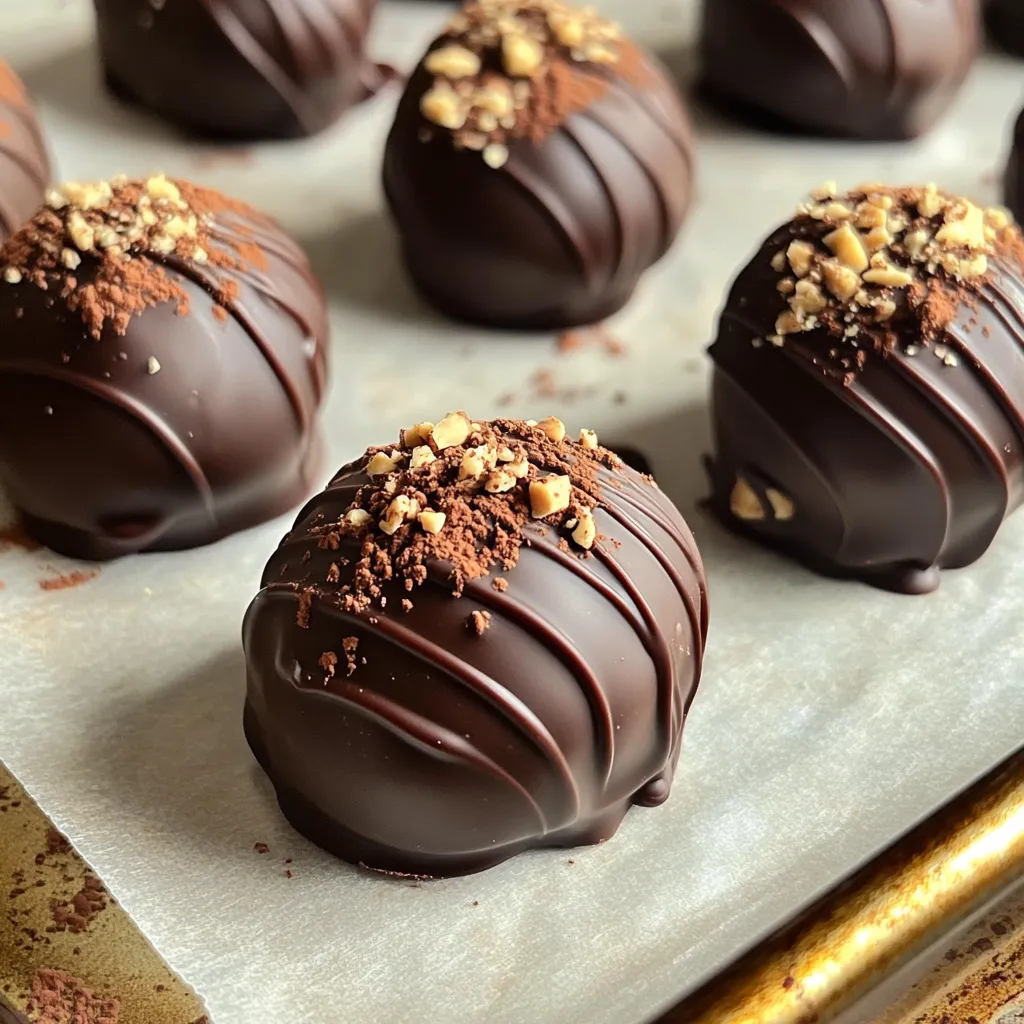
Now, let’s prepare the chocolate coating. Take 1 cup of dark chocolate chips and melt them in a microwave-safe bowl. Heat in 30-second bursts, stirring in between, until smooth. Dip each truffle ball into the melted chocolate. Make sure it’s fully coated. Use a fork to lift it out, letting any extra chocolate drip off. Place the truffles on a parchment-lined baking sheet. If you like, sprinkle crushed nuts or cocoa powder on top. Then, chill the tray in the fridge for about 30 minutes. This will let the chocolate set perfectly.
Tips & Tricks
Best Practices for Mixing
To make your truffles smooth, start with creamy peanut butter. Mix it with honey or maple syrup in a large bowl. Stir until you see no lumps. Then add rolled oats, vanilla, and salt. Make sure to blend everything well. This will give you a nice, thick mixture.
Chilling Ideas
If you want to chill your mixture faster, use a shallow dish. Spread the mixture out evenly in the dish. It will cool quicker than in a deep bowl. You can also place it in the freezer for about 10 to 15 minutes. Just keep an eye on it, so it doesn’t freeze solid.
Chocolate Melting Tips
When melting chocolate, use a microwave-safe bowl. Heat in 30-second bursts. Stir after each time. This helps avoid clumps and keeps it smooth. If you see some chocolate still in chunks, just keep stirring. It will melt completely without overheating.
Variations
Flavor Additions
You can change the taste of your truffles easily. Try adding flavored extracts to the mix. A few drops of almond or coconut extract can bring a new twist. You can also add spices for warmth. A sprinkle of cinnamon or nutmeg gives a cozy flavor. These small changes make your truffles unique and fun.
Dietary Modifications
If you want vegan truffles, it’s simple. Just swap honey for maple syrup. Use dark chocolate that is dairy-free for the coating. For gluten-free options, make sure the oats are certified gluten-free. This way, everyone can enjoy the treats without worry.
Different Coatings
Coating can change the look and taste of your truffles. Instead of dark chocolate, try white chocolate or milk chocolate. Melt these chocolates just like you would with dark chocolate. You can also roll the truffles in different toppings. Crushed nuts, sprinkles, or cocoa powder add fun textures. These choices let you customize each truffle to your liking.
Storage Info
Refrigeration
You can keep your no-bake chocolate peanut butter truffles in the fridge. They stay fresh for up to one week. Make sure to store them in an airtight container. This keeps them from drying out and losing flavor.
Freezing
If you want to save some for later, freezing is a great option. Place the truffles in a single layer on a baking sheet. Freeze them for about one hour. After that, transfer them to a freezer-safe container. They can last up to three months in the freezer. Just remember to separate layers with parchment paper.
Serving Recommendations
These truffles shine as a quick snack or dessert. Serve them chilled for the best taste. You can also pair them with fresh fruit or a scoop of ice cream. For extra flair, sprinkle some crushed nuts or cocoa powder on top before serving. Enjoy the rich flavors and creamy texture!
FAQs
How long do no-bake chocolate peanut butter truffles last?
No-bake chocolate peanut butter truffles last about one week in the fridge. Store them in an airtight container. If you freeze them, they can last up to three months. Just thaw them in the fridge before eating.
Can I use natural peanut butter?
Yes, you can use natural peanut butter. It will give the truffles a nice, creamy texture. Just make sure it is smooth and not too oily. If you use natural peanut butter, you may adjust the amount of honey to taste.
How do I make the truffles dairy-free?
To make these truffles dairy-free, use dairy-free dark chocolate chips. Look for brands that are labeled as dairy-free. This way, you can enjoy the rich flavor without any dairy.
What can I substitute for honey?
You can substitute honey with maple syrup. Maple syrup adds a nice flavor and keeps the truffles sweet. You can also use agave syrup if you want a vegan option.
Can I add protein powder to the mixture?
Yes, adding protein powder is a great idea! It boosts the nutrition of your truffles. Just add a scoop when mixing the dry ingredients. Adjust the other ingredients as needed to keep the right texture.
You just learned how to make no-bake chocolate peanut butter truffles. We explored key ingredients, easy steps, and helpful tips. You can adjust flavors or adapt the recipe for diet needs. Remember, these truffles store well and make a delightful treat. Enjoy trying different coatings and add-ins to make them your own. With these steps, you have everything you need to create a tasty snack everyone will love. Happy truffling!