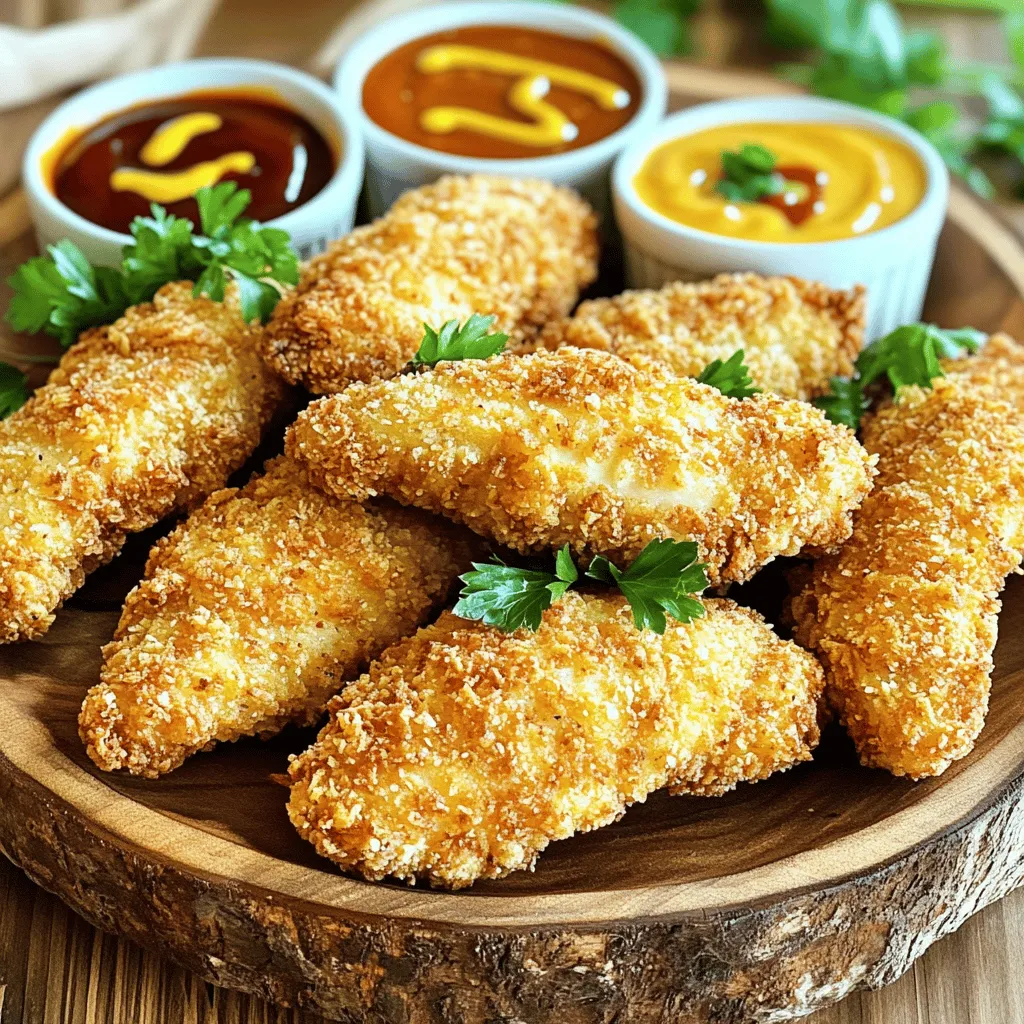
If you crave a meal that’s both crispy and full of flavor, these chicken tenders are for you! I’ll guide you step-by-step through a simple process that ensures irresistibly crunchy bites. With just a few essential ingredients and some handy tips, you can impress everyone at your table. Get ready to whip up a dish that’s sure to become a family favorite! Let’s dive into making the perfect crispy chicken tenders.
Ingredients
Essential Ingredients
– 1 pound boneless, skinless chicken breasts
– 1 cup buttermilk (or milk mixed with 1 tablespoon vinegar)
– 1 cup all-purpose flour
– 1 cup panko breadcrumbs
Seasoning Components
– 1 teaspoon paprika
– 1 teaspoon garlic powder
– 1 teaspoon onion powder
– 1 teaspoon salt
– 1/2 teaspoon black pepper
– 1/2 teaspoon cayenne pepper (optional for heat)
Additional Items
– 2 large eggs, beaten
– Vegetable oil (for frying)
To make crispy chicken tenders, you need a few key items. Start with boneless, skinless chicken breasts. This cut cooks evenly and stays juicy. You can use buttermilk to soak the chicken. If you don’t have buttermilk, mix milk with vinegar.
Next, gather the dry ingredients. All-purpose flour gives a great base for the crunch. Panko breadcrumbs add a light and crispy layer. They create a perfect texture when fried.
Now, let’s talk about flavor. Season your mixture with paprika, garlic powder, and onion powder. These spices give the chicken a warm and savory taste. Add salt and black pepper for balance. If you want heat, include cayenne pepper.
Lastly, you need two eggs for coating and vegetable oil for frying. The oil helps achieve that golden brown color.
Step-by-Step Instructions
Preparation of Chicken
– Start by soaking the chicken strips in buttermilk for at least 30 minutes. This step makes the chicken tender and juicy. The buttermilk adds flavor too. If you don’t have buttermilk, mix regular milk with a tablespoon of vinegar. This will work just fine!
– While the chicken soaks, prepare your coating station. You will need three bowls: one for the flour mixture, one for the eggs, and one for breadcrumbs. Place everything in a row to make the process smooth and easy.
Breading Process
– In your first bowl, mix the dry ingredients. Combine all-purpose flour, paprika, garlic powder, onion powder, salt, black pepper, and cayenne pepper. This mix adds a punch of flavor to your tenders.
– In your second bowl, crack the eggs and beat them lightly. This will help the breadcrumbs stick to the chicken.
– Now, take the chicken out of the buttermilk. Let the excess liquid drip off. First, coat each strip in the flour mixture, shaking off any extra flour. Next, dip the chicken into the beaten eggs, ensuring it’s well-coated. Finally, roll the chicken strips in panko breadcrumbs. Press gently to ensure the crumbs stick well.
Cooking Methods
– Heat about 1/4 inch of vegetable oil in a large skillet over medium-high heat. To check if the oil is hot enough, drop in a breadcrumb. It should sizzle right away.
– Carefully add the breaded chicken tenders to the hot oil. Fry them in batches to avoid overcrowding. Cook for about 4-5 minutes on each side. Look for a golden brown color and ensure the chicken is cooked through.
– Once done, transfer the chicken tenders to a paper towel-lined plate to drain excess oil. This helps keep them crispy and not greasy.
Tips & Tricks
Ensuring Crispy Texture
Panko breadcrumbs are key to making your chicken tenders crispy. They are light and airy, which helps create a perfect crunch. Regular breadcrumbs can’t match that texture. For the best results, use fresh panko.
Oil temperature matters, too. Heat the oil over medium-high heat. Drop a breadcrumb into the oil. If it sizzles, the oil is ready. If it’s too hot, the outside will burn before the chicken cooks. Too cool, and the chicken will absorb oil, making it greasy.
Serving Suggestions
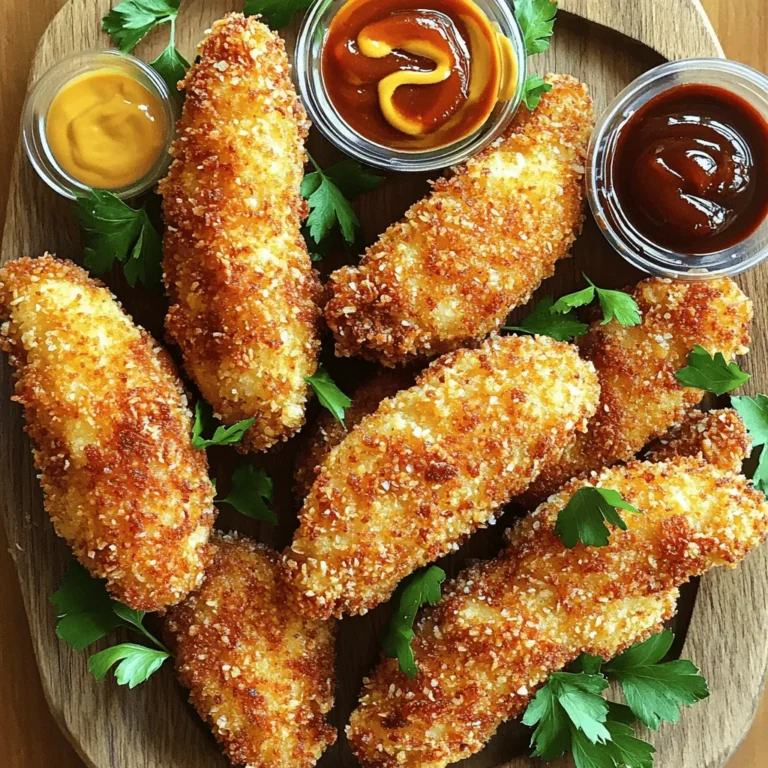
Dipping sauces add fun to your meal. Try honey mustard, BBQ sauce, or ranch. Each sauce adds its unique flavor and makes every bite special.
For presentation, serve your crispy chicken tenders on a colorful platter. Arrange them in a fan shape. Add fresh parsley for a pop of color. This not only looks great but also makes the meal feel special.
Common Errors to Avoid
Avoid overcrowding the pan when frying. If you add too many chicken strips, they will steam instead of fry. This leads to soggy tenders. Fry in small batches for the best results.
After frying, let the chicken drain properly. Place the tenders on a paper towel-lined plate. This step helps remove excess oil and keeps your chicken crispy. If you skip this, your tenders may become soggy fast.

Variations
Alternative Cooking Methods
You can switch things up with different cooking methods. Baking chicken tenders is simple. Preheat your oven to 400°F (200°C). Place the breaded chicken on a baking sheet. Spray the tenders lightly with oil for a crispy finish. Bake for about 20 minutes, flipping halfway through. This method cuts down on oil and keeps them crispy.
Air frying is another great option. Set your air fryer to 375°F (190°C). Arrange the chicken tenders in a single layer in the basket. Cook for about 10 to 12 minutes. Flip halfway to ensure even cooking. You will get a crunchy texture without frying in oil.
Flavor Variations
Want to spice things up? You can make a spicy version by adding more cayenne pepper or your favorite hot sauce to the egg mixture. This adds a kick that many will enjoy. For a more herbal taste, try mixing dried herbs like thyme or oregano into the flour. These herbs give a fresh twist to your chicken tenders.
Healthy Substitutes
If you want to make it healthier, consider using whole wheat flour. It adds fiber and nutrients. You can also use gluten-free flour if needed. This keeps the recipe inclusive for all diets. Baking instead of frying is another smart choice. It helps reduce calories and fat but still gives you tasty tenders. Explore these options to find what fits your needs!
Storage Info
Refrigeration Tips
To store leftover chicken tenders, let them cool first. Place them in a shallow container. Make sure to cover the container tightly with a lid or plastic wrap. This keeps the chicken moist and fresh. You can keep them in the fridge for up to three days. Glass or BPA-free plastic containers work best for storage. They help maintain the chicken’s flavor and texture.
Freezing Instructions
You can freeze chicken tenders before or after cooking. If you freeze them raw, coat them and place them on a baking sheet. Freeze until solid, then transfer to a freezer bag. If you freeze them cooked, let them cool first. Then, wrap each piece in plastic wrap and place in a freezer bag. This keeps them fresh for up to three months. When you’re ready to eat, thaw them overnight in the fridge.
Reheating Tips
To reheat chicken tenders and keep them crispy, the oven or air fryer works best. Preheat your oven to 400°F (200°C). Place the tenders on a baking sheet and heat for about 10-15 minutes. For the air fryer, set it to 350°F (175°C) and heat for about 5-7 minutes. This method restores their crunchiness. You can also use a microwave, but they may get soggy. Always check the temperature to ensure they are fully heated.
FAQs
How do I make crispy chicken tenders?
To make crispy chicken tenders, start by soaking the chicken in buttermilk. This step keeps the meat juicy. Next, prepare your coating. Mix flour with spices like paprika, garlic powder, and onion powder. The flour adds crunch. Then, dip the soaked chicken in flour, eggs, and finally panko breadcrumbs. Fry the chicken in hot oil until golden brown. This method ensures a crispy coating.
What is the best way to season chicken tenders?
The best way to season chicken tenders is to use a mix of spices. I recommend paprika, garlic powder, and onion powder for a tasty base. Add salt and black pepper for flavor. If you like heat, cayenne pepper gives a nice kick. You can also experiment with dried herbs like thyme or oregano for added taste.
Can I make chicken tenders in advance?
Yes, you can make chicken tenders in advance. Prep the chicken by soaking it in buttermilk and coating it. You can store the breaded strips in the fridge for a few hours. This saves time on busy days. Just fry them when you’re ready to eat. You can also freeze them. Just make sure to thaw them before cooking.
What can I serve with chicken tenders?
You can serve chicken tenders with many sides. French fries are a classic choice. For a healthier option, pair them with a fresh salad. You can also serve them with coleslaw or vegetable sticks. Dipping sauces like honey mustard, BBQ sauce, or ranch make great complements too. These sides enhance the meal and make it more fun!
In this blog post, I covered the key ingredients and steps for making crispy chicken tenders. We explored important ingredients, like buttermilk and panko breadcrumbs, and shared tips for perfect frying. We discussed healthy variations and storage methods to keep your chicken fresh. Remember, using the right techniques ensures delicious results. Whether you fry, bake, or air fry, these tips make cooking fun. Enjoy your tasty chicken tenders, and don’t hesitate to get creative with your flavors!


