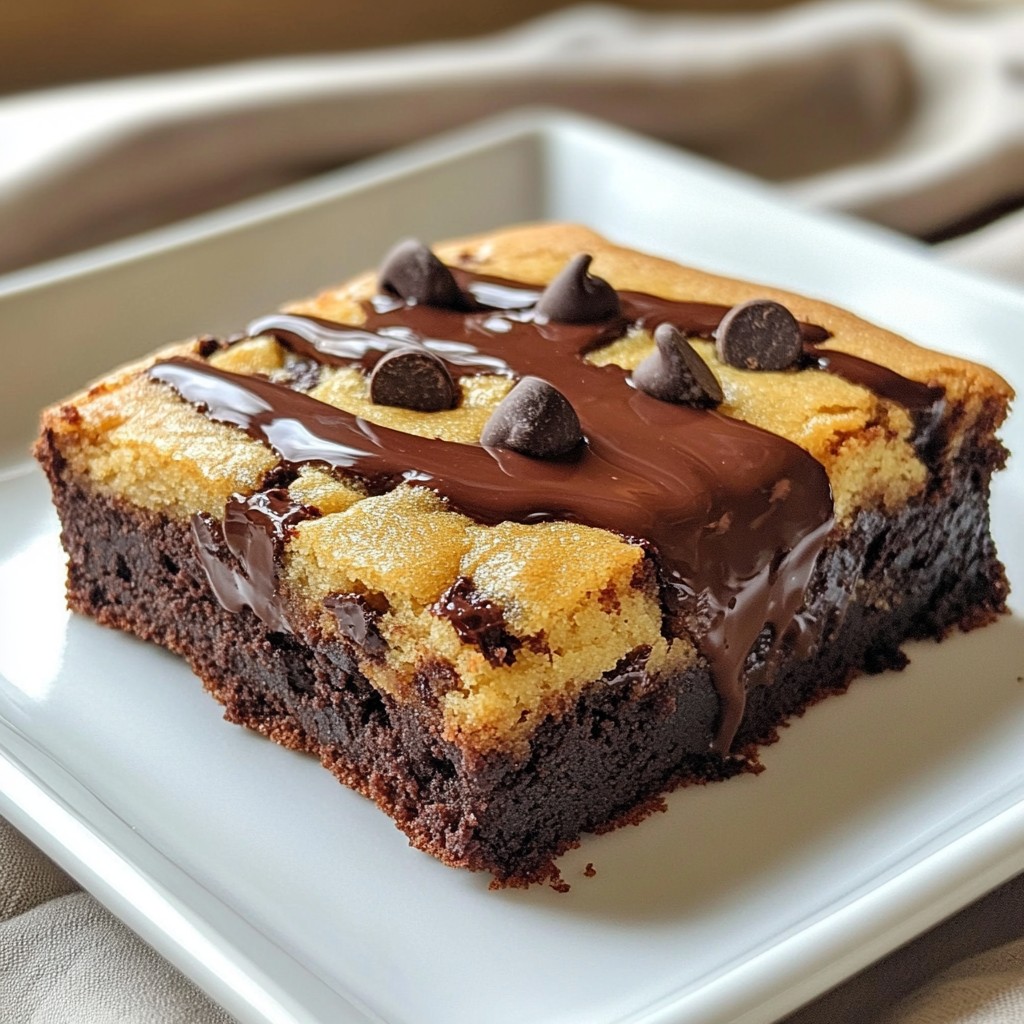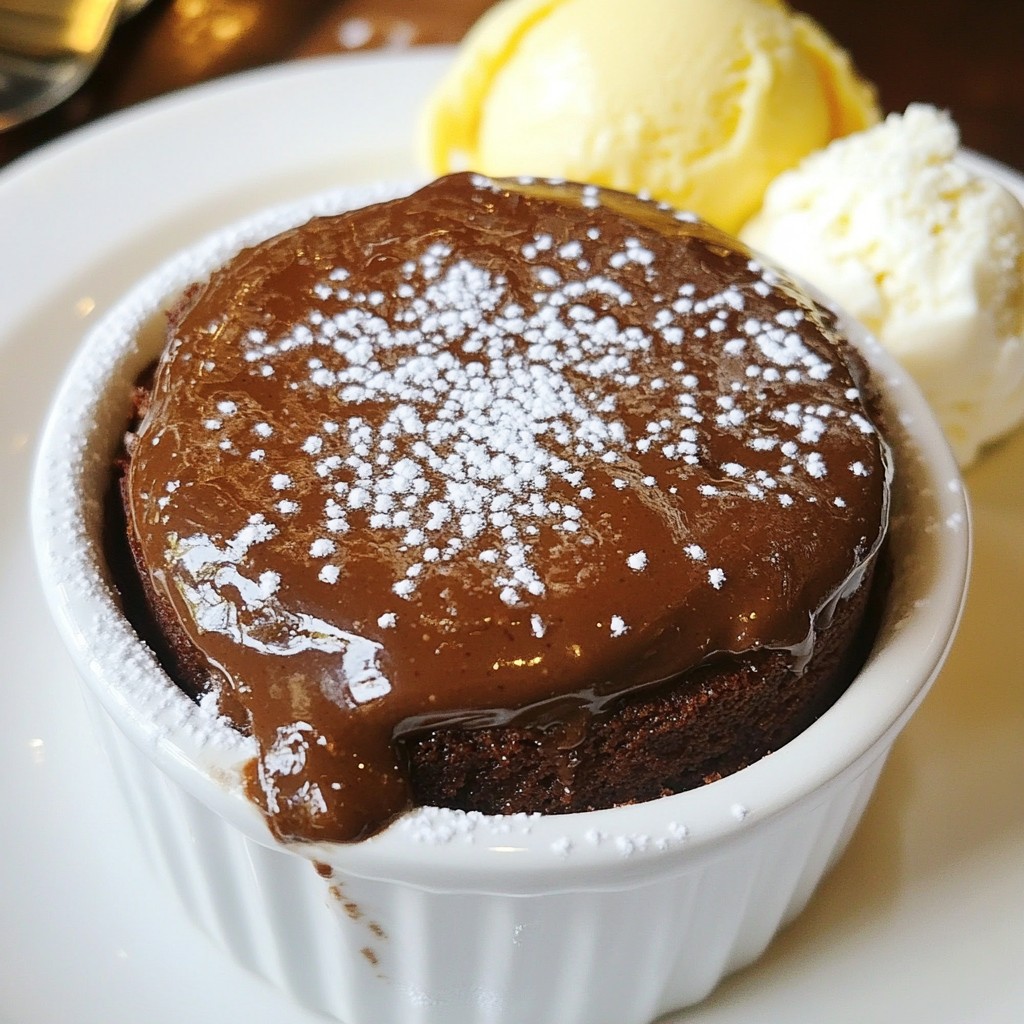
Indulge in the rich world of desserts with my Chocolate Peanut Butter Lava Cake. This treat blends smooth chocolate and creamy peanut butter, creating a melt-in-your-mouth experience. In this post, you’ll find simple steps, helpful tips, and delicious variations to make your cake a hit. Whether you're a baking pro or a newbie, you can impress anyone with this irresistible delight. Let’s dive in and make some magic in the kitchen!
Why I Love This Recipe
- Decadent Flavor: This lava cake combines rich dark chocolate with creamy peanut butter, creating an irresistible dessert that satisfies all cravings.
- Quick and Easy: With just 15 minutes of prep time, you can whip up this gourmet dessert in no time, perfect for unexpected guests or a cozy night in.
- Impressive Presentation: The molten center oozes out when you cut into it, making for a stunning dessert that will impress anyone you serve it to.
- Customizable: Serve it with vanilla ice cream, whipped cream, or fresh berries to add your personal touch and enhance the experience.
Ingredients
Chocolate and Butter
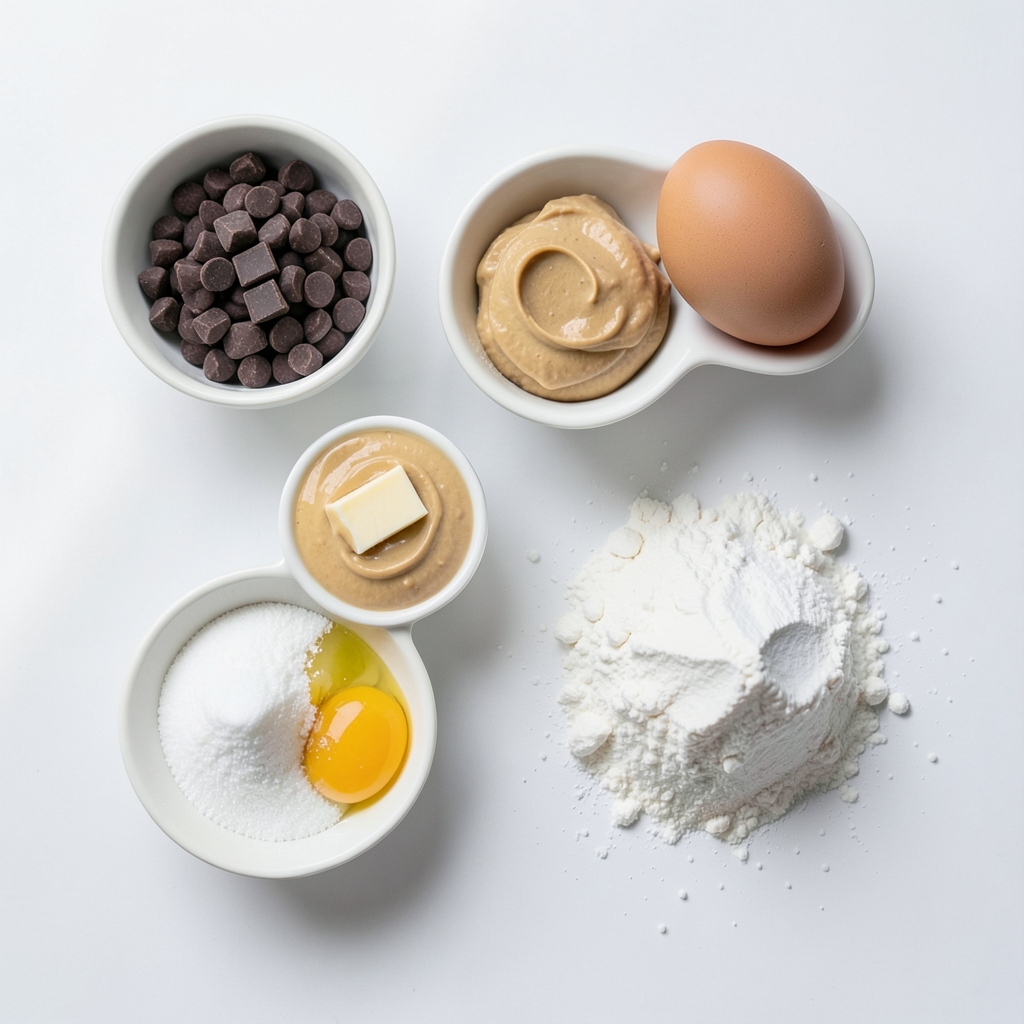
To start, gather your key players: dark chocolate and unsalted butter. You need 1 cup of dark chocolate chips and ½ cup of unsalted butter. This duo creates a rich and smooth base. The chocolate brings deep flavor, while the butter adds creaminess. Melt them together in the microwave. Use a microwave-safe bowl and heat in 30-second bursts. Stir well between each interval. When it’s smooth, you’re ready for the next step.
Eggs and Sugar
Next, we need 2 large eggs and 2 large egg yolks. They give your cake structure and fluffiness. Also, grab ½ cup of granulated sugar. This sweetens the mix and helps with the rise. In a separate bowl, whisk the eggs, yolks, and sugar together. Keep whisking until the mixture looks pale and thick. This process adds air to the batter, which is vital for the perfect lava cake.
Additional Ingredients
Now, let’s add the finishing touches. You’ll need ½ cup of creamy peanut butter, 1 teaspoon of vanilla extract, ¼ cup of all-purpose flour, and a pinch of salt. The peanut butter gives a nutty flavor. The vanilla adds warmth. The flour helps bind everything together, while the salt enhances the taste. Don’t forget a dusting of powdered sugar for serving. If you want to go all out, serve with a scoop of vanilla ice cream. This adds a cold, creamy contrast to the warm cake.
Step-by-Step Instructions
Preparation and Preheating
First, preheat your oven to 425°F (220°C). This step is key for a great bake. Next, take four ramekins and grease them with unsalted butter. Dust the insides with cocoa powder. This will stop the cakes from sticking. Set these aside while you prepare the batter.
Melting Chocolate Mixture
Grab a microwave-safe bowl. Add 1 cup of dark chocolate chips and ½ cup of unsalted butter. Place the bowl in the microwave. Heat it in 30-second bursts. Stir after each burst until the mixture is smooth. Once melted, take it out and add in ½ cup of creamy peanut butter. Stir well until fully combined. This mixture should be rich and glossy.
Mixing Batter
Now, in a separate bowl, whisk together 2 large eggs, 2 large egg yolks, and ½ cup of granulated sugar. Mix until it turns pale and slightly thick. This adds air and helps the cake rise. Slowly pour the melted chocolate-peanut butter mix into the egg mixture. Stir constantly to blend them well. Next, sift in ¼ cup of all-purpose flour and a pinch of salt. Gently fold until just combined. Be careful not to overmix. Your batter should be smooth and ready to pour into the ramekins.
Tips & Tricks
How to Achieve the Perfect Lava Center
To get that gooey lava center, timing is key. Bake your cakes for 12 to 14 minutes. Check if the edges are firm while the center looks soft. The center should jiggle slightly when you take them out. If you bake too long, the lava disappears, and they become cake-like.
Avoiding Common Mistakes
Here are some common pitfalls to avoid:
- Overmixing the Batter: Mix just until combined. Overmixing makes the cakes dense.
- Not Greasing Ramekins: Grease and dust with cocoa powder. This keeps your cakes from sticking.
- Using Cold Ingredients: Bring eggs and peanut butter to room temperature. This helps the batter blend smoothly.
Serving Suggestions
Serve these cakes right out of the oven for the best experience. Dust with powdered sugar for a lovely finish. For a treat, add a scoop of vanilla ice cream on the side. The cold ice cream contrasts perfectly with the warm cake. You can also add fresh berries for a burst of flavor.
Pro Tips
- Use High-Quality Chocolate: Opt for a good-grade dark chocolate for a richer flavor in your lava cake.
- Don't Overbake: Keep an eye on the baking time; the center should be soft and slightly jiggly for that gooey lava effect.
- Let It Rest: Allow the cakes to rest for a minute before inverting them onto plates to prevent them from breaking apart.
- Add a Surprise: For an extra twist, try adding a few chocolate chunks or peanut butter chips into the batter for added texture.
Variations
Different Types of Chocolate
You can change the flavor of your lava cake by using different chocolates. Dark chocolate gives a rich taste. Milk chocolate offers a sweeter option. White chocolate brings a creamy and sweet flavor. Each choice changes the cake’s personality. You might find a new favorite by trying them all!
Nut Alternatives
If you want to switch up the nut flavor, you have options. Almond butter works well if you like a nutty taste. Cashew butter adds a subtle creaminess. Sunflower seed butter is a great choice for nut-free diets. Each alternative changes the flavor but keeps the cake’s texture.
Toppings and Add-Ins
You can make your dessert even more fun with toppings. A sprinkle of sea salt can enhance the chocolate flavor. Fresh berries add a burst of freshness. Chopped nuts give a nice crunch. You can also drizzle caramel or chocolate sauce for extra sweetness. Don't forget a scoop of vanilla ice cream to make it a perfect treat!
Storage Info
How to Store Leftovers
To keep your chocolate peanut butter lava cake fresh, you need to store it right. Place any leftover cakes in an airtight container. You can leave them at room temperature for up to two days. If you want them to last longer, put them in the fridge. They will stay good for about a week in the fridge.
Reheating Instructions
When you are ready to enjoy your leftover cake, reheating is simple. Preheat your oven to 350°F (175°C). Place the lava cake on a baking sheet. Heat it for about 8 to 10 minutes. This will warm the cake and bring back its gooey center. If you are in a hurry, you can use the microwave. Heat it in short bursts of 15 seconds until warm. Just be careful not to overheat it!
Freezing Options
If you want to save some lava cakes for later, freezing works well. Allow the cakes to cool completely first. Wrap each individual cake tightly in plastic wrap. Then, place them in a freezer-safe bag or container. They can stay in the freezer for up to three months. When you are ready to eat, thaw them in the fridge overnight before reheating. Enjoy that warm, gooey goodness all over again!
FAQs
Can I make this recipe ahead of time?
Yes, you can! Prepare the batter a day in advance. Pour it into the greased ramekins and cover them with plastic wrap. Keep them in the fridge. When you're ready to bake, just take them out and pop them in the oven. This saves time and makes serving easy.
What can I substitute for peanut butter?
If you need a substitute for peanut butter, try almond butter or sunflower seed butter. Both give a rich taste and creamy texture. You can also use Nutella for a chocolate twist. Just remember, each choice will change the flavor a bit, but they will still taste great.
How do I know when the lava cake is done?
The lava cake is done when the edges feel firm but the center is still soft. It should jiggle a little when you take it out. Bake for 12 to 14 minutes for the best results. If you wait too long, it will not have that gooey center we love.
This blog post explained how to make a delicious lava cake. We looked at the key ingredients like chocolate and butter, eggs, and sugar. Then, I shared step-by-step instructions to help you mix and melt everything perfectly. You learned tips for a gooey center and how to avoid mistakes. We explored variations, storage, and answered common questions.
Now you can bake a fantastic lava cake with confidence. Enjoy this treat and share it with friends!