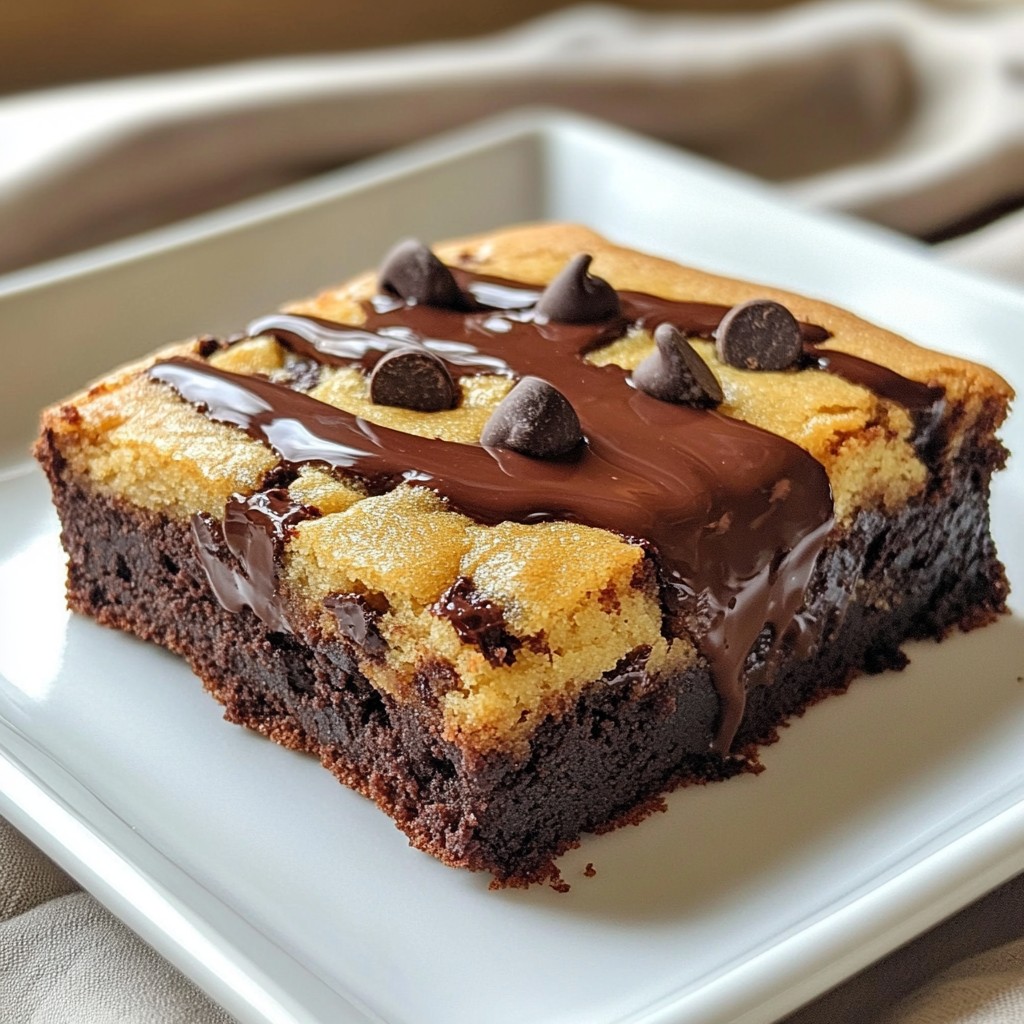
Indulging in chocolate-covered cheesecake bites is a treat you won’t forget. These little delights mix creamy cheesecake with rich chocolate for a perfect match. In this post, I’ll guide you through making these bites step by step. You’ll learn about essential ingredients, fun variations, and handy tips to get it just right. Ready to impress your friends and satisfy your sweet tooth? Let’s dive in!
Ingredients
Essential Ingredients for Chocolate Covered Cheesecake Bites
To create these bites, gather these key items:
– 8 ounces cream cheese, softened
– 1/2 cup powdered sugar
– 1 teaspoon vanilla extract
– 1/2 cup sour cream
– 1 cup graham cracker crumbs
– 1 cup semi-sweet chocolate chips
– 1 tablespoon coconut oil (or any neutral oil)
These ingredients blend to form a creamy, sweet filling. The graham cracker crumbs add texture and flavor. The chocolate coating makes everything even more delicious.
Optional Ingredients for Customization
You can customize your bites with these extras:
– Flavor extracts (like almond or lemon)
– Different sweeteners (like honey or maple syrup)
– Various toppings (like nuts or sprinkles)
Feel free to mix and match these options. They let you create bites that fit your taste.
Recommended Tools and Equipment
Having the right tools makes cooking easier:
– Medium mixing bowl
– Electric mixer
– Baking sheet
– Parchment paper
– Small cookie scoop or your hands
– Microwave-safe bowl for melting chocolate
– Fork for dipping
These tools help you prepare and serve your cheesecake bites with ease. Enjoy the process and the tasty results!
Step-by-Step Instructions
Preparing the Cheesecake Mixture
To start, you need to combine a few ingredients. In a medium bowl, mix 8 ounces of softened cream cheese, 1/2 cup of powdered sugar, and 1 teaspoon of vanilla extract. Use an electric mixer to beat these together. Mix until it is smooth and creamy. Then, add 1/2 cup of sour cream. Blend it well with the cream cheese mix. After that, fold in 1 cup of graham cracker crumbs. Make sure everything is blended well. This mixture should be thick and creamy, perfect for cheesecake bites.
Forming the Cheesecake Bites
Next, you will form the cheesecake bites. First, line a baking sheet with parchment paper. This helps to prevent sticking. Use a small cookie scoop or your hands to shape the mixture into balls. Each ball should be about 1 inch wide. Place these on the lined baking sheet. Once you have formed all the bites, freeze them for about 30 minutes. They need to be firm before the next step.
Melting the Chocolate Coating
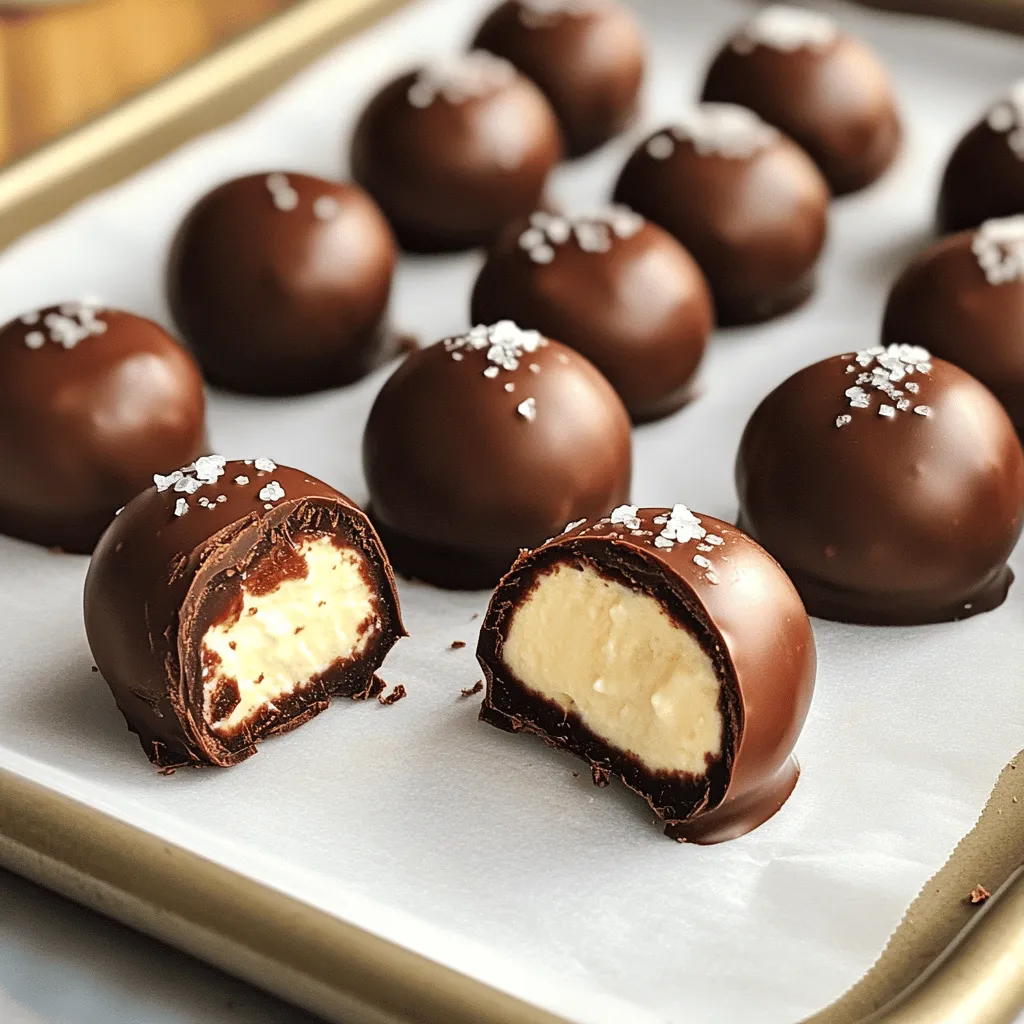
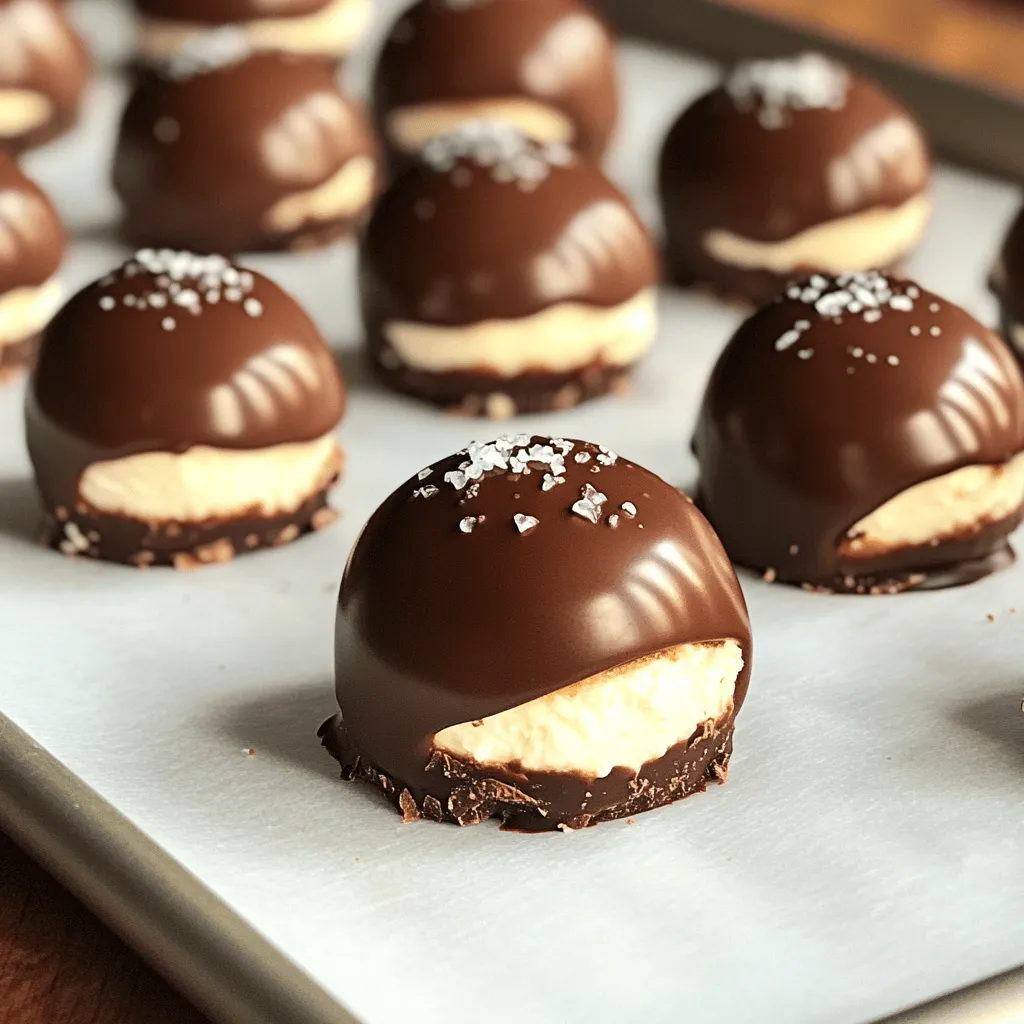
While the cheesecake bites freeze, it’s time to melt the chocolate. In a microwave-safe bowl, combine 1 cup of semi-sweet chocolate chips and 1 tablespoon of coconut oil. The oil helps the chocolate melt smoothly. Microwave this mix in 30-second intervals. Stir in between each interval until it is fully melted and smooth. After the cheesecake bites are firm, take them out of the freezer. Dip each bite into the melted chocolate using a fork. Make sure they are fully coated. Let any excess chocolate drip off. Then, place the chocolate-covered bites back on the baking sheet. If you like, sprinkle a tiny pinch of sea salt on top for extra flavor. Finally, refrigerate the bites for at least 15 minutes. This will help the chocolate set. Enjoy your delicious treats!
Tips & Tricks
Achieving the Perfect Texture
To get that perfect texture, use softened cream cheese. It helps the mixture blend smoothly. Beat the cream cheese with powdered sugar and vanilla until creamy. This step is key. Add the sour cream next and mix again. Gradually fold in the graham cracker crumbs. This gives your bites a great base. When forming the bites, ensure they are compact. This helps them hold their shape.
Avoiding Common Mistakes
Avoid overmixing the cream cheese. This can make your bites too soft. Also, do not skip the freezing step. Freezing the bites ensures they hold together when you dip them in chocolate. Use a fork to dip each bite fully. If they are not firm, the chocolate won’t coat well. Lastly, remember to let excess chocolate drip off. This keeps the bites from being too messy.
Presentation Tips for Serving
For a beautiful display, use a nice platter. Arrange the bites neatly in rows. If you sprinkle sea salt on top, it adds a nice touch. You can also use colorful cupcake liners. This makes serving easy and fun. Consider adding fresh fruit or mint leaves around the bites. It makes the whole plate look appealing. Enjoy sharing these treats with friends and family!
Variations
Flavored Cheesecake Bites (e.g., strawberry, raspberry)
You can easily switch up the flavor of your cheesecake bites. To make strawberry or raspberry bites, simply mix in some fruit puree. Use about 1/4 cup of fresh or frozen fruit. Blend it well before adding to the cream cheese mixture. This step gives your bites a fruity twist. You can also add a bit of zest for extra flavor.
Alternative Coatings (e.g., white chocolate, dark chocolate)
While semi-sweet chocolate is a classic choice, feel free to explore other coatings. White chocolate adds a sweet touch, while dark chocolate gives a rich flavor. For a fun twist, try mixing different chocolates. Melt each type separately and dip half of the bites in one, and the other half in another. This creates a beautiful and tasty treat.
Adding Toppings (e.g., nuts, sprinkles, crushed cookies)
Toppings can take your cheesecake bites to the next level. After dipping in chocolate, you can sprinkle on crushed nuts, colorful sprinkles, or even cookie crumbs. This adds texture and flavor. Try using crushed Oreos for a classic contrast. Or, go for chopped pistachios for a nutty flavor. Just make sure to add toppings while the chocolate is still warm, so they stick well.
Storage Info
Best Practices for Storing Leftovers
Store your chocolate-covered cheesecake bites in an airtight container. This keeps them fresh and tasty. Layer them with parchment paper to avoid sticking. Place the container in the fridge. This way, they stay cool and creamy.
Freezing Chocolate Covered Cheesecake Bites
You can freeze the cheesecake bites if you have extras. First, let them firm up in the fridge. Then, place them in a single layer on a baking sheet. Freeze them for about an hour, until they are hard. After that, move them to a freezer-safe bag. Be sure to remove as much air as possible. They freeze well and stay delicious.
How Long Do They Last?
If stored in the fridge, these bites last about 5 days. In the freezer, they can last up to 3 months. However, for the best taste, enjoy them within the first month. Always check for any signs of freezer burn when you’re ready to eat.
FAQs
How do I make chocolate-covered cheesecake bites?
To make chocolate-covered cheesecake bites, follow these steps:
1. Mix the filling: In a bowl, blend softened cream cheese, powdered sugar, and vanilla until creamy.
2. Add sour cream: Mix in sour cream until combined. Then, fold in graham cracker crumbs.
3. Shape the bites: Scoop out the mixture and form it into 1-inch balls. Place them on a lined baking sheet.
4. Freeze: Chill the balls in the freezer for 30 minutes to make them firm.
5. Melt the chocolate: Heat chocolate chips with coconut oil in the microwave until smooth.
6. Dip the bites: Coat each frozen cheesecake ball in melted chocolate. Let excess chocolate drip off.
7. Garnish: Place the bites back on the sheet and add a pinch of sea salt if you like.
8. Chill again: Refrigerate for 15 minutes until the chocolate hardens.
This method gives you rich and creamy bites covered in smooth chocolate.
Can I use different types of cheese for the filling?
Yes, you can use different cheeses! Cream cheese is the classic choice, but you can try:
– Mascarpone: It’s creamier and adds a rich flavor.
– Ricotta: It gives a lighter texture but may need more sweetening.
– Neufchâtel: A lower-fat alternative to cream cheese, with a similar taste.
Each cheese brings its unique flavor and texture. Just adjust the sugar to balance sweetness.
Where can I buy chocolate-covered cheesecake bites?
You can find chocolate-covered cheesecake bites at:
– Local bakeries: Many offer gourmet treats.
– Dessert shops: Look for specialty stores that focus on sweets.
– Online retailers: Websites like Etsy or gourmet food sites may have unique options.
– Grocery stores: Check the frozen dessert aisle or the bakery section.
If you want them fresh, making them at home is the best way. You can customize flavors and toppings to your liking!
You’ve learned how to make tasty chocolate-covered cheesecake bites. Start with the right ingredients and tools. Follow the steps to prepare, shape, and coat your bites. Use tips to get the best texture and impress with your presentation. You can customize flavors and coatings too!
These sweet treats are easy to store or freeze for later. Enjoy making them for yourself or to share. Now it’s your turn to create this delightful dessert!