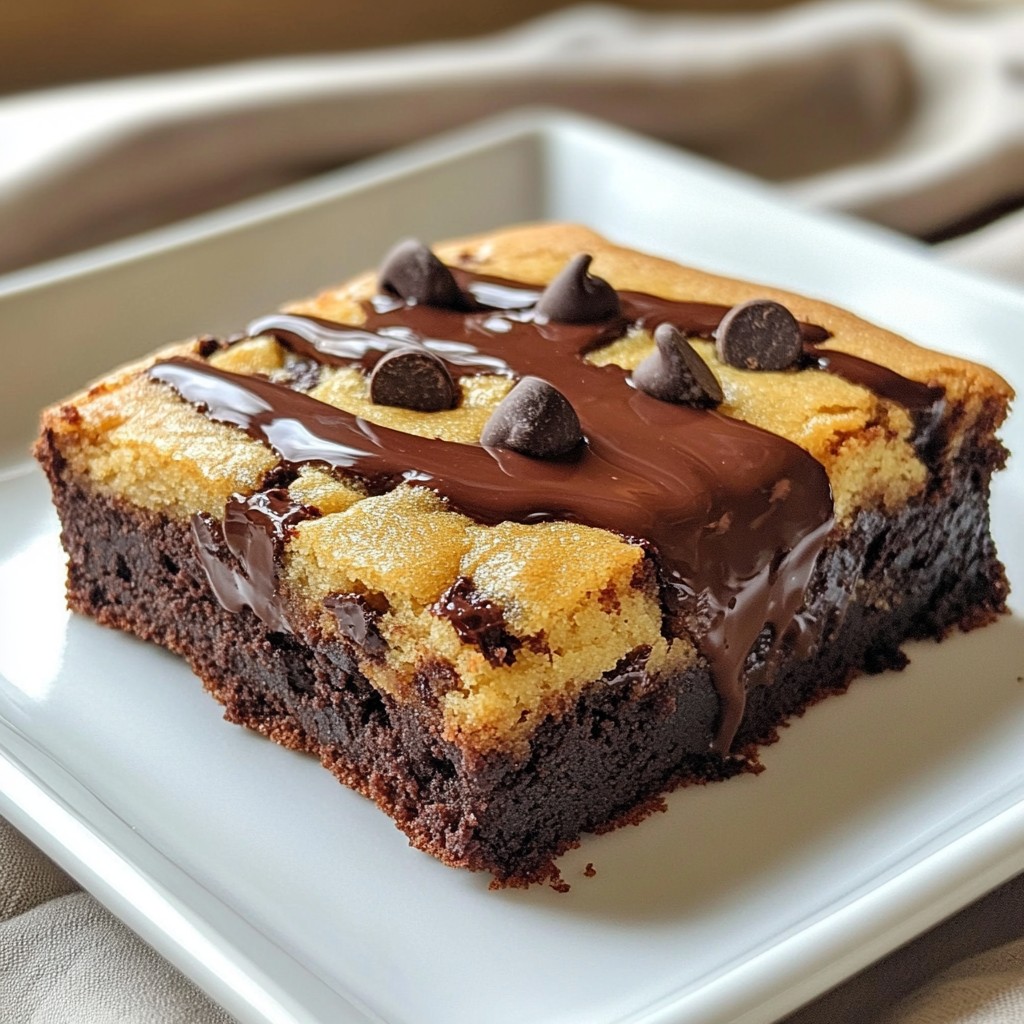
Are you ready to elevate your snack game? I’m excited to share my recipe for Bakery-Style Chocolate Dipped Pumpkin Biscotti. Perfectly crunchy on the outside and delightfully soft within, these biscotti combine warm pumpkin spice with rich chocolate. Whether you’re pairing them with coffee or enjoying a cozy evening treat, this guide will help you nail every step. Let’s dive into making these sweet, crunchy delights!
Ingredients
Essential Ingredients
To make bakery-style chocolate dipped pumpkin biscotti, gather these key items:
– 2 cups all-purpose flour
– 1 cup granulated sugar
– 1 teaspoon baking powder
– 1 teaspoon baking soda
– 1 teaspoon ground cinnamon
– 1/2 teaspoon ground nutmeg
– 1/4 teaspoon ground ginger
– 1/4 teaspoon salt
– 2 large eggs
– 1/2 cup pumpkin puree
– 1 teaspoon vanilla extract
– 1 cup semi-sweet chocolate chips
These ingredients blend together to create a rich, spiced flavor. The pumpkin and spices give it warmth, while the chocolate adds a sweet touch.
Garnishes and Optional Add-ins
You can enhance your biscotti with optional ingredients:
– 1/2 cup chopped pecans or walnuts
Adding nuts gives a nice crunch and depth. You can also sprinkle some extra cinnamon on top before baking for added flavor.
Ingredient Substitutions
Don’t have all the ingredients? Here are some easy swaps:
– Use whole wheat flour instead of all-purpose flour for a heartier texture.
– Swap granulated sugar for brown sugar for a deeper flavor.
– If you’re out of eggs, try using applesauce or a flax egg.
These replacements can change the texture and taste slightly, but they will still yield delicious results.
Step-by-Step Instructions
Preparation Steps
Start by gathering your ingredients. You need:
– 2 cups all-purpose flour
– 1 cup granulated sugar
– 1 teaspoon baking powder
– 1 teaspoon baking soda
– 1 teaspoon ground cinnamon
– 1/2 teaspoon ground nutmeg
– 1/4 teaspoon ground ginger
– 1/4 teaspoon salt
– 2 large eggs
– 1/2 cup pumpkin puree
– 1 teaspoon vanilla extract
– 1/2 cup chopped pecans or walnuts (optional)
– 1 cup semi-sweet chocolate chips
Preheat your oven to 350°F (175°C). This is the perfect temperature for baking. Line a baking sheet with parchment paper to keep the biscotti from sticking. In a large bowl, whisk the flour, sugar, baking powder, baking soda, cinnamon, nutmeg, ginger, and salt together. Mix well so all the dry ingredients blend. In another bowl, beat the eggs. Then, add the pumpkin puree and vanilla extract. Mix until smooth. Slowly mix the wet ingredients into the dry mix. If you like nuts, fold in the chopped pecans or walnuts.
Baking Instructions
Now, it’s time to shape your dough. Split it in half and form two logs. Each log should be about 12 inches long and 2 inches wide. Place them on the baking sheet. Bake these logs for 25-30 minutes. They should turn golden brown and feel firm when touched. After baking, let the logs cool for 10 minutes. Slice them diagonally into 1-inch thick pieces. Arrange the pieces cut side up on the baking sheet. Bake them again for 10-15 minutes. This will make the biscotti nice and crisp.
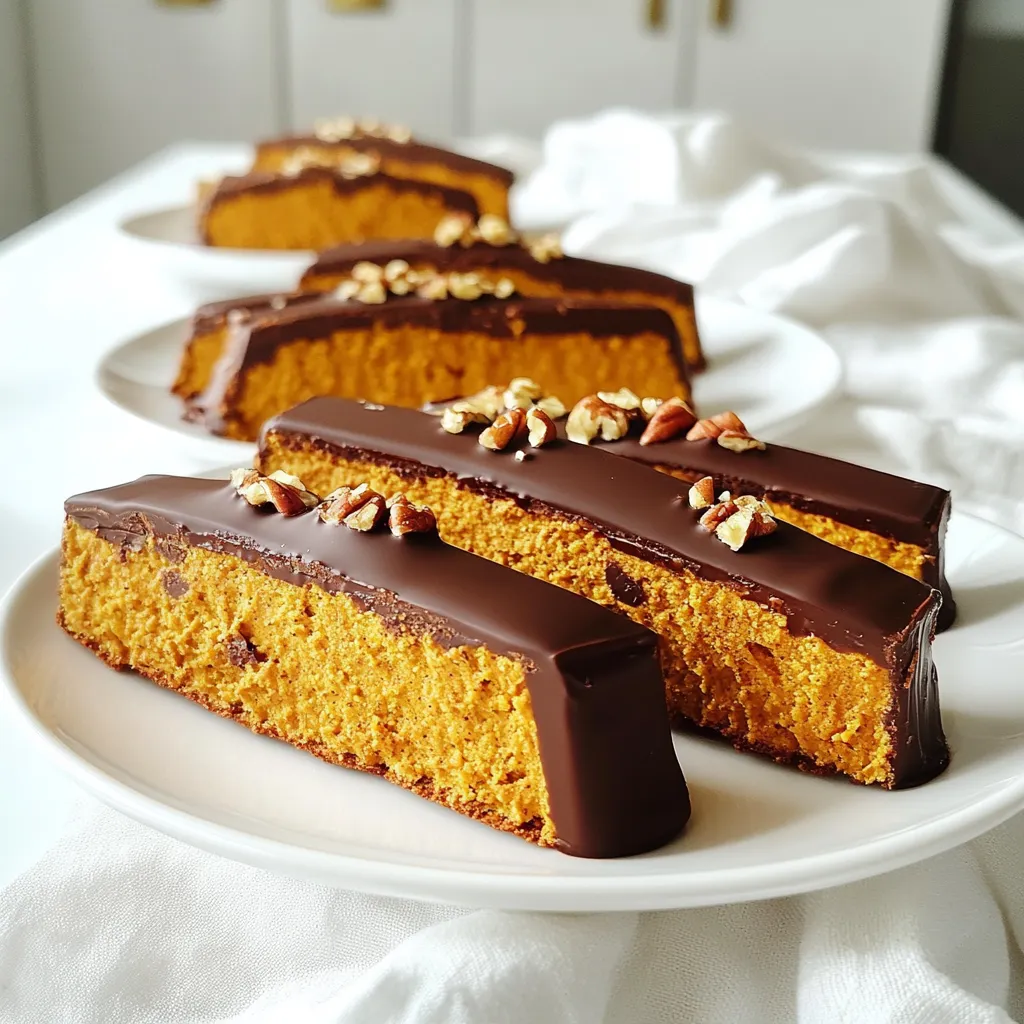
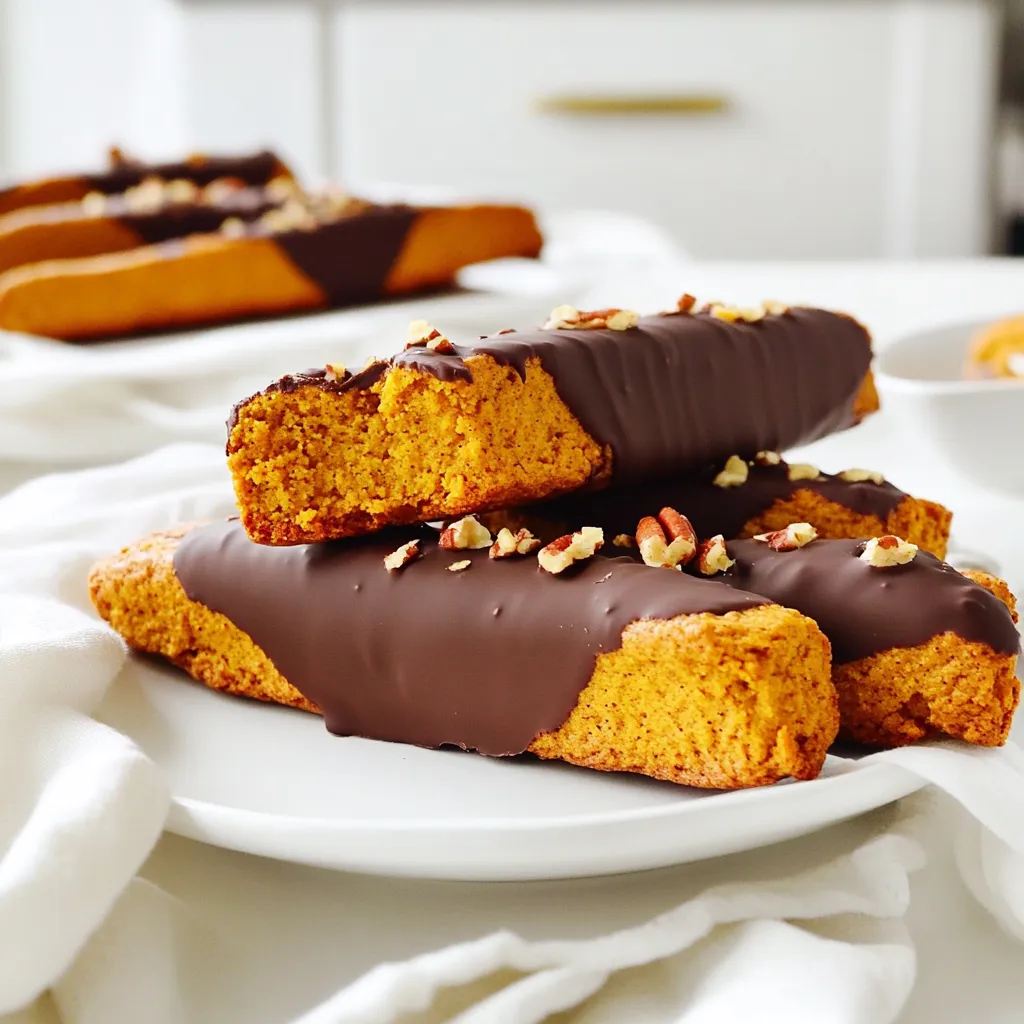
Cooling and Dipping Method
While the biscotti cools, it’s time to melt the chocolate. Place the chocolate chips in a microwave-safe bowl. Heat them in 30-second intervals, stirring in between until smooth. Dip one end of each biscotti into the melted chocolate. Let the excess chocolate drip off. Then, place the dipped biscotti on a tray lined with wax paper. Allow the chocolate to harden before serving. If you want them set faster, chill them in the fridge. Enjoy your delicious chocolate dipped pumpkin biscotti!
Tips & Tricks
Tips for Perfect Biscotti Texture
To get the best biscotti, follow these tips:
– Make sure to measure your flour correctly. Too much flour makes them dry.
– Mix the dough until just combined. Overmixing can lead to tough biscotti.
– When shaping the logs, keep them uniform in size for even baking.
– Bake until golden brown. This helps achieve that perfect crunch.
Chocolate Melting Tips
Melting chocolate can be tricky. Here’s how to do it right:
– Use a microwave-safe bowl for melting chocolate chips.
– Heat in 30-second bursts. Stir well between each burst to avoid burning.
– If the chocolate is too thick, add a teaspoon of vegetable oil to thin it out.
– Make sure the biscotti are completely cool before dipping. This keeps the chocolate from melting.
Serving Suggestions
These biscotti are great for many occasions. Here are some ideas:
– Serve them with coffee or tea for a cozy snack.
– Arrange them on a platter for a delightful dessert at gatherings.
– Pair them with ice cream for a sweet twist.
– Store them in a jar to show off their beauty and keep them fresh.
Variations
Flavor Variations (e.g., Spices, Add-ins)
You can change the flavor of your biscotti easily. Try adding different spices like cardamom or allspice for a warm taste. You can also mix in dried fruits like cranberries or apricots. If you love nuts, use almonds or hazelnuts instead of pecans or walnuts. Each option gives a new twist to the classic pumpkin flavor.
Gluten-Free Options
To make these biscotti gluten-free, swap the all-purpose flour for a gluten-free blend. Make sure the blend has xanthan gum to help with texture. You can also use almond flour for a nutty flavor. The baking time may be the same, but keep an eye on them to ensure they don’t over-bake.
Serving with Pairings (e.g., Coffee, Tea)
Biscotti pairs perfectly with coffee or tea. The crunch of the biscotti goes well with the warm drinks. Try dipping them into a pumpkin spice latte or a chai tea for a cozy treat. You can also serve them with milk or hot chocolate for a sweet snack. Enjoying these with family and friends makes them even better!
Storage Info
Best Ways to Store Biscotti
To keep your biscotti fresh, store them in an airtight container. This method prevents air from making them soft. You can use a cookie jar or a plastic container with a tight seal. Place parchment paper between layers if you stack them. This helps maintain their crispiness.
Freezing Instructions
You can also freeze biscotti for later use. First, let them cool completely. Then, wrap each piece tightly in plastic wrap. Place the wrapped biscotti in a freezer-safe bag. Label it with the date. They will stay fresh in the freezer for up to three months. When ready to enjoy, just thaw them at room temperature.
How Long Biscotti Lasts
If stored correctly, biscotti can last for up to two weeks at room temperature. Their crisp texture makes them perfect for snacking over days. Just remember to check for any signs of moisture or softness. If they feel soft, a quick bake in the oven will bring back their crunch. Enjoy your treats!
FAQs
What is the origin of biscotti?
Biscotti come from Italy. They are a type of dry, crunchy cookie. The word “biscotti” means “twice baked.” This is how they get their hard texture. They were served with wine or coffee. People would dip them in drinks to soften them.
Can I make these biscotti vegan?
Yes, you can make vegan biscotti! Swap the eggs for flax eggs. Mix one tablespoon of flaxseed meal with three tablespoons of water. Let it sit for a few minutes until it thickens. You can also use a plant-based milk instead of pumpkin puree.
How do I know when my biscotti are done baking?
Your biscotti are done when they are golden brown. They should feel firm to the touch. After the first bake, cut them into slices and bake again. They should feel dry and hard. If they are still soft, bake for a few more minutes.
What can I substitute for pumpkin puree?
If you don’t have pumpkin puree, use applesauce. It gives a similar texture and moisture. You can also use mashed bananas or sweet potato puree. Each will change the flavor a bit, but they will still be tasty!
This blog post covered the key steps to make delicious biscotti. We explored essential ingredients, optional add-ins, and helpful substitutions. The step-by-step instructions simplified the baking process. I shared tips for getting the right texture and secrets to perfect melting chocolate.
Whether you want to try different flavors or store your treats, the choices are endless. With this guide, you can bake your own biscotti with confidence. Now, gather your ingredients and enjoy making your perfect batch!