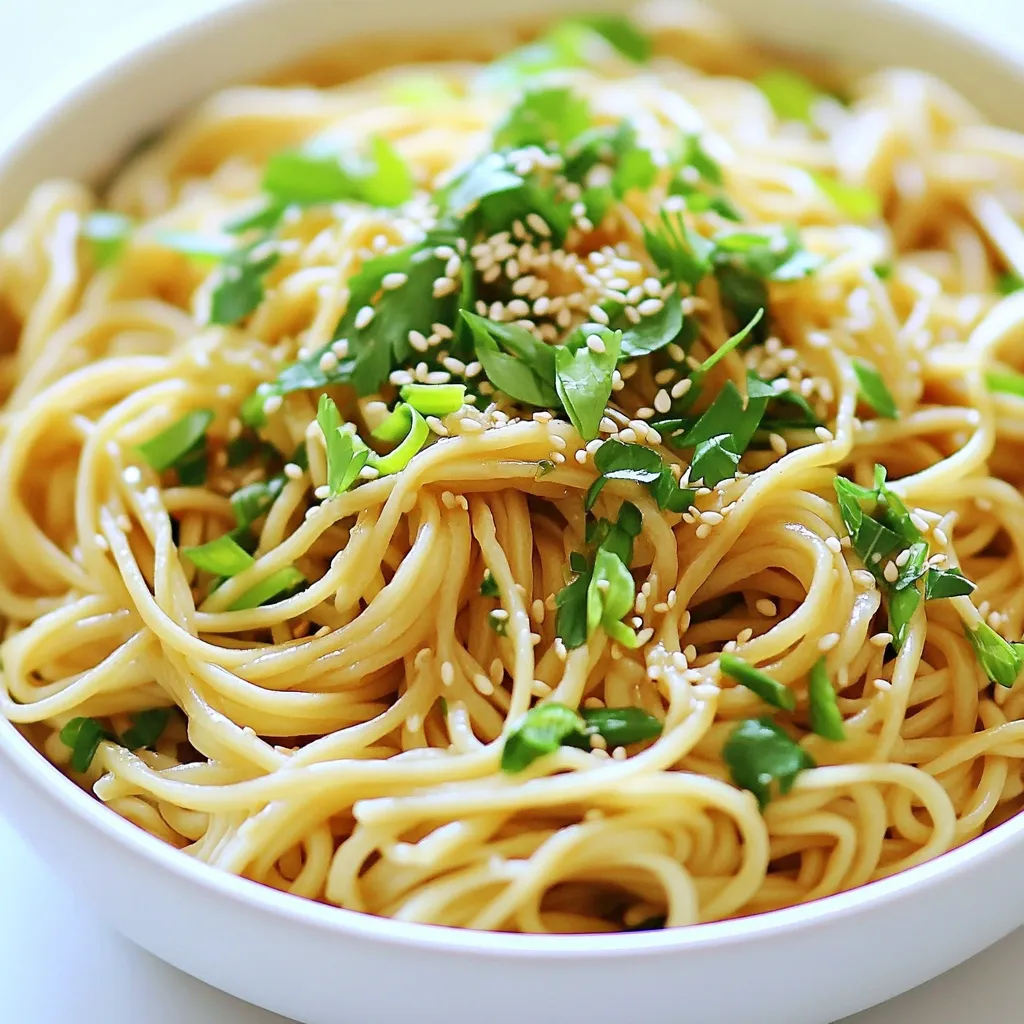
Minute Garlic Sesame Noodles Quick and Flavorful Dish
Craving a quick, tasty meal? These Minute Garlic Sesame Noodles are packed with flavor and come together in no time!

Craving a quick, tasty meal? These Minute Garlic Sesame Noodles are packed with flavor and come together in no time!

If you’re searching for a delicious treat that’s simple to make, you’re in the right place! These Maple Glazed Pecan
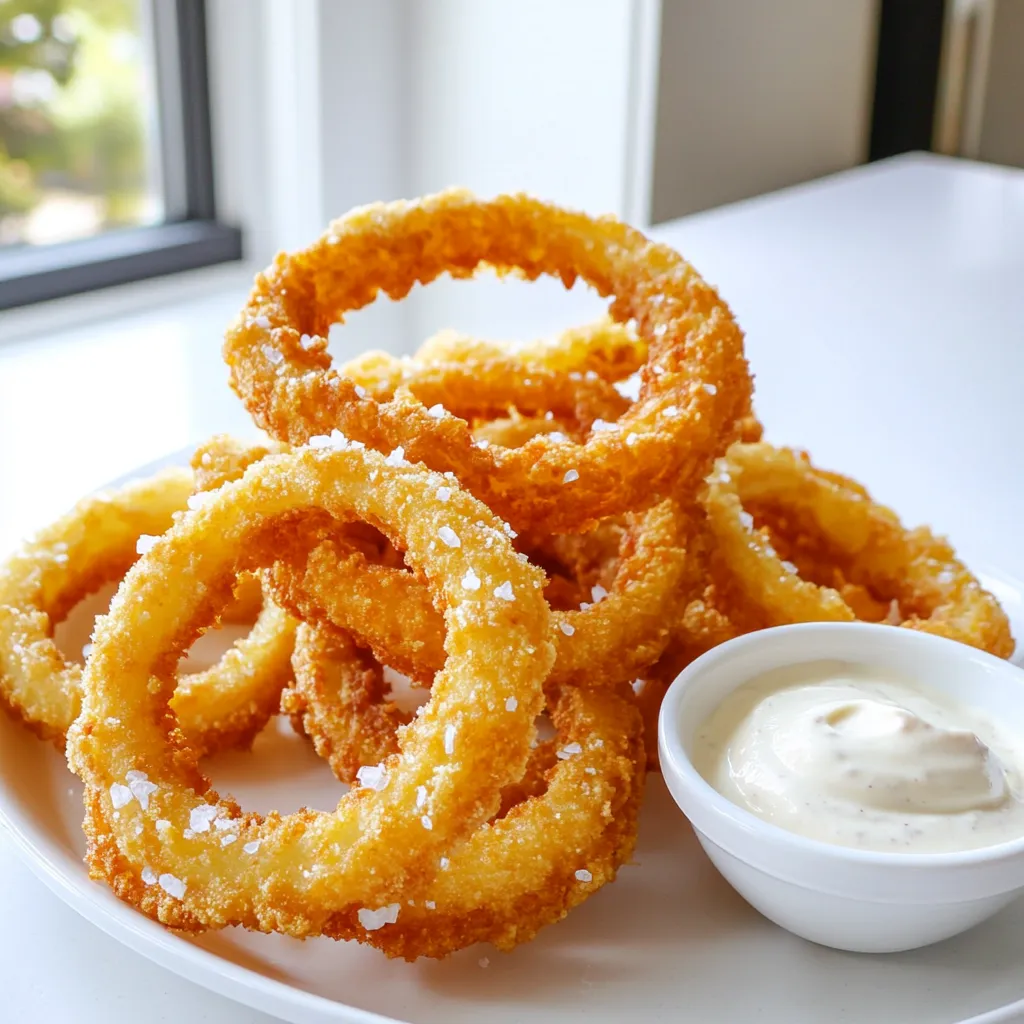
Craving a crunchy snack that’s full of flavor? You’re in the right place! Air fryer onion rings are a game-changer.
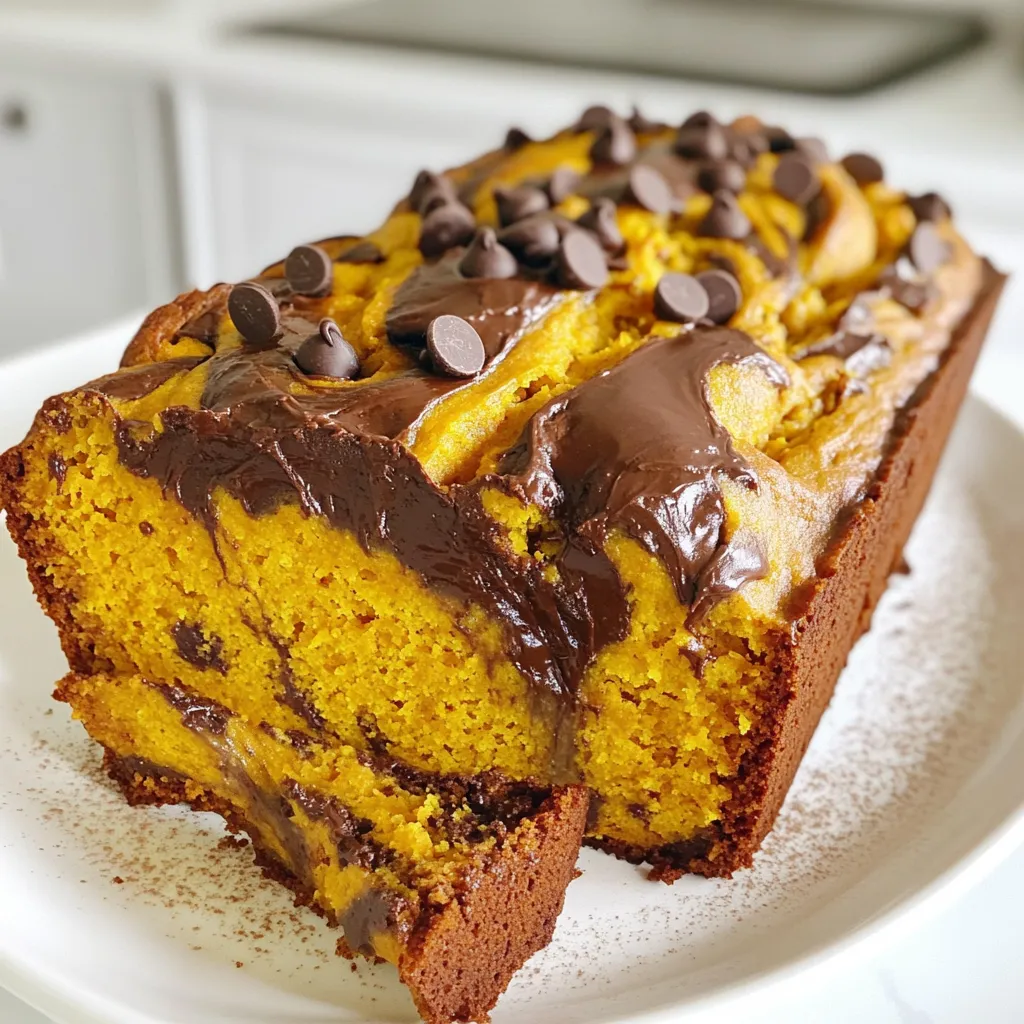
Get ready to enjoy the perfect blend of flavors with my Pumpkin Chocolate Swirl Banana Bread Delight Recipe! This moist
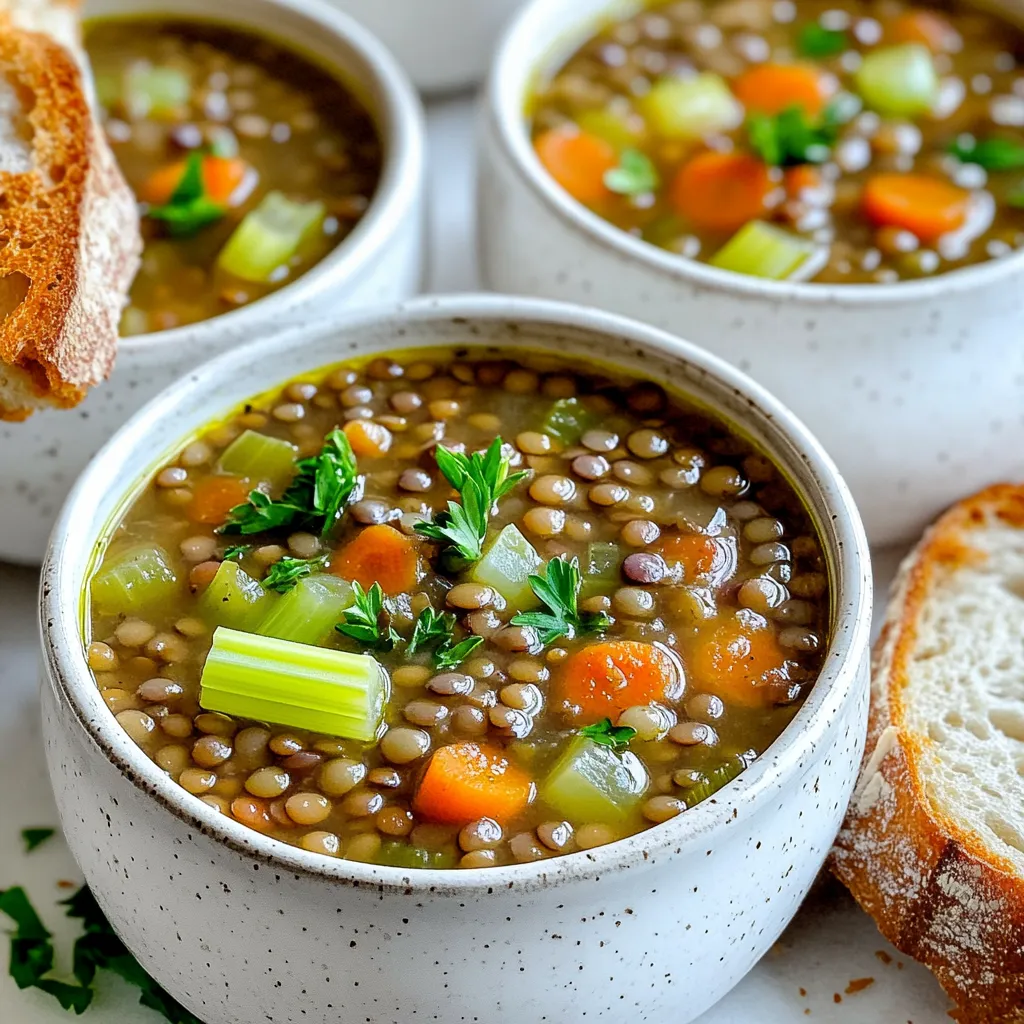
When the chill sets in, nothing warms you up like a bowl of hearty lentil soup. This Slow Cooker Hearty

Looking for an easy yet delicious dinner idea? You’ve come to the right place! My Sheet Pan Honey Garlic Chicken

Craving a sweet treat that captures the essence of fall? Look no further! These No Bake White Chocolate Pumpkin Bites

If you’re searching for a cozy fall dessert, look no further than my Caramel Apple Whoopie Pies. These delightful treats
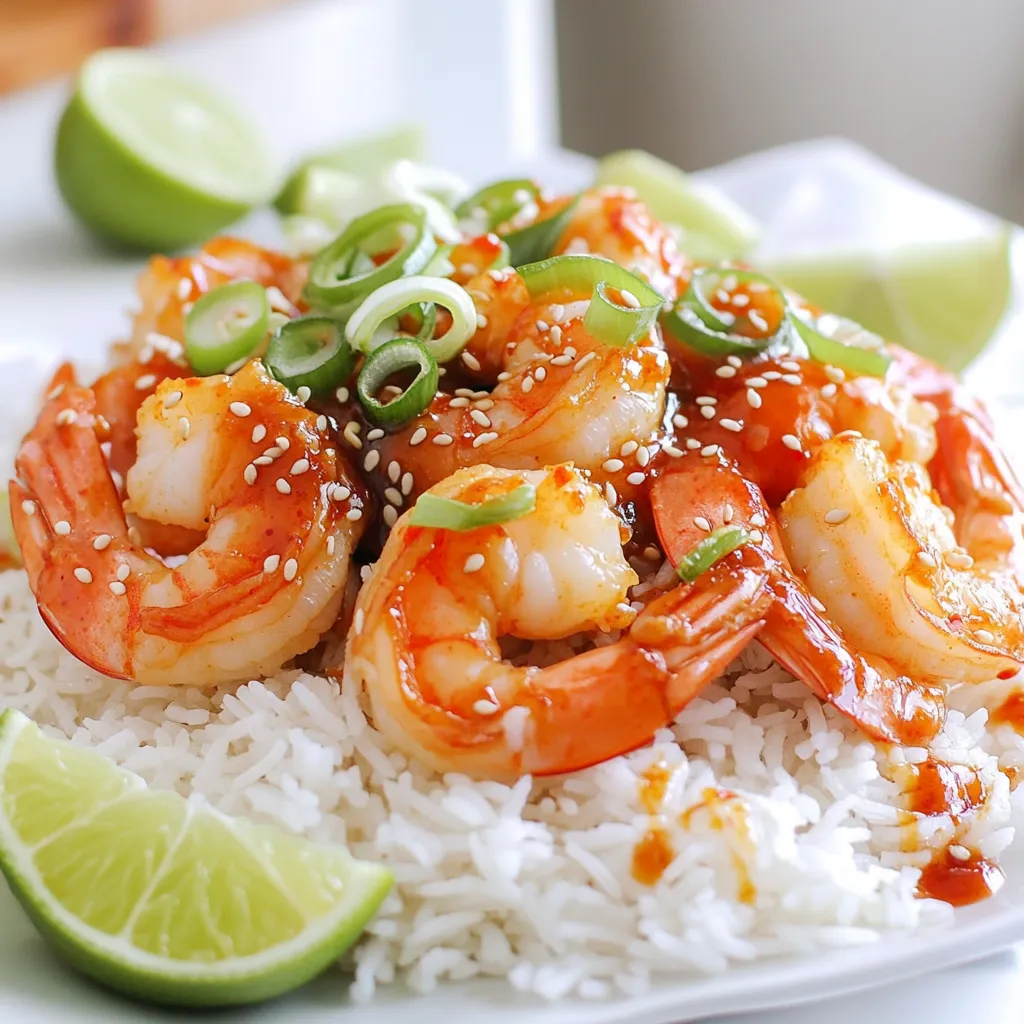
If you’re short on time but crave a burst of flavor, Minute Sweet Chili Shrimp is the answer! This dish

Ready to treat yourself? These Air Fryer Cinnamon Sugar Donut Holes are a game-changer! You’ll love how easy they are
