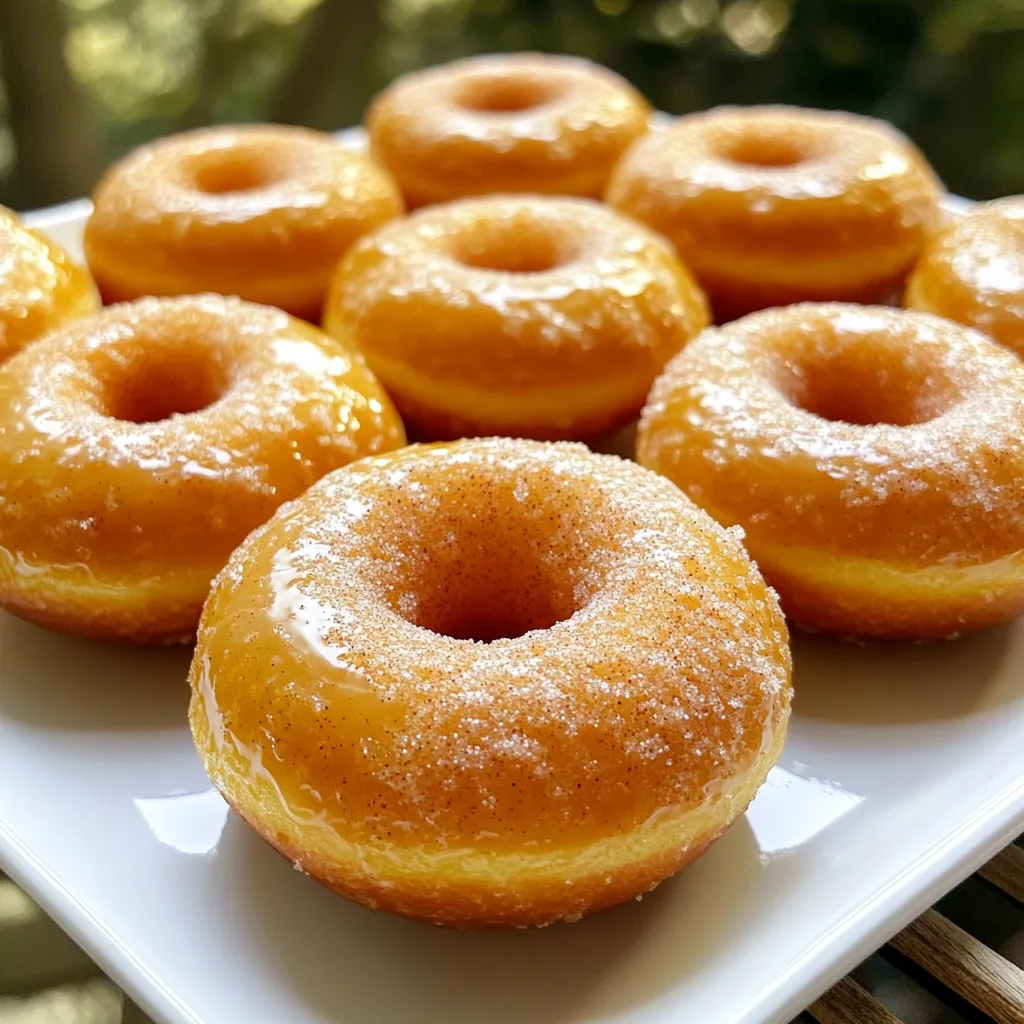
Cinnamon Sugar Pumpkin Donuts Perfectly Delicious Treat
Get ready to treat yourself to something special! My Cinnamon Sugar Pumpkin Donuts are a perfect blend of cozy spices

Get ready to treat yourself to something special! My Cinnamon Sugar Pumpkin Donuts are a perfect blend of cozy spices
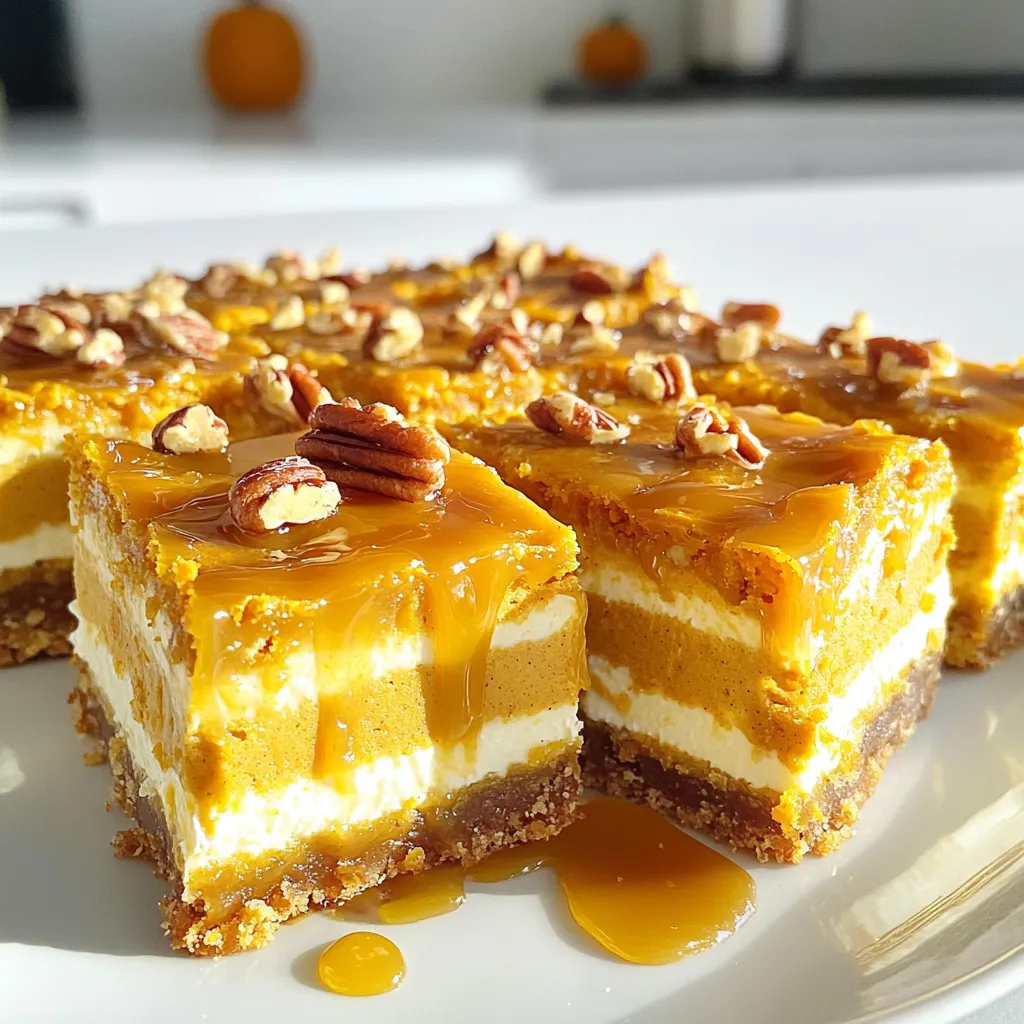
Love pumpkin? You’ll adore these Pumpkin Cream Cheese Bars with Caramel Delight! This tasty treat combines rich pumpkin flavor and
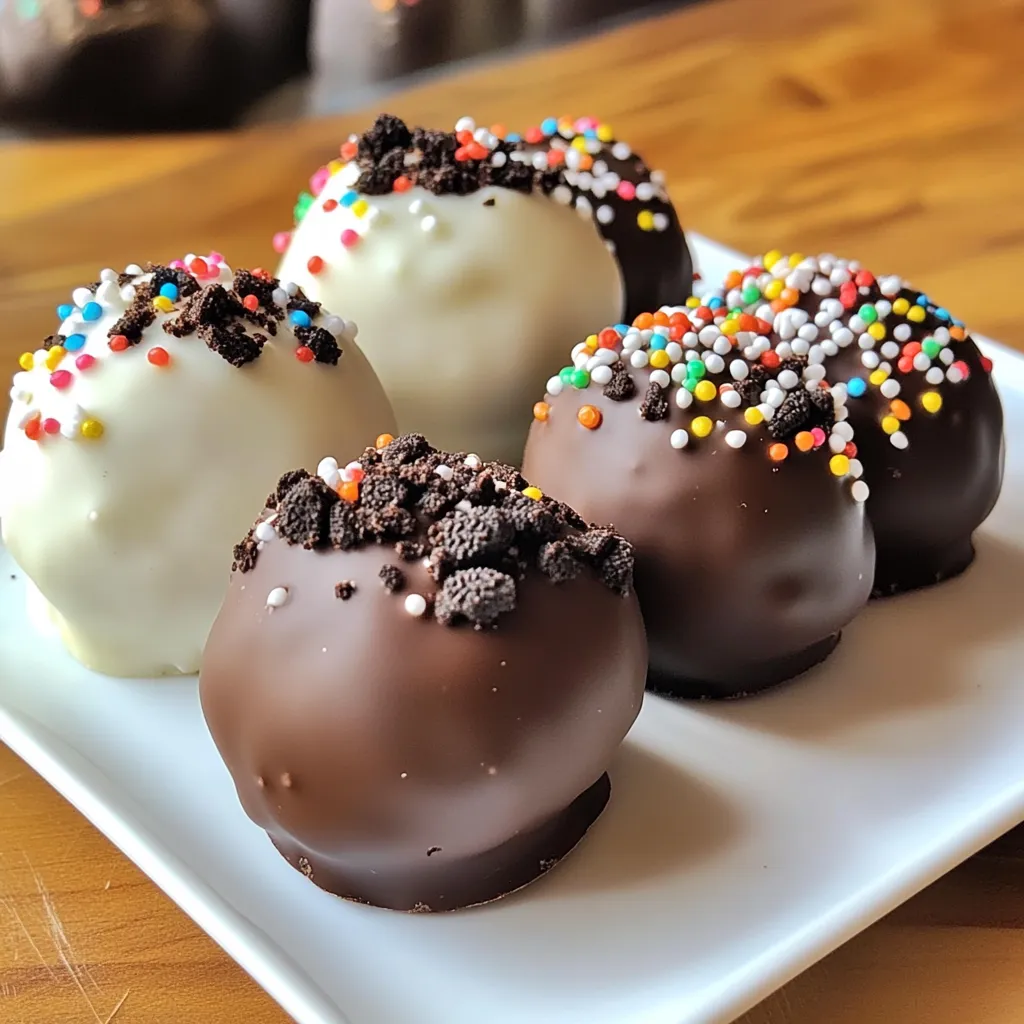
If you love quick and easy treats, you’re in for a sweet surprise! These Oreo Cookie Truffles are no-bake delights
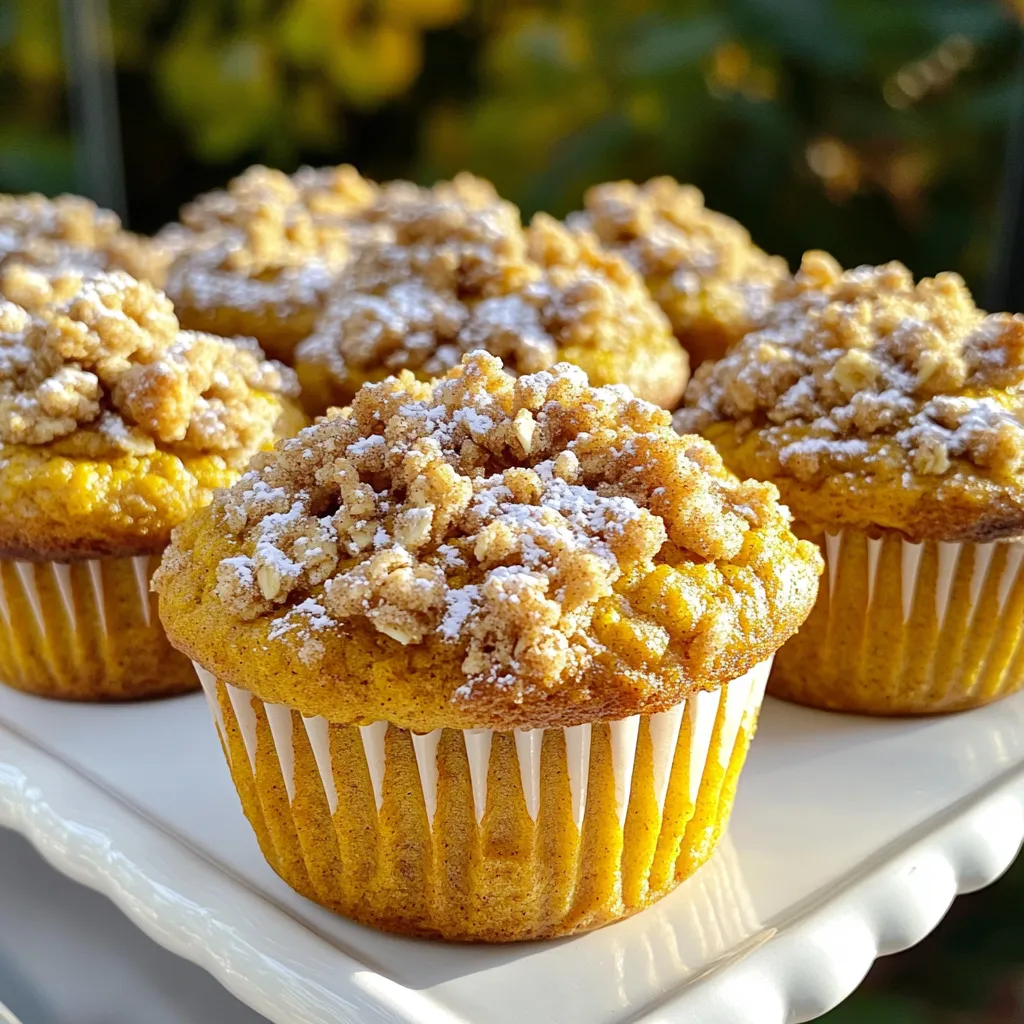
Are you ready to savor the ultimate fall treat? My Pumpkin Streusel Muffins Bakery Style blend warm spices and rich

If you crave a warm, comforting meal that’s simple to make, you’re in the right place! My Creamy Sun Dried
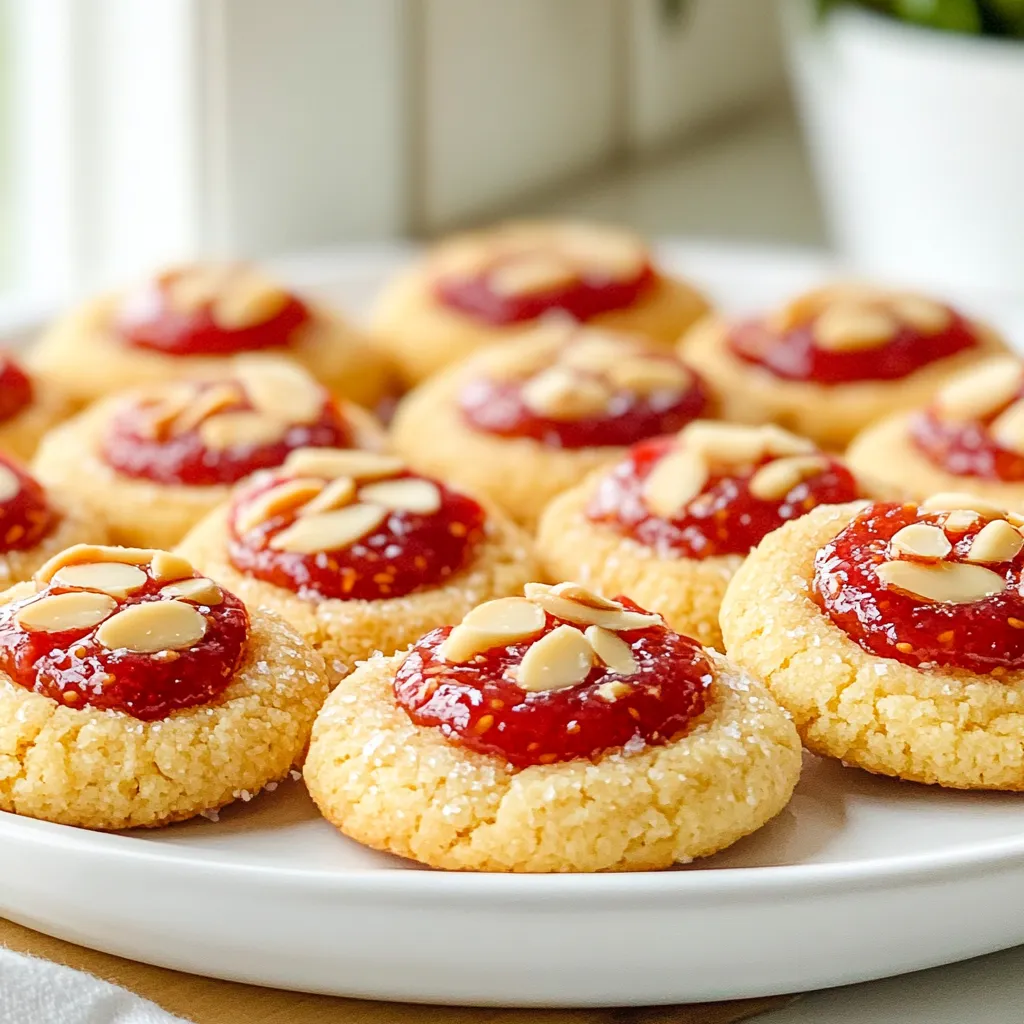
Craving a sweet treat that’s easy to make? Raspberry Almond Thumbprint Cookies are the answer! These cookies blend buttery goodness
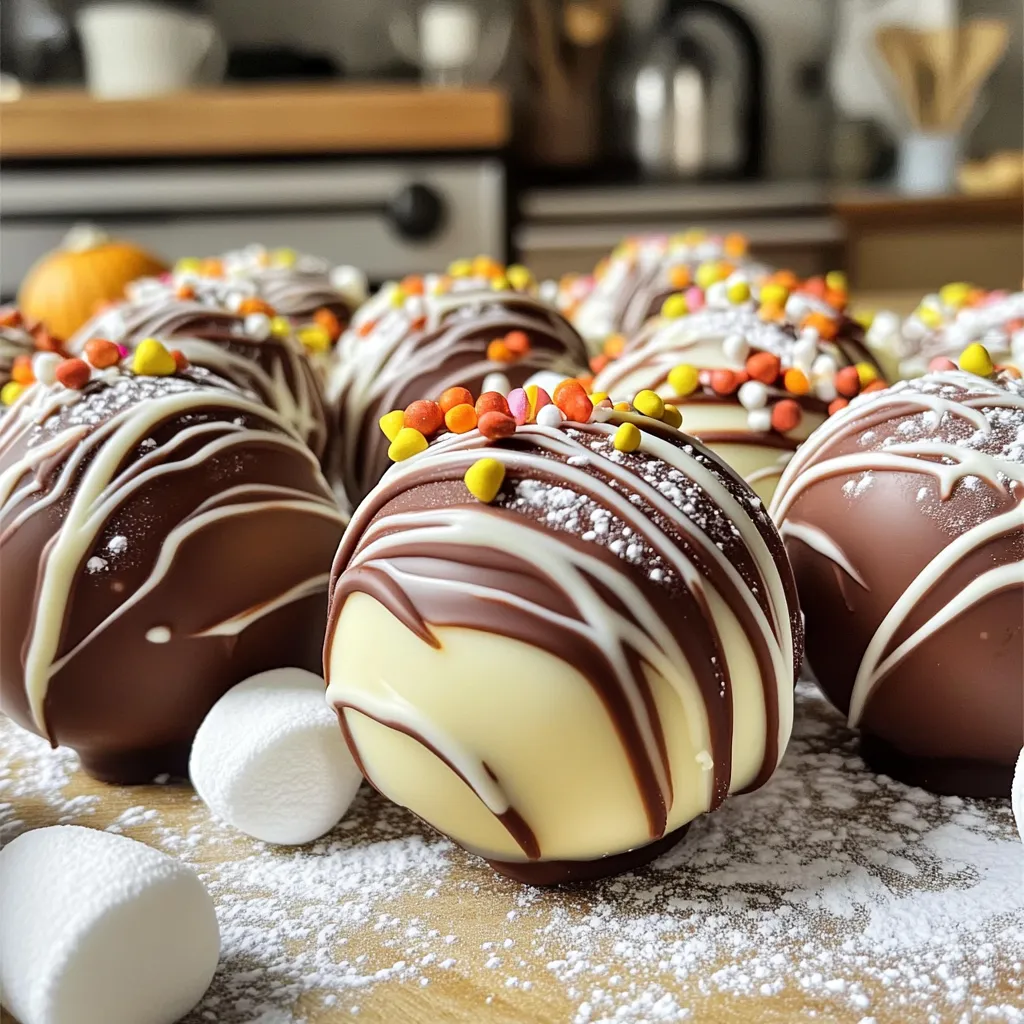
Get ready to indulge in a fall favorite: Pumpkin Spice Hot Chocolate Bombs! These sweet treats blend rich cocoa with
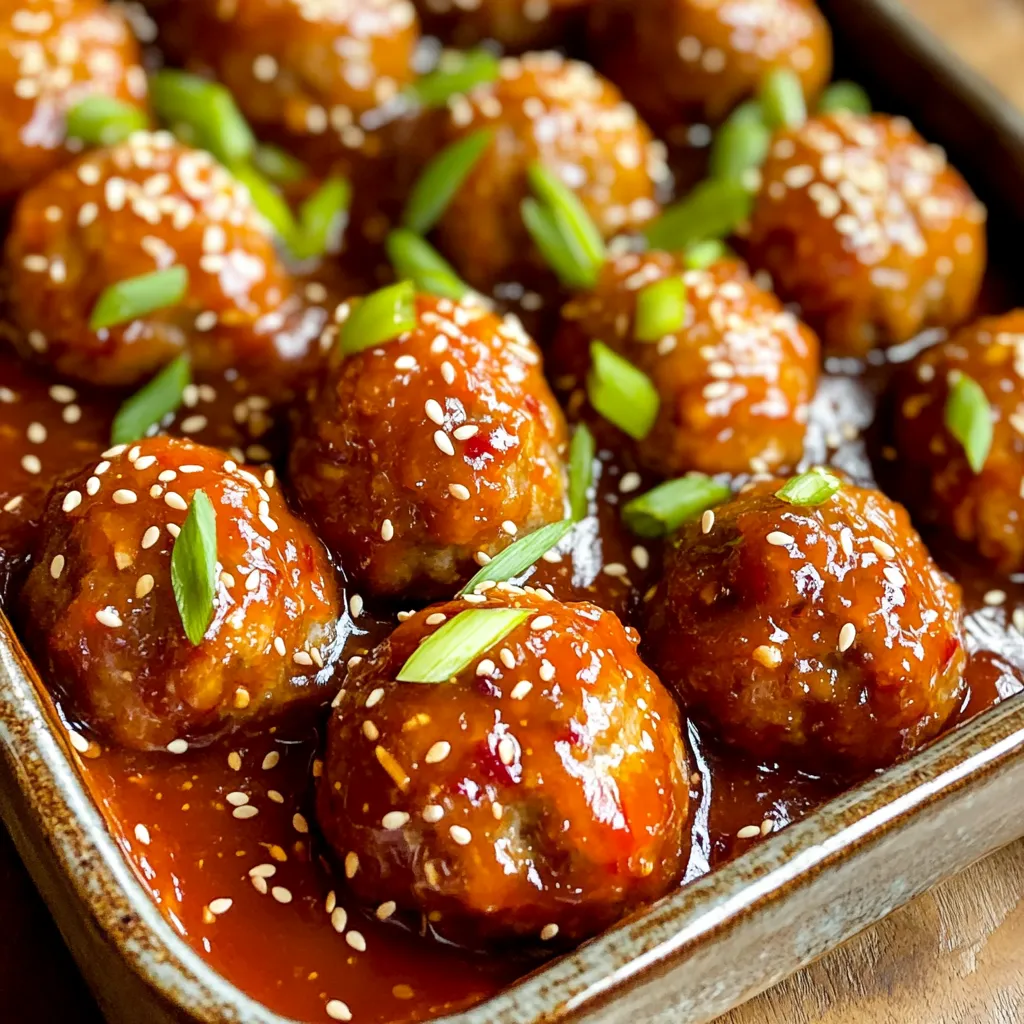
Are you ready to impress your friends and family with an easy-to-make dish? These Sweet Chili Glazed Meatballs pack a
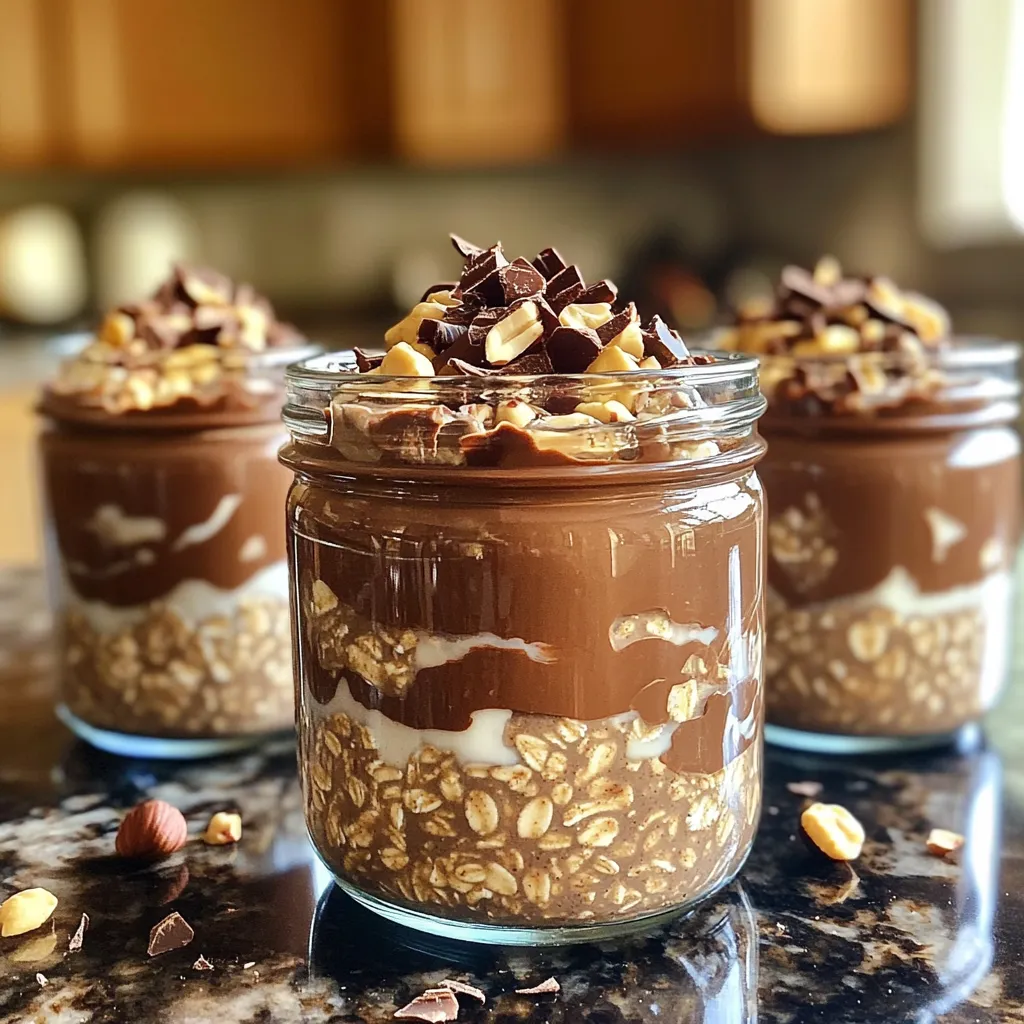
Get ready for a delicious breakfast! My Chocolate Hazelnut Overnight Oats are simple, tasty, and packed with flavor. In just
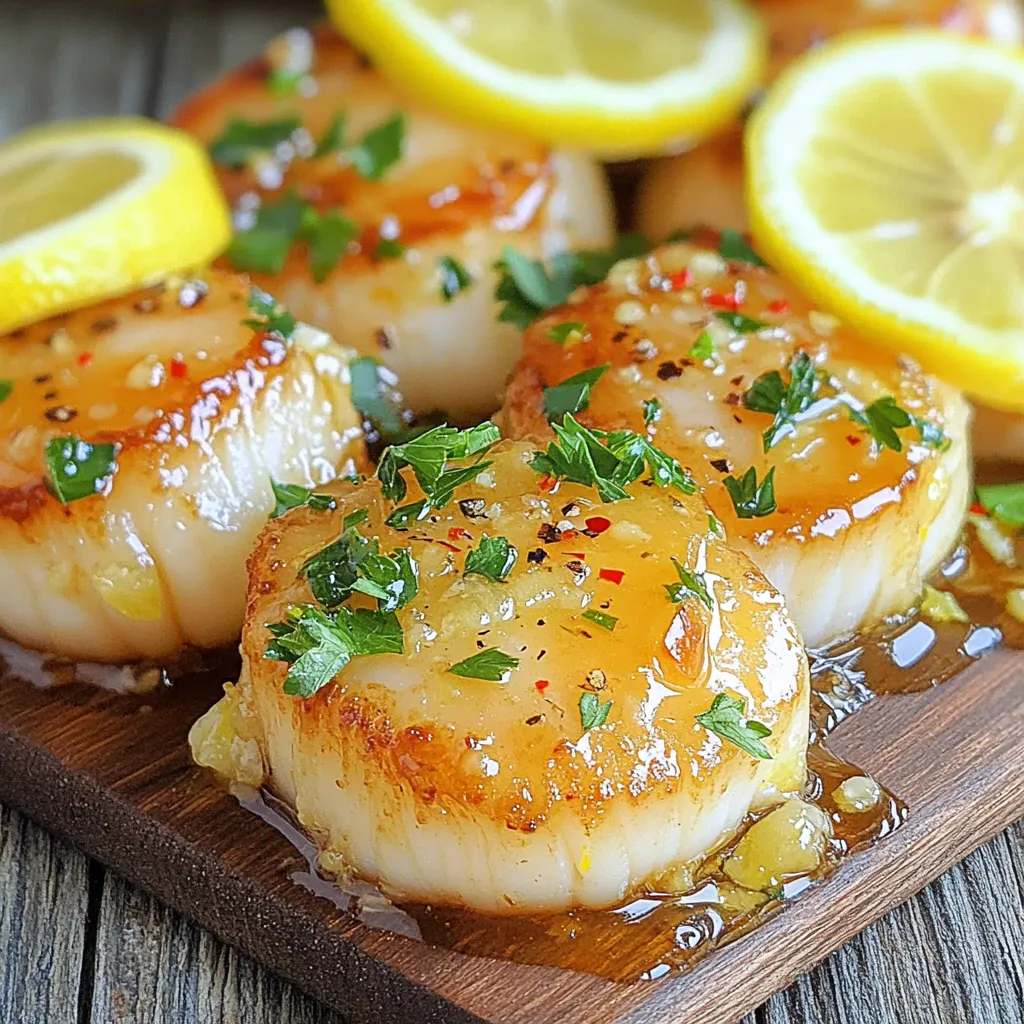
Ready for a dish that bursts with flavor and takes just minutes to make? Honey Lemon Garlic Scallops are your
