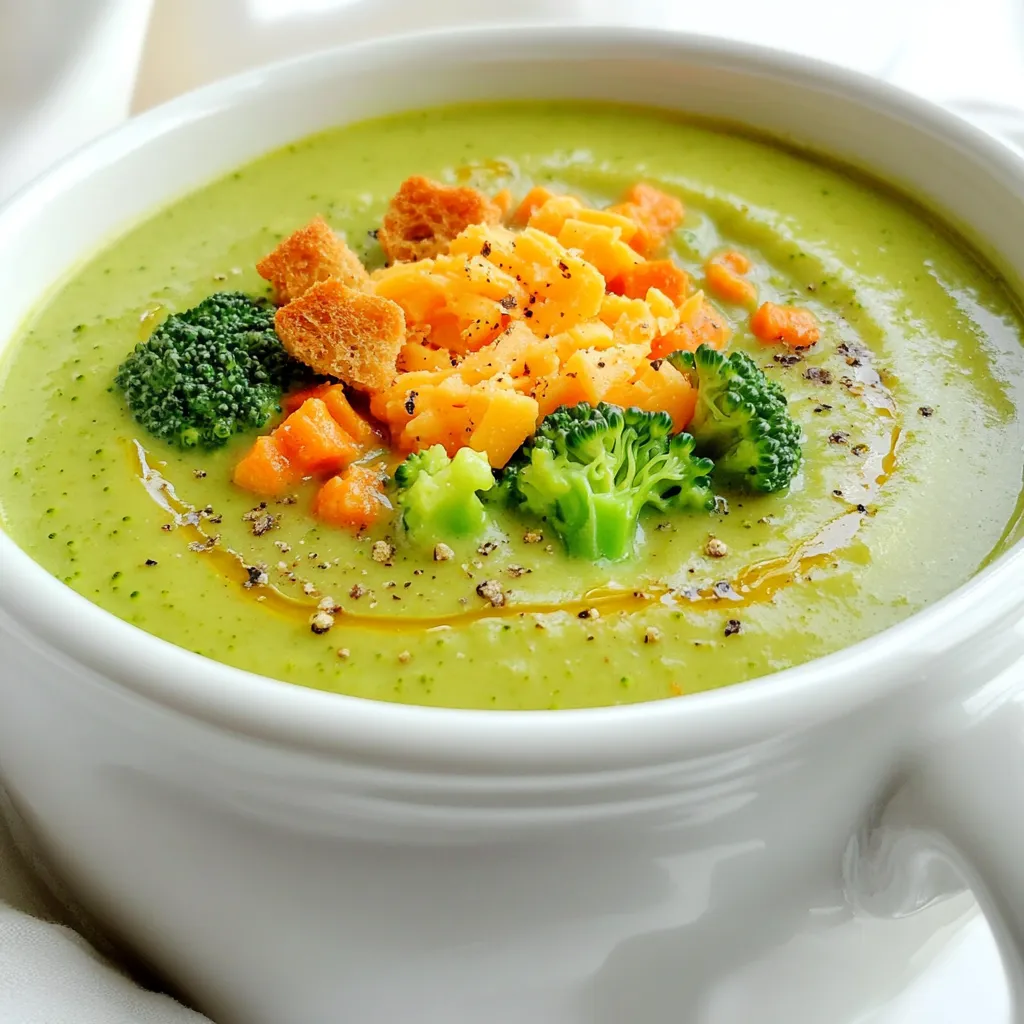
Creamy Cheddar Broccoli Soup Slow Cooker Delight
Are you ready to warm up with a bowl of creamy cheddar broccoli soup? In just a few simple steps,

Are you ready to warm up with a bowl of creamy cheddar broccoli soup? In just a few simple steps,
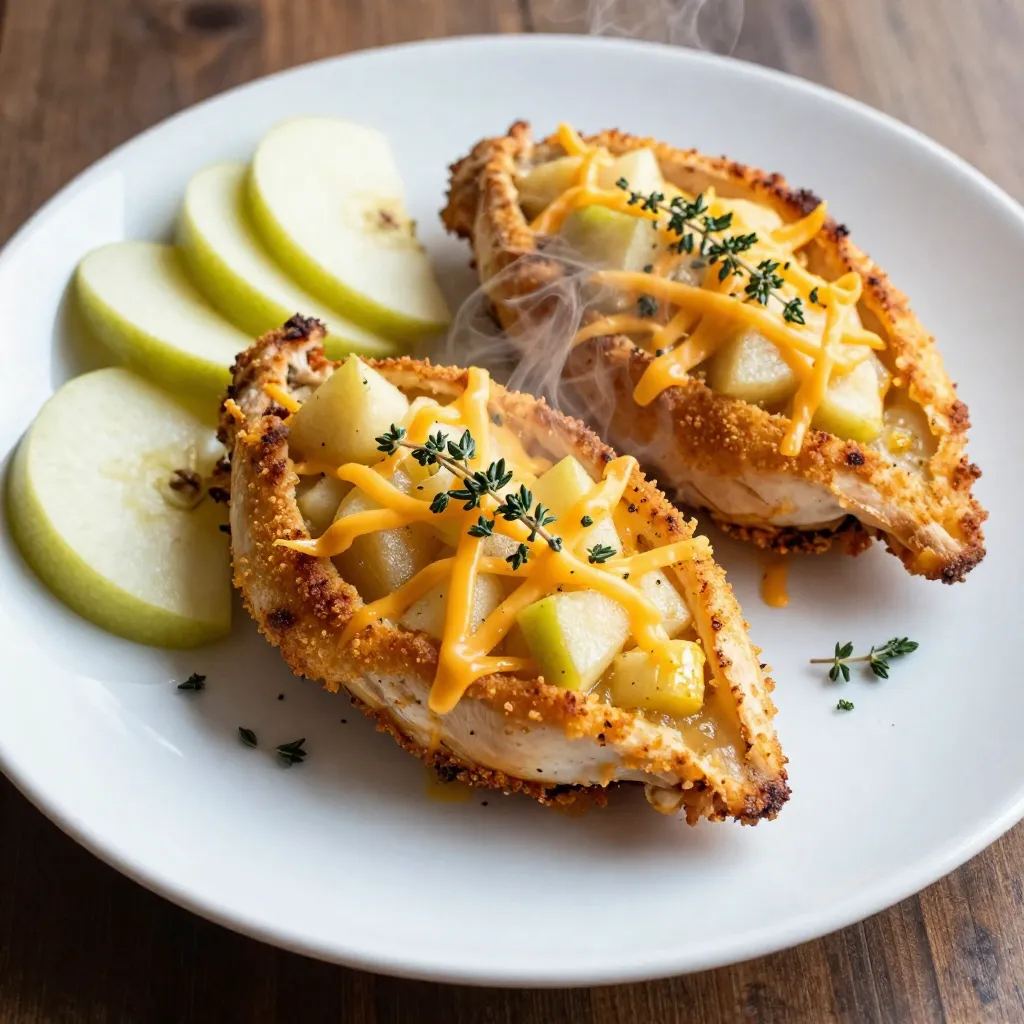
Ready for a meal that’s both savory and simple? Let me introduce you to Apple Cheddar Stuffed Chicken! This dish
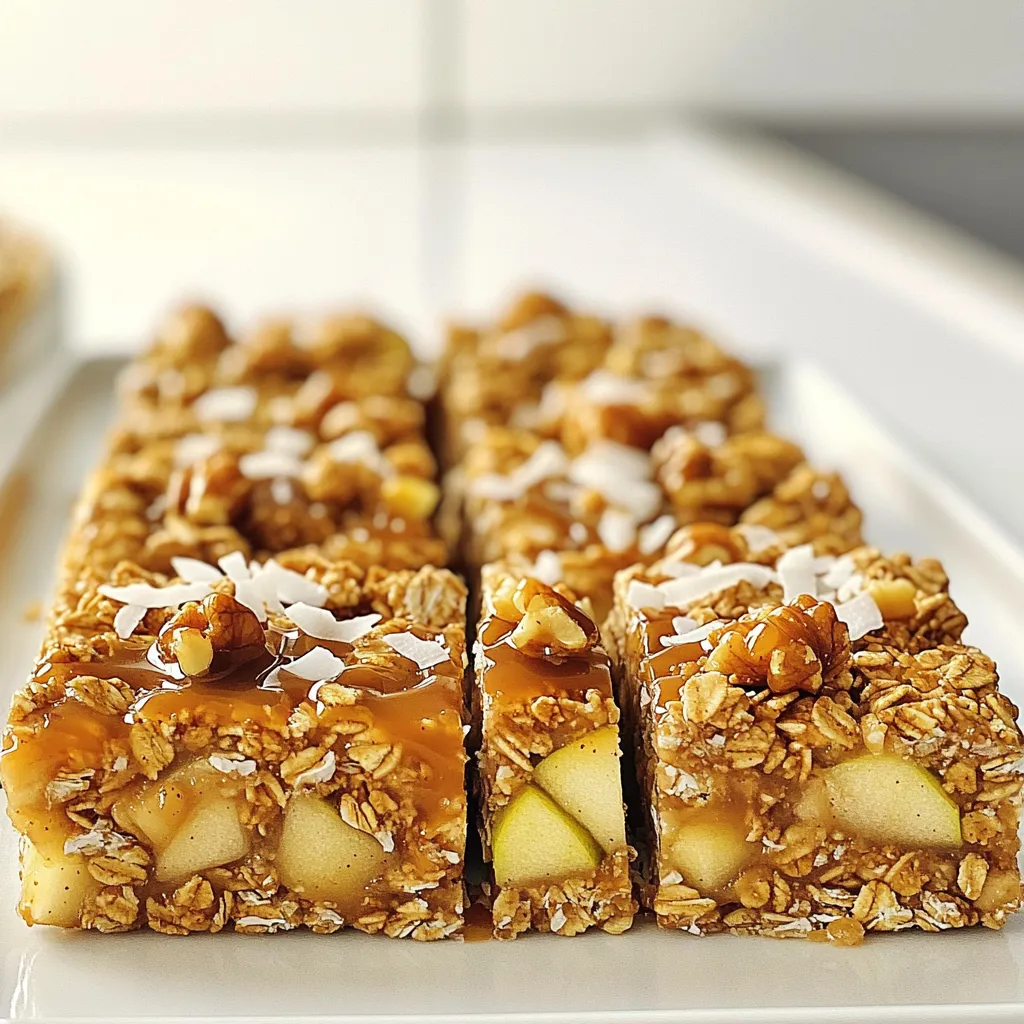
Craving a tasty snack that’s easy to whip up and packed with flavor? These No-Bake Caramel Apple Granola Bars are

Are you ready to enjoy a warm, tasty treat? My Chocolate Pumpkin Muffins Bakery-Style Delight brings the cozy flavors of
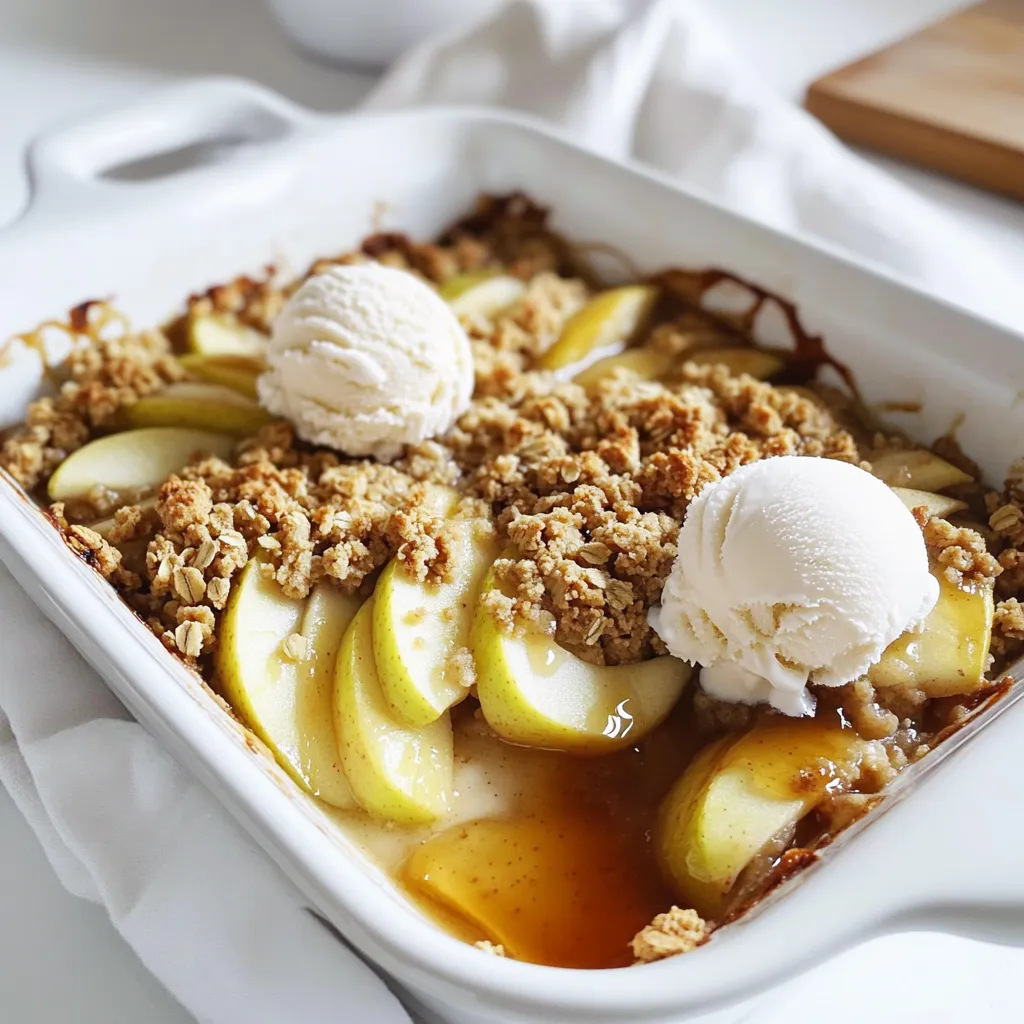
Are you ready to enjoy a sweet treat that warms your heart? This Maple Apple Crisp with Oat Crumble combines
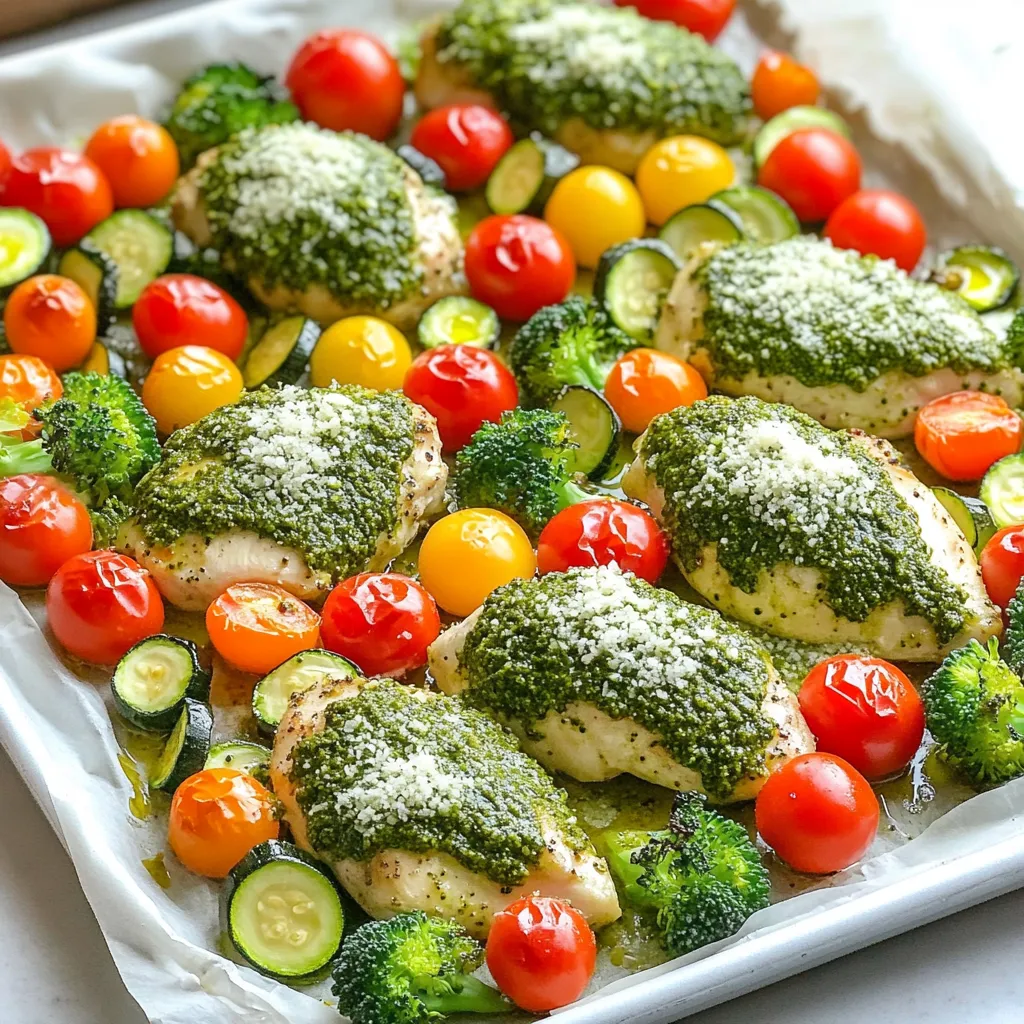
Are you ready to revolutionize your dinner routine? My Pesto Chicken & Veggie Bake Sheet-Pan Delight combines juicy chicken and

Fall is here, and I have the perfect treat to celebrate! If you love warm spices and sweet cookies, then

Looking for a quick and tasty dish? Try my Air Fryer Honey Garlic Meatballs! These bite-sized delights combine sweet and
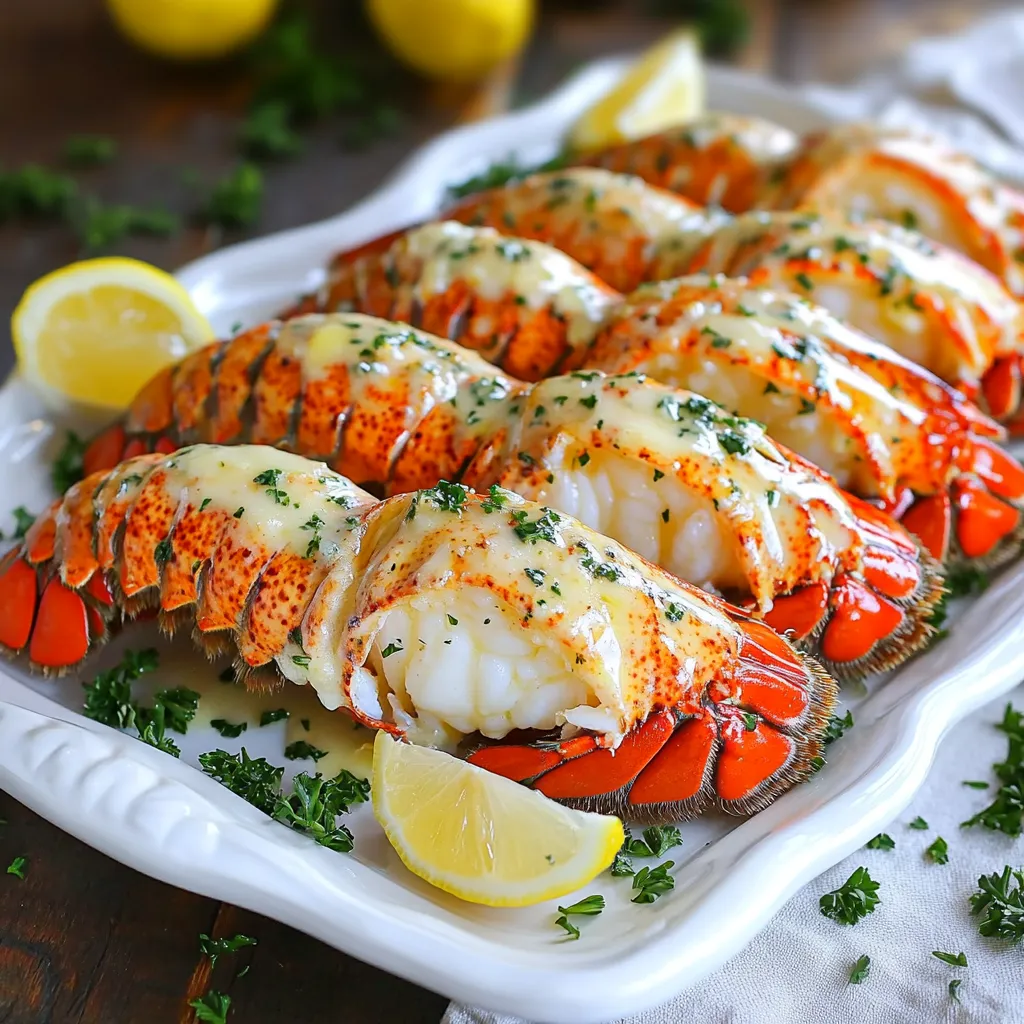
Craving a seafood delight that’s both quick and delicious? My Garlic Butter Lobster Tails recipe will blow you away! In
Fall is here, and that means it’s time for cozy treats! Today, I’m excited to share my recipe for a
