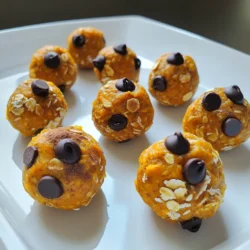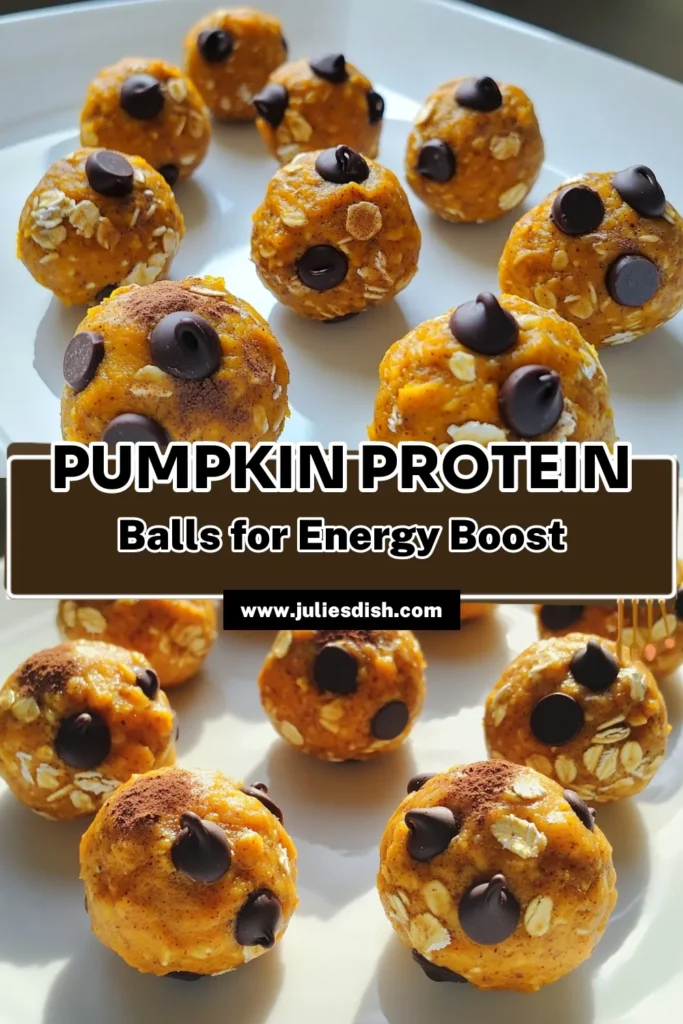
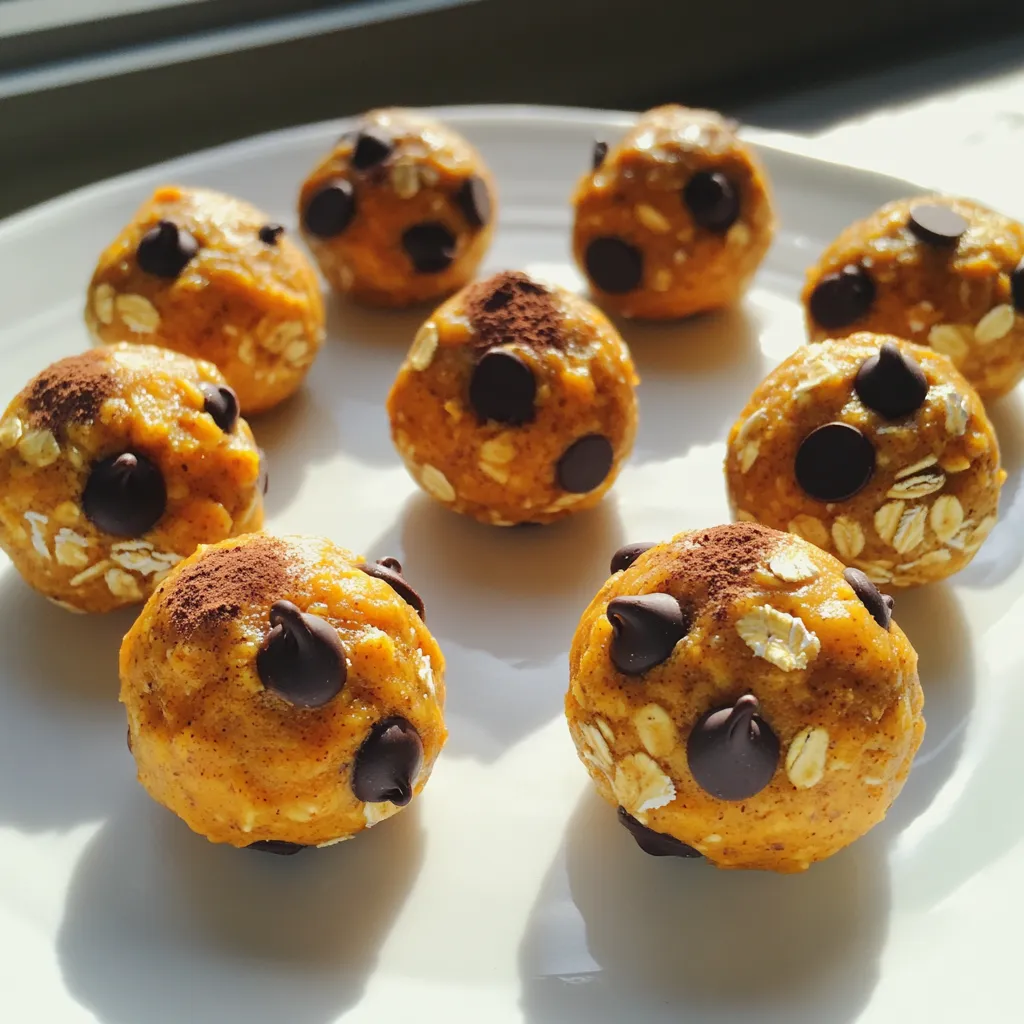
Looking for a simple and tasty snack? Let me introduce you to pumpkin protein energy balls! These little bites are packed with nutrients and flavor. They make a great pick-me-up any time of day. In this post, I’ll guide you through the easy steps to make them. Plus, I’ll share tips, variations, and storage tips to keep your energy balls fresh. Let’s dive into this healthy treat!
Ingredients
Complete list of ingredients
To make pumpkin protein energy balls, you will need:
– 1 cup pumpkin puree
– 1 cup rolled oats
– 1/2 cup almond butter (or peanut butter)
– 1/4 cup honey or maple syrup
– 1/4 cup vanilla protein powder
– 1/2 teaspoon cinnamon
– 1/4 teaspoon nutmeg
– 1/4 cup chocolate chips (dark or dairy-free)
– Pinch of salt
Suggested substitutes for dietary needs
If you need substitutes, here are some good options:
– Pumpkin puree: Use butternut squash puree if you can’t find pumpkin.
– Almond butter: Peanut butter works well if you have a nut allergy.
– Honey: Maple syrup is a great vegan option.
– Rolled oats: Use gluten-free oats for a gluten-free snack.
– Protein powder: Try a plant-based protein powder for a vegan option.
– Chocolate chips: Use dried fruit or seeds if you want a healthier mix.
Benefits of each ingredient in pumpkin protein energy balls
Each ingredient brings unique benefits to your energy balls:
– Pumpkin puree: This is rich in vitamins A and C. It helps your immune system.
– Rolled oats: Oats provide fiber, which keeps you full longer.
– Almond butter: This nut butter gives healthy fats and protein, boosting energy.
– Honey or maple syrup: Natural sweeteners add energy without refined sugar.
– Vanilla protein powder: Adds protein for muscle repair and growth.
– Cinnamon: This spice can help control blood sugar.
– Nutmeg: It aids digestion and adds a warm flavor.
– Chocolate chips: They add a touch of sweetness and antioxidants.
– Salt: A pinch enhances flavor and helps balance electrolytes.
Step-by-Step Instructions
Preparation and mixing directions
Start by gathering your ingredients. You need:
– 1 cup pumpkin puree
– 1 cup rolled oats
– 1/2 cup almond or peanut butter
– 1/4 cup honey or maple syrup
– 1/4 cup vanilla protein powder
– 1/2 teaspoon cinnamon
– 1/4 teaspoon nutmeg
– 1/4 cup chocolate chips
– Pinch of salt
In a large bowl, combine the pumpkin puree, almond butter, and honey or maple syrup. Mix until smooth and blended well. Next, add the rolled oats, vanilla protein powder, cinnamon, nutmeg, and salt. Stir until all ingredients are mixed together. You want a thick, sticky mixture. Gently fold in the chocolate chips to add some sweetness.
Rolling and chilling process
Now comes the fun part! With clean hands, scoop out about one tablespoon of the mixture. Roll it into a ball. Place each ball on a lined baking sheet. Make sure to leave space between each ball. Once you finish rolling all the mixture, place the baking sheet in the fridge. Chill the energy balls for at least 30 minutes. This step helps them firm up nicely.
Serving suggestions
After chilling, your energy balls are ready to enjoy! They make a great snack, breakfast, or post-workout treat. You can grab one quickly when you’re in a hurry. If you have leftovers, store them in an airtight container in the fridge. They stay fresh for up to a week. Try them with a glass of milk or a piece of fruit for a balanced snack.
Tips & Tricks
Perfecting the texture and flavor
To make your pumpkin protein energy balls just right, focus on the balance of wet and dry ingredients. The pumpkin puree adds moisture. Use just enough oats to help bind everything together. If the mixture is too dry, add a bit more almond butter. If it’s too wet, add more oats. The spices, like cinnamon and nutmeg, give a warm flavor. Adjust these to fit your taste. A little more cinnamon can make a big difference.
Common mistakes to avoid
One common mistake is not mixing well. If you don’t blend the ingredients fully, some bites might taste bland. Make sure to mix until everything is well combined. Another mistake is not chilling the balls enough. Chilling helps them firm up, making them easier to handle. If you skip this step, they may fall apart. Finally, don’t skip the chocolate chips! They add sweetness and make the snack enjoyable.
Best practices for mixing and rolling
Use a large bowl for mixing. This gives you space to stir without making a mess. I find it best to use my hands to roll the balls. This way, you can feel the texture. Aim for about one tablespoon for each ball. This size is perfect for a quick snack. After rolling, place the balls on a lined baking sheet. Make sure they are not touching. This keeps them from sticking together while they chill.
Variations
Alternative ingredients for different flavors
You can change the taste of your energy balls easily. For a chocolate twist, use cocoa powder instead of some of the protein powder. If you want a fruity kick, add mashed ripe bananas or applesauce. Try using different nut butters like cashew or sunflower seed butter for unique flavors. You can also swap the pumpkin puree for sweet potato for a different taste.
Customizing for dietary preferences (vegan, gluten-free, etc.)
Making these energy balls fit your diet is simple. To make them vegan, swap honey for maple syrup. Check that your protein powder is plant-based. For gluten-free options, use gluten-free rolled oats. This way, everyone can enjoy these tasty snacks without worry.
Adding extras like seeds or dried fruits
Adding seeds or dried fruits can boost nutrition and flavor. Consider mixing in chia seeds, flaxseeds, or sunflower seeds for crunch. Dried cranberries, raisins, or chopped apricots can add sweetness. These extras not only enhance taste but also add more fiber and healthy fats. Feel free to get creative and make these energy balls your own!
Storage Info
How to properly store energy balls
To keep your pumpkin protein energy balls fresh, store them in an airtight container. This prevents air and moisture from spoiling them. Make sure the container is clean and dry before adding the energy balls. Place a piece of parchment paper between layers if you stack them. This helps avoid sticking.
Shelf life in the fridge vs. freezer
In the fridge, these energy balls last up to a week. They stay tasty and firm during this time. If you want to keep them longer, freeze them. In the freezer, they can last for about three months. Just remember to thaw them in the fridge before eating.
Best container options for storage
Glass jars work well for storing energy balls. They are sturdy and do not absorb smells. Plastic containers are another option, but make sure they are BPA-free. Whichever container you choose, keep it sealed tight. This keeps your energy balls fresh and tasty for longer.
FAQs
How long do pumpkin protein energy balls last?
Pumpkin protein energy balls stay fresh for about one week in the fridge. They need to be in an airtight container to keep them moist. If you want them longer, freeze them for up to three months. Just thaw them overnight before you eat.
Can I make these energy balls vegan?
Yes, you can easily make these energy balls vegan. Just replace honey with maple syrup. Also, choose a plant-based protein powder. Use almond or peanut butter, as both are vegan-friendly.
What can I substitute if I don’t have protein powder?
If you don’t have protein powder, you can use ground flaxseed or chia seeds. These add healthy fats and fiber. You might want to add a bit more almond butter to keep the texture right.
Can I freeze pumpkin protein energy balls?
Yes, you can freeze these energy balls. After rolling them, place them on a baking sheet. Freeze them for about one hour, then move them to a freezer bag. This keeps them from sticking together.
What is the nutritional value of pumpkin protein energy balls?
Each energy ball contains about 100 calories. They have around 4 grams of protein and 5 grams of healthy fats. With pumpkin and oats, they are rich in fiber too. This makes them a great snack for energy and fullness.
In this article, we explored pumpkin protein energy balls. We detailed ingredients, substitutes, and their health benefits. You learned step-by-step instructions for making and serving them. We also shared tips for perfecting texture and avoiding common mistakes. Variations allow you to customize these snacks for any diet. Lastly, we covered storage options to keep them fresh longer.
Enjoy making these tasty, healthy treats. They are easy and fun to create!