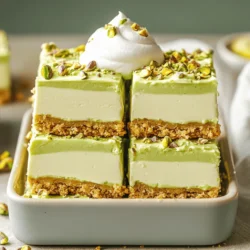
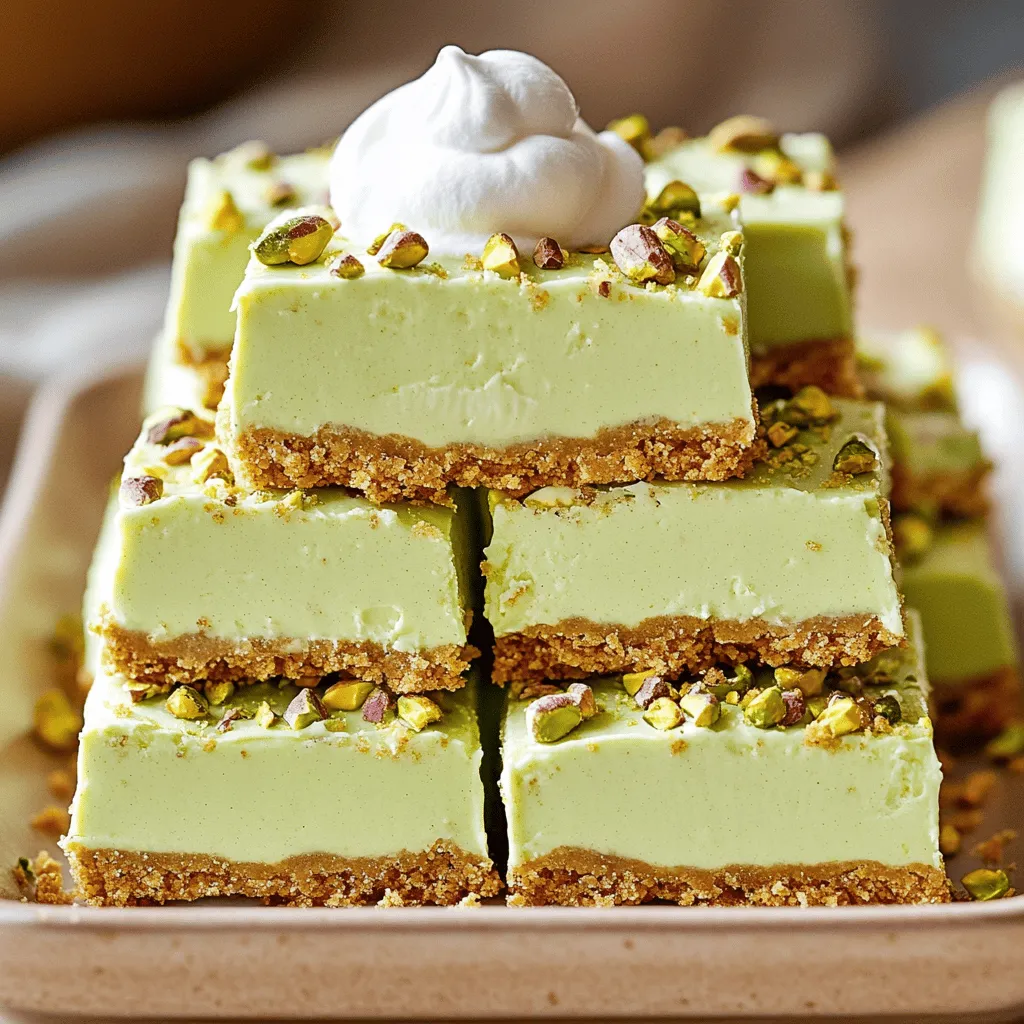
If you’re looking for a sweet treat that’s simple and delicious, you’re in the right place! These No Bake Pistachio Cream Pie Bars are an easy way to impress your friends and family. With just a handful of ingredients, you can whip up a creamy, nutty dessert that everyone will love. Let’s dive into this fun recipe and discover how to make your own delightful bars!
Ingredients
List of Ingredients
To make the No Bake Pistachio Cream Pie Bars, you will need:
– 1 ½ cups pistachio crumbs (ground pistachios or crushed pistachio cookies)
– ½ cup unsalted butter, melted
– 1 cup cream cheese, softened
– 1 cup powdered sugar
– 1 teaspoon vanilla extract
– 1 cup heavy whipping cream
– 1 package (3.4 oz) instant pistachio pudding mix
– 2 cups cold milk
– Crushed pistachios for topping
– Whipped cream for serving (optional)
Substitute Suggestions
If you need to make changes, here are some ideas:
– Use almond flour instead of pistachio crumbs for a nut-free option.
– Swap cream cheese with Greek yogurt for a lighter filling.
– Use coconut cream instead of heavy whipping cream for a dairy-free version.
– Try maple syrup instead of powdered sugar for a healthier sweetener.
Recommended Tools and Equipment
To create these delicious bars, gather these tools:
– Mixing bowls for combining ingredients
– Electric mixer for creamy fillings
– 8×8 inch baking dish for setting the bars
– Plastic wrap to cover the dish while chilling
– Spatula for spreading the filling evenly
Step-by-Step Instructions
Preparing the Crust
To start, grab a medium bowl. Combine 1 ½ cups of pistachio crumbs with ½ cup of melted unsalted butter. Mix them well until they look crumbly. Now, take an 8×8 inch baking dish and press this mixture into the bottom. Make sure it is even. This crust needs to chill in the refrigerator while you make the filling.
Making the Cream Cheese Filling
Next, take another bowl and add 1 cup of softened cream cheese. Beat it with an electric mixer until it is smooth. Then, slowly add in 1 cup of powdered sugar and 1 teaspoon of vanilla extract. Mix until everything is creamy. This gives the filling its rich flavor.
Combining with Pudding and Assembling
In a separate bowl, mix 1 package of instant pistachio pudding with 2 cups of cold milk. Whisk this for about 2 minutes. You want it to thicken. Once thickened, gently fold this pudding into the cream cheese mixture. Now, in a different bowl, whip 1 cup of heavy cream until it forms stiff peaks. Carefully fold this whipped cream into the pudding mix. This makes the filling light and fluffy. Finally, pour the pistachio cream mixture over the crust. Use a spatula to spread it evenly. Cover the dish with plastic wrap and chill for at least 4 hours. Once set, cut into bars and enjoy your delightful creation!
Tips & Tricks
Ensuring the Perfect Crust
To make the best crust, use fresh pistachio crumbs. You can grind pistachios or crush pistachio cookies. Mix the crumbs with melted butter until they feel like wet sand. Press this mixture into your dish firmly. This helps it hold together. Chill it for at least 30 minutes before adding filling. This sets the crust and makes it crisp.
Achieving Fluffy Whipped Cream
To get fluffy whipped cream, start with cold heavy cream. Use a clean bowl and beaters. Whip the cream on medium speed until you see stiff peaks. This means it holds its shape. Then, gently fold it into the cream cheese mix. Be careful! You don’t want to lose that airiness. This keeps your bars light and creamy.
Common Mistakes to Avoid
One mistake is not chilling the crust long enough. If it’s not firm, the filling can make it soggy. Another pitfall is over-mixing the whipped cream. This can turn it into butter instead of a soft cream. Lastly, don’t skip the chilling time after adding the filling. It needs at least four hours to set properly.
Variations
Alternate Flavor Options
You can switch things up with different flavors. Try using almond pudding instead of pistachio pudding for a nutty twist. You could also use vanilla pudding for a classic taste. For a fruity option, consider a lemon pudding mix. Each change gives a new taste that’s just as fun.
Ingredient Swaps for Dietary Preferences
If you have special dietary needs, you can easily adjust the recipe. For a gluten-free version, use gluten-free cookies to make the crust. You can also swap cream cheese for a dairy-free alternative like cashew cream. Use a plant-based heavy cream for a vegan option. These swaps help everyone enjoy this treat.
Adding Additional Toppings
Toppings can make your bars even better. Besides crushed pistachios, sprinkle chopped dark chocolate or fresh berries on top. You can also add a drizzle of chocolate sauce for a sweet finish. A few mint leaves can add a nice touch too. Customizing the toppings lets you get creative and make each batch unique.
Storage Info
Best Storage Practices
To keep your No Bake Pistachio Cream Pie Bars fresh, store them in an airtight container. This will shield them from odors in your fridge. You can also place parchment paper between the layers to avoid sticking.
How Long They Last in the Fridge
These tasty bars will stay good in the fridge for about 5 days. They taste best when chilled. Check for any changes in texture or smell before eating. If they look or smell off, throw them away.
Freezing Instructions
You can freeze these bars for longer storage. Cut them into individual pieces before wrapping. Use plastic wrap and then foil for best results. They will stay fresh in the freezer for about 2 months. When ready to eat, let them thaw in the fridge overnight. Enjoy their creamy goodness!
FAQs
Can I use other nuts instead of pistachios?
Yes, you can! Almonds, walnuts, or cashews work well. Just ensure they are finely ground. The flavor will change, but each nut adds a unique taste.
How do I make this recipe ahead of time?
You can make the bars a day before serving. Follow all the steps and chill them overnight. This gives the flavors time to blend and makes them even better.
Can I use a different pudding flavor?
Absolutely! Try vanilla, chocolate, or even cheesecake pudding. Each option gives a new twist to the bars and keeps it fun. Just mix it with milk as the recipe says.
This blog post guides you through a tasty recipe. We covered the right ingredients, tools, and step-by-step instructions. You learned tips for a perfect crust and fluffy cream. We explored flavor variations and how to store your dessert. Remember, making this treat is easy and fun. With the right facts and care, you can impress everyone. Enjoy your baking journey!