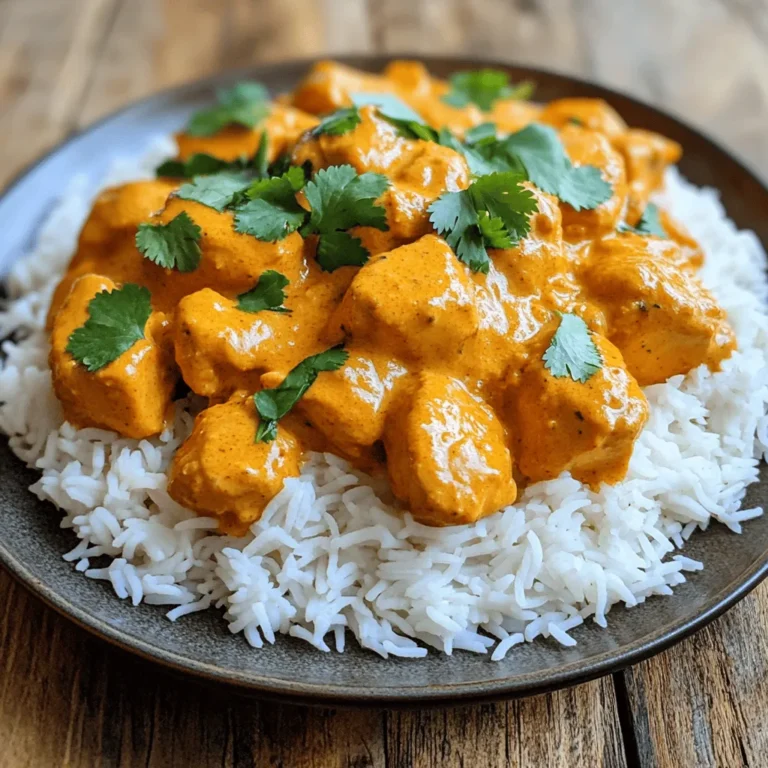
Are you ready to whip up a delicious meal in no time? This Instant Pot Butter Chicken recipe is both quick and packed with flavor! With tender chicken thighs cooked in a rich, creamy sauce, you’ll impress your family and friends. I’ll guide you through each step, from ingredient prep to serving suggestions. Let’s dive in and get cooking!
Ingredients
Main Ingredients for Instant Pot Butter Chicken
To make a tasty Instant Pot Butter Chicken, gather these key ingredients:
– 1.5 lbs boneless chicken thighs, cut into bite-sized pieces
– Spices:
– 2 tablespoons garam masala
– 1 tablespoon ground cumin
– 1 tablespoon ground coriander
– 1/2 teaspoon turmeric
– 1/2 teaspoon cayenne pepper (adjust to taste)
– Vegetables:
– 1 large onion, finely chopped
– 4 cloves garlic, minced
– 1 tablespoon fresh ginger, grated
– Sauces:
– 1 can (14 oz) crushed tomatoes
– 1 cup coconut milk
– 1 tablespoon honey
– Salt to taste
– Fresh cilantro, chopped (for garnish)
Kitchen Tools Required
You will need these simple tools to make this dish:
– Instant Pot or electric pressure cooker
– Measuring cups and spoons
– Cutting board and knife
These ingredients and tools make the process smooth. Each element adds its own flavor and texture. The spices create warmth, and the coconut milk adds creaminess. Everything comes together to make a delicious meal.
Step-by-Step Instructions
Preparing the Ingredients
First, gather all your ingredients. You will need chicken thighs, onions, garlic, ginger, and spices.
– Chop 1 large onion into small pieces.
– Mince 4 cloves of garlic.
– Grate 1 tablespoon of fresh ginger.
– Cut 1.5 lbs of chicken thighs into bite-sized pieces.
These steps help build a strong base for your dish. Fresh cuts make the meal taste better.
Cooking in the Instant Pot
Now, set your Instant Pot to Sauté mode. Add 1 tablespoon of vegetable oil and let it heat for about one minute.
– Add the chopped onion and sauté for 3-4 minutes until it turns clear.
– Stir in the minced garlic and grated ginger. Cook for 1 more minute until you smell the great aroma.
Next, add the spices: 2 tablespoons of garam masala, 1 tablespoon of ground cumin, 1 tablespoon of ground coriander, 1/2 teaspoon of turmeric, and 1/2 teaspoon of cayenne pepper. Stir well and sauté for 30 seconds. This toasts the spices and brings out their flavor.
Now, toss in the chicken pieces. Stir to coat them in the spice mix.
– Pour in 1 can of crushed tomatoes, 1 cup of coconut milk, and 1 tablespoon of honey. Mix everything well and ensure it’s combined.
Secure the lid on your Instant Pot. Make sure the valve is set to “Sealing.” Set it to cook on Manual mode for 10 minutes.
Final Steps for Serving
Once the timer goes off, carefully use the quick release method. Move the valve to “Venting” to release steam.
– Stir the chicken and taste it. Adjust the salt if needed.
– If you want a thicker sauce, press “Sauté” and let it simmer a bit longer.
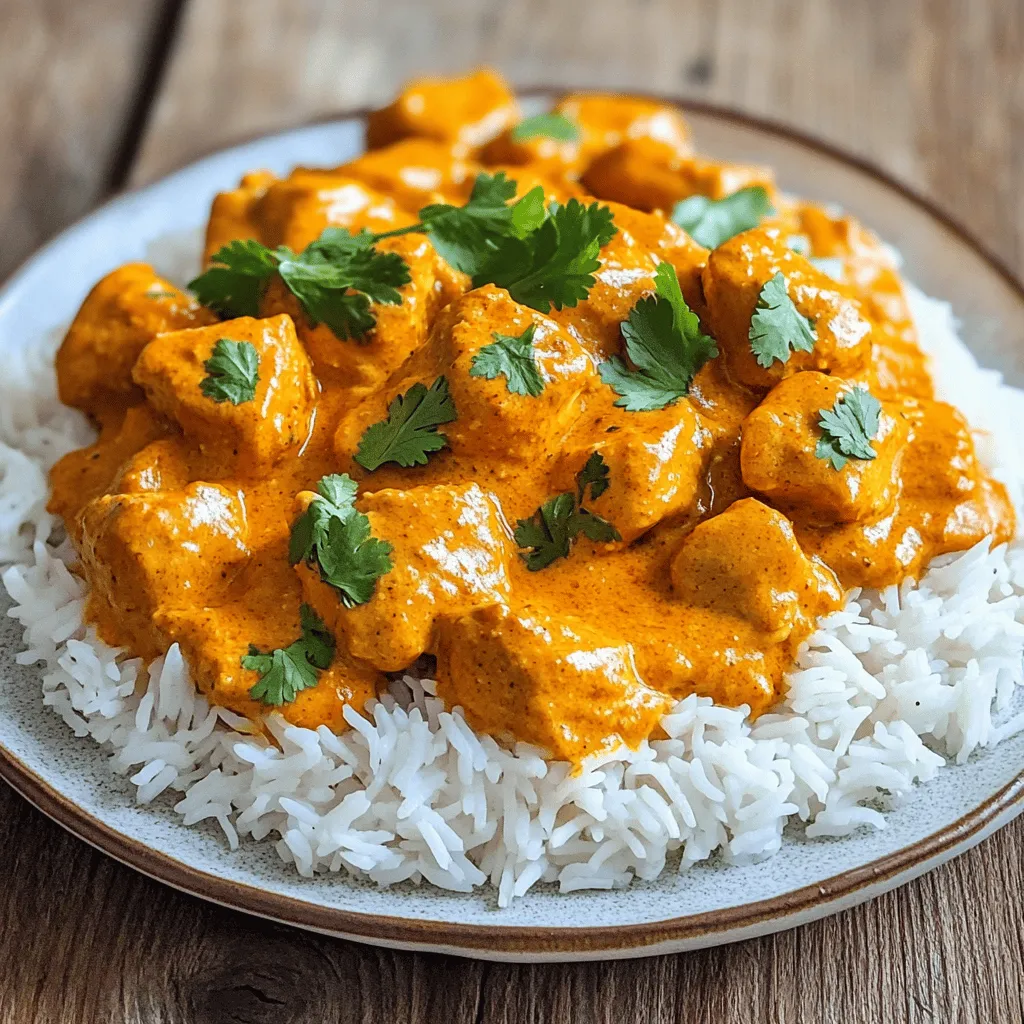
Serve your butter chicken hot, and consider garnishing it with fresh chopped cilantro. Enjoy this tasty meal over basmati rice or with warm naan bread.
Tips & Tricks
Achieving the Best Flavor
To get the best flavor in your butter chicken, toasting spices is key. When you toast spices, their oils release, making the dish more fragrant. In step three of the recipe, after adding the garlic and ginger, sprinkle in the garam masala, cumin, coriander, turmeric, and cayenne. Sauté them for about 30 seconds. This step adds depth to the sauce.
To enhance the creaminess of the sauce, use full-fat coconut milk. This adds richness and balances the spices. For an extra creamy texture, stir in a bit of butter or cream just before serving. This small addition can elevate your dish.
Cooking Time Adjustments
Cooking time can vary depending on the chicken cuts you use. If you opt for chicken breasts, reduce the cooking time to about 8 minutes. This ensures the chicken stays juicy. For those who like dark meat, chicken thighs are perfect and tender after 10 minutes.
If you want a thicker sauce, you can adjust the cooking time slightly. After the quick release, use the sauté function. Let the sauce simmer for a few minutes until it thickens. If you prefer a thinner sauce, add a splash of coconut milk or water and stir.
Presentation Suggestions
For serving, I love to pair butter chicken with fluffy basmati rice or warm naan. This makes each bite delightful. You can create a beautiful plate by layering rice and topping it with the chicken.
Garnishing adds a nice touch. I recommend fresh cilantro for color and flavor. Sprinkle some over the top just before serving. You can also add a dash of paprika or chili powder for a pop of color. These simple tips make your dish look as good as it tastes.
Variations
Alternatives for Chicken
You can switch chicken thighs for chicken breasts. Breasts are leaner but still tasty. If you want a vegetarian dish, try using paneer or chickpeas. Paneer adds creaminess, while chickpeas bring protein. Both options make a great meal.
Spice Level Adjustments
To make your butter chicken milder, reduce the cayenne pepper. For more heat, add extra cayenne or even some chili powder. You can also try adding spices like smoked paprika or a pinch of cinnamon. These spices help you create a unique flavor.
Dairy-Free Options
If you want a dairy-free meal, use almond or oat milk instead of coconut milk. These give a nice creaminess without dairy. For those needing to avoid honey, use maple syrup or agave nectar. Both options add sweetness without the honey.
Storage Info
Storing Leftovers
To keep your butter chicken fresh, place it in an airtight container. Let it cool first, then cover it tightly. You can store it in the fridge for up to four days. Always check for any signs of spoilage before eating. I recommend glass or BPA-free plastic containers for storage. They are safe and help keep the flavors intact.
Reheating Tips
For quick reheating, the microwave works well. Place your butter chicken in a microwave-safe bowl. Heat it in short bursts, stirring in between to avoid hot spots. If you prefer the stovetop, pour it into a pan over medium heat. Stir often until it is warm. To maintain the flavor and texture, add a splash of coconut milk if it seems dry. This keeps the sauce creamy and delicious.
Freezing Instructions
You can freeze butter chicken for up to three months. Use a freezer-safe container or heavy-duty freezer bags. Make sure to label them with the date. To thaw, place it in the fridge overnight. For reheating, use the microwave or stovetop as mentioned above. If frozen in a bag, you can run it under cold water to speed up the thawing process.
FAQs
What can I serve with Instant Pot Butter Chicken?
You can serve this dish with simple sides. Here are some great options:
– Fluffy basmati rice
– Warm naan bread
– Steamed vegetables
These sides add balance and texture. You can also try a fresh salad or yogurt with mint. They bring coolness to the spicy chicken.
Can I make this recipe ahead of time?
Yes, you can prepare this dish in advance. Cook the butter chicken as directed. Let it cool and store it in the fridge. It holds up well for up to three days.
To reheat, warm it on the stove or in a microwave. Add a splash of water if it seems thick. This keeps the sauce creamy and fresh.
How do I adjust the spice levels in this recipe?
Adjusting spice levels is easy! Here are some tips:
– For milder flavors, cut back on cayenne pepper.
– For more heat, add extra cayenne or some chili powder.
– Taste as you go to find your perfect level.
Spices can change based on your personal taste. Feel free to experiment!It includes everything you need to create this tasty dish.
You now have all the tools to make Instant Pot butter chicken at home. We covered the key ingredients, essential kitchen tools, and easy steps to cook this dish. I shared tips for the best flavor and presentation ideas. You can customize it to your taste and even store leftovers safely. Remember, cooking should be fun and rewarding. I hope this guide helps you create a delicious meal that brings joy to your table. Enjoy experimenting and savoring every bite!

