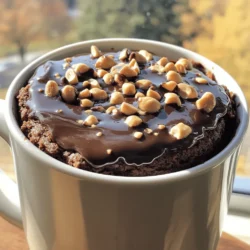
If you’re craving a sweet, indulgent treat but want it fast, look no further! This Chocolate Peanut Butter Mug Cake is the perfect solution. With just a few ingredients and a microwave, you can whip up a delicious dessert in under five minutes. Ready to dive into a simple and tasty recipe that satisfies your chocolate and peanut butter cravings? Let’s get started!
Ingredients
To make a chocolate peanut butter mug cake, you need simple ingredients. Here’s what you will gather:
– 4 tablespoons all-purpose flour
– 4 tablespoons granulated sugar
– 2 tablespoons unsweetened cocoa powder
– 1/8 teaspoon baking powder
– 1/8 teaspoon salt
– 3 tablespoons milk (or dairy-free alternative)
– 2 tablespoons creamy peanut butter
– 1 tablespoon vegetable oil
– 1/4 teaspoon vanilla extract
– Optional toppings: Chopped peanuts and chocolate chips
These ingredients blend to create a rich and tasty treat. The flour gives structure, while sugar adds sweetness. Cocoa powder brings that deep chocolate flavor we all love. Baking powder helps it rise, and salt enhances the taste. Milk adds moisture, and peanut butter gives it that creamy texture. The vegetable oil keeps the cake tender, while vanilla extract adds warmth. Feel free to add chopped peanuts or chocolate chips on top. They make the cake even more delightful!
Step-by-Step Instructions
Preparing the Dry Ingredients
In a large microwave-safe mug, add the following dry ingredients:
– 4 tablespoons all-purpose flour
– 4 tablespoons granulated sugar
– 2 tablespoons unsweetened cocoa powder
– 1/8 teaspoon baking powder
– 1/8 teaspoon salt
Whisk these together. This mix forms the base of your cake. It’s key to blend well. You want every bite to be sweet and chocolatey!
Mixing the Wet Ingredients
Next, pour in your wet ingredients:
– 3 tablespoons milk (or dairy-free alternative)
– 2 tablespoons creamy peanut butter
– 1 tablespoon vegetable oil
– 1/4 teaspoon vanilla extract
Stir until you get a smooth batter. Make sure to scrape the sides and bottom of the mug. This step is crucial for a uniform mix. If you want, fold in some chocolate chips for more flavor!
Cooking the Mug Cake
Now, it’s time to cook! Microwave the mug on high for 1 minute and 30 seconds. Check if it’s done by looking at the center. If it’s still wet, microwave in 15-20 second intervals. It may take up to 2 minutes total, depending on your microwave.
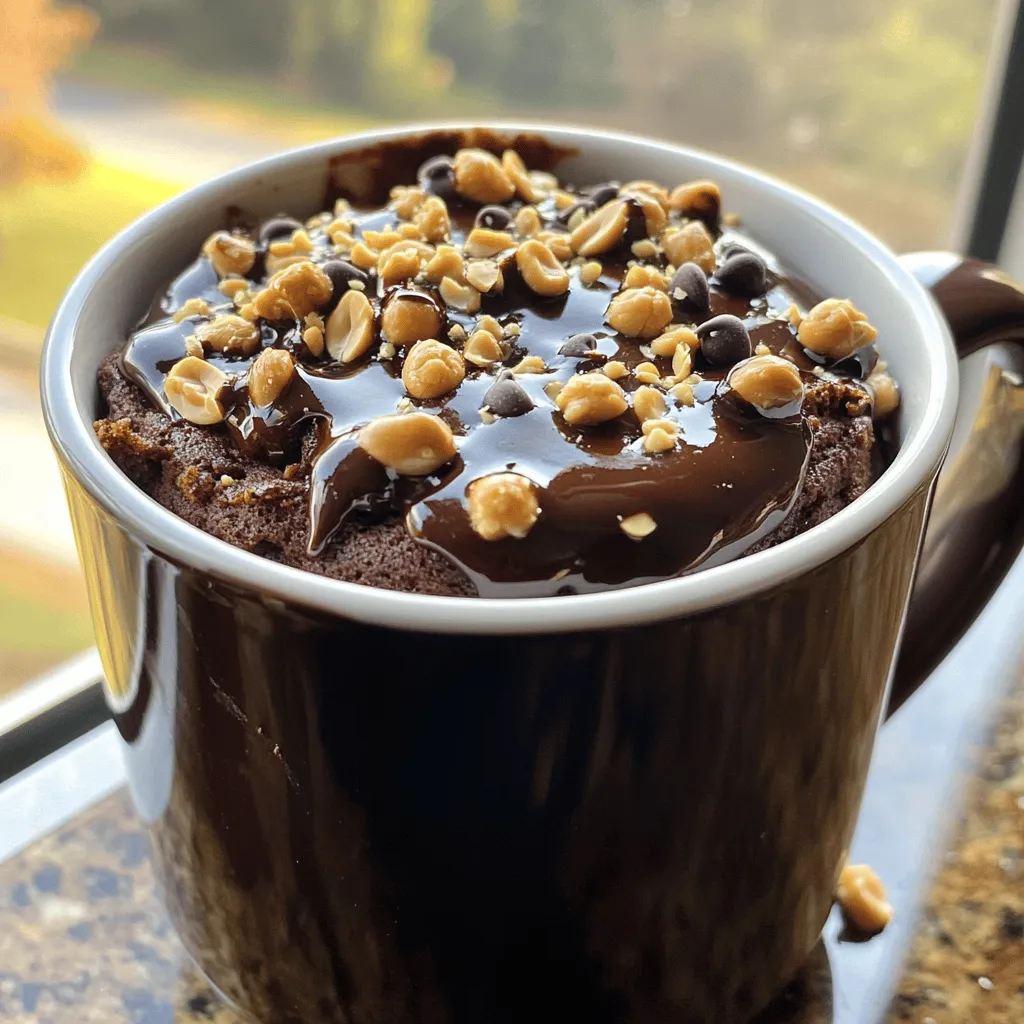
Carefully remove the mug from the microwave; it will be hot! Let it cool for a minute. Top with chopped peanuts or extra chocolate chips if you like. This will make your mug cake even better!
Tips & Tricks
Ensuring Perfect Texture
Microwave wattage can change your cooking time. Most microwaves are between 600 to 1200 watts. If yours is less than 800 watts, you may need to add more time. For a 1000-watt microwave, start with 1 minute and 30 seconds. Always check the center to see if it is firm. If it’s still wet, microwave in 15-second bursts. This helps you avoid a soggy mug cake.
Avoiding Common Mistakes
Overcooking is a common issue. It can make your mug cake dry and tough. To prevent this, always use a large mug, at least 12 oz. This gives the cake room to rise. Also, do not stir too much. Mixing lightly keeps air in the batter. This air creates a fluffy texture. If your cake is gummy, it may need more cooking time. Check often and adjust as needed.
Personalizing Your Mug Cake
You can make your mug cake your own! Add chocolate chips for extra sweetness. Nuts can add a nice crunch. Want something different? Try a pinch of cinnamon or a drop of coffee. These flavors can boost the cake’s richness. You can also add toppings like whipped cream or extra peanut butter. The choices are endless!
Variations
Flavor Add-Ins
You can easily change the taste of your mug cake. Adding chocolate chips gives it more richness. A sprinkle of cinnamon or a dash of espresso powder can add depth. If you love nuts, try adding chopped peanuts or walnuts. They add crunch and flavor. Just mix them into the batter before microwaving.
Dietary Alternatives
Want a gluten-free version? Swap the all-purpose flour with almond flour or a gluten-free blend. For a dairy-free option, use almond milk or oat milk instead of regular milk. Make sure to check that your peanut butter is also dairy-free. These swaps keep the cake tasty without losing its charm.
Serving Options
Serving your mug cake can be fun! You can leave it in the mug for a cozy look. For a fancier touch, tip it out onto a plate. Drizzle some warm peanut butter or chocolate sauce on top. Add whipped cream or a scoop of ice cream for a special treat. These options make every bite exciting and delicious.
Storage Info
Storing Leftovers
To store your uneaten cake, let it cool completely first. Place the mug cake in an airtight container. This keeps moisture in and helps maintain freshness. If you use a plate, cover it with plastic wrap. Store it in the fridge for up to three days. If you want to enjoy it later, you can freeze it.
Reheating Instructions
When reheating your mug cake, use the microwave. Place it back in the mug or on a plate. Heat it for 15 to 20 seconds at a time. Check after each interval to avoid overheating. You want it warm and soft, not dry. If it feels cold in the center, continue reheating in small bursts.
Freezing Options
If you want to freeze your mug cake, let it cool fully first. Wrap it tightly in plastic wrap and then in foil. This keeps air out and prevents freezer burn. You can freeze it for up to a month. To reheat, thaw it in the fridge overnight. Then heat it in the microwave as mentioned above. This keeps the chocolate and peanut butter flavors intact.
FAQs
How long does it take to make a chocolate peanut butter mug cake?
Making a chocolate peanut butter mug cake is quick and easy! It takes about 5 minutes to prep and 1 minute and 30 seconds to cook in the microwave. Depending on your microwave, it might take up to 2 minutes total. This means you can enjoy a warm treat in no time!
Can I use a different type of flour?
Yes, you can use different types of flour! If you want to try whole wheat flour or almond flour, these can work well. Just remember that each type of flour may change the texture. Whole wheat can make the cake denser, while almond flour may make it more moist. Experimenting with different flours adds fun to your baking.
Is this mug cake suitable for sharing?
This mug cake is perfect for one person, but you can easily scale it up. To share, just double the recipe and use two mugs. You can also make a larger batch in a bowl. This way, everyone gets to enjoy their own serving. Adding extra toppings like nuts makes it even more fun!
How do I prevent my mug cake from overflowing?
To stop your mug cake from overflowing, don’t fill the mug too full. Leave some space at the top, about one inch. Also, cook it on medium power if your microwave allows. This helps it rise slowly. Lastly, keep an eye on it while it cooks. If it looks like it might overflow, stop the microwave and let it settle before cooking more.
This blog post shared an easy recipe for a chocolate peanut butter mug cake. You learned about the key ingredients, step-by-step instructions, and tips for success. I covered personalizing your cake and storing leftovers, too.
Mug cakes are quick and fun. They allow you to experiment in the kitchen. Enjoy making this treat your own! It’s a simple way to satisfy your sweet tooth anytime.